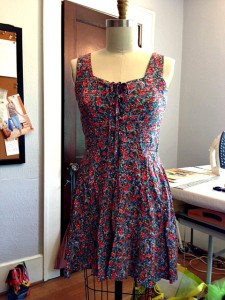
 Recently a young friend of mine showed me a dress she bought second hand. This rayon floral dress featured two strong design elements. The first a corseted center front, purely decorative with a self fabric tie. The second feature was an exposed, silver toothed, zipper along the center back seam from top to hem. The dress fit her well in the length and waist but it was too big in the upper bodice.
She had plans for recycling the dress into her own vision and fixing the fit in the bodice at the same time. My friend’s solution was to repeat the corseted closure in the back of the dress replacing the tough zipper and allowing her to cinch the bodice tighter. Ecited to up-cycle her thrift store bargain, she had already removed the zipper, bought some grommets, and folded back the center back of the back bodice. Her next step was simple she thought. She was going to sew up the center back seam to the waist seam (a slightly raised waist seam) then put those grommets in.
I saw three problems she had no idea existed and I owed her mom a favor so I asked if it would be ok if I took the dress and did this project for her. She happily agreed.
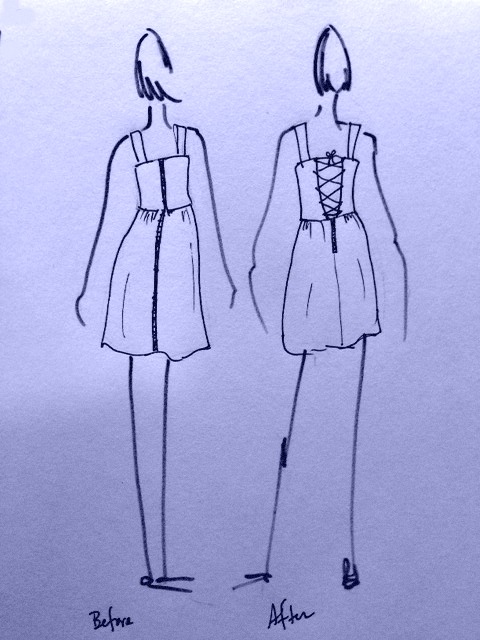
Tackle the Fit
While cinching the center back seam closer will make the bodice tighter it will also throw off the side seams and in this design the strap placement. The looseness needs to come out of the side seams since the bodice is loose all over, not just in the back.
With the dress on, I pinched out the excess fabric under each arm and pinned it. The looseness has to be divided evenly on both sides. So if the bodice is too big by an inch, take a half inch out at each side. Also note how far down that side seam the bodice is loose. For my friend I pinched out one inch at the top of each side seam and tapered it to nothing by 4 inches down the seam.
Remember to pinch in any facing too if it faces the part of the side seam you altered.
How To Get Into The Dress
While sewing up the center back seam to the waist seam seems logical you need the opening to extend below the waist seam in order to get the dress on and off with ease. I had to put in a zipper at least four inches long from the waist seam down the center back.
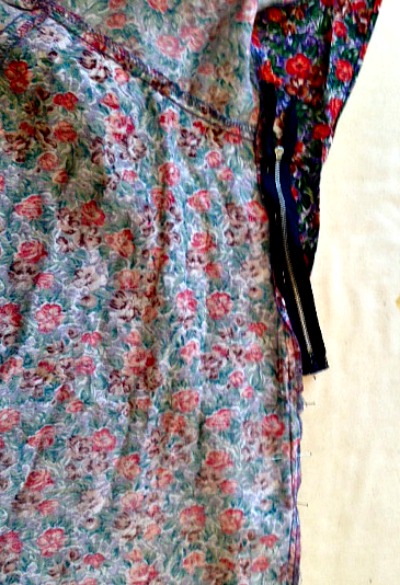
I put in an exposed zipper, with daintier teeth, as both a nod to the original design and because the seam was prepped and cut for such a zipper application making it an easy placement.
The Trouble With Grommets
I like grommets. I do not like how once they fall out of a garment there is usually no replacing them. I thought with this lightweight fabric we were better off with thread grommets (button holes). The metal hard edge of the grommet can eventually cut through fabric and the lighter the fabric the easier time the grommet will have in freeing itself.
Deciding on small button holes over using grommets was easy. The trick was how I was going to cleanly make this center back design happen, including hiding the top of the zipper.
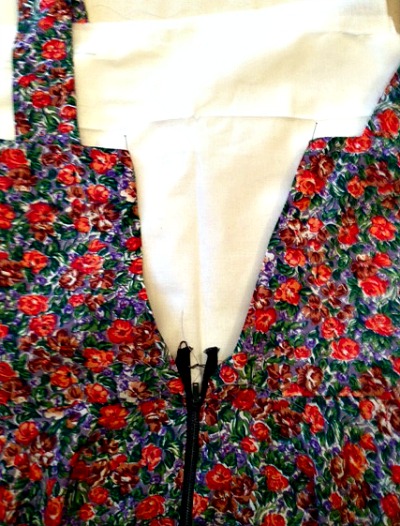
I eventually settled on keeping my friend’s vision which also happened to be the easiest solution. Sometimes not knowing all the options works out nicely. I folded back the back bodice along center back. Starting at center back at the waist seam and ending around 2 inches wide at the top of the center back seam.
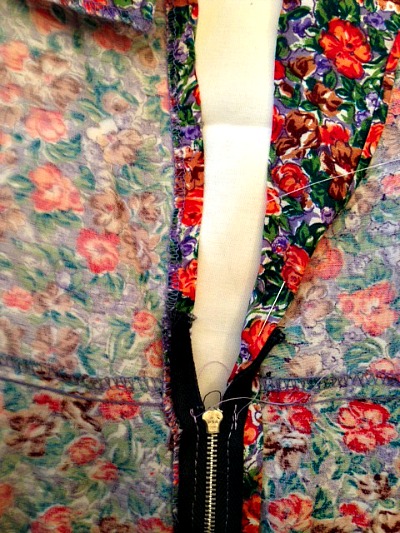
I added some fusible non woven interfacing to this area for strengthening since is where the button holes would be and the corseting will also strain the fabric here.
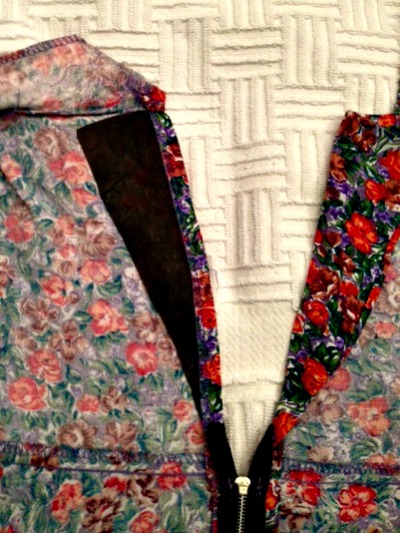
To finish off the back of the bodice cleanly I edged stitched along the fold and top stitched the raw edge of the fold in place. I now had a nice “V” shape opening. Just what my friend had designed.
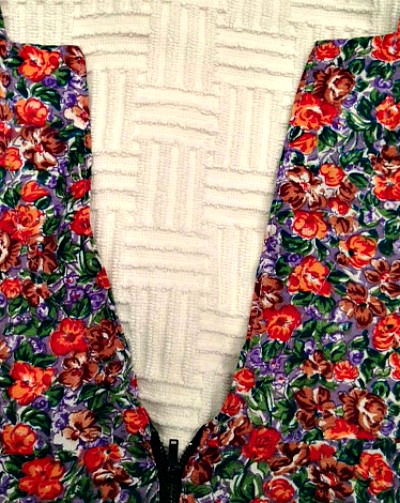
Now time for the “grommets”. If I had a machine that could embroider eyelets I would have chosen that option. Since my machine does not do that I planned on making small button holes. I marked the fabric down one side of the opening and then lined the other side up to the marked so to make sure the button holes were lined up on both the right and the left side.
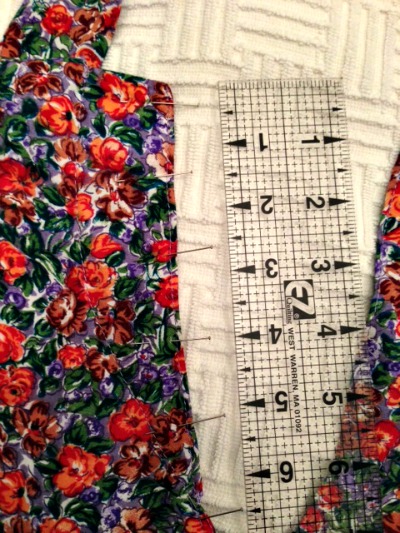
The button holes need to be small but large enough to get the ribbon through. Where the fabric is thick (layers of facing and seam allowance) button holes are hard to cut open so the thicker your fabric make the button holes a little, just a little, bigger then you think you need.
Button holes in. Ribbon is easier to thread through the holes with a bodkin or a yarn needle. I use fray check on the cut ends of the ribbon to keep them from fraying.
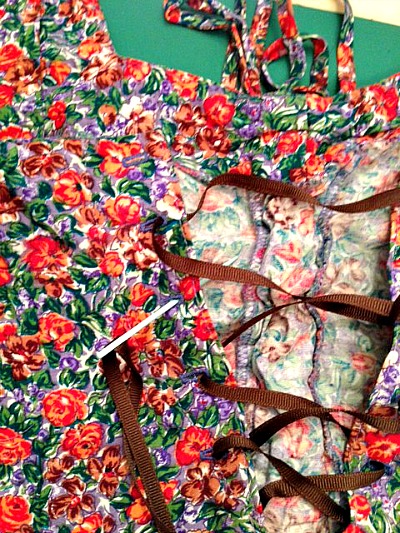
Done. Check for threads that need to be clipped.
Here is the finished up-cycled dress;
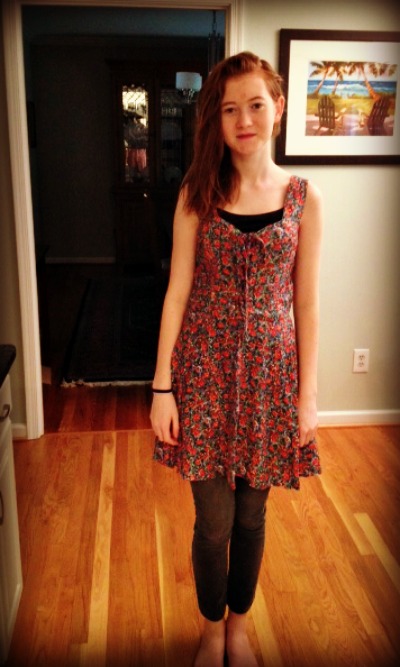
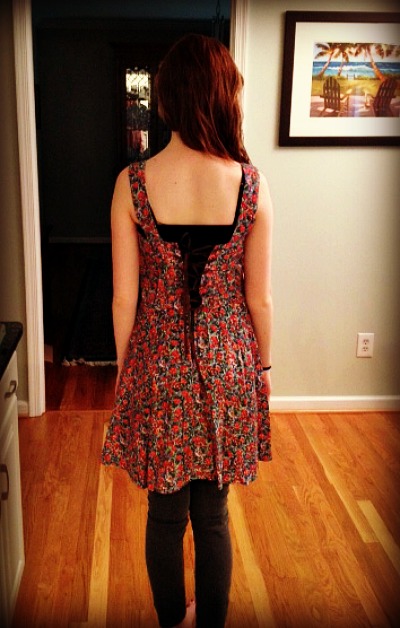


Lovely! 🙂
Thanks