Shortening a skirt is pretty straight forward. Fold up the appropriate amount of excess skirt at the hem. Trim off any fabric that is more than you need for turning under a new hem and hem it.
My skirt, too long as it was, could not be taking up at the bottom for it had a five inch band of embroidery two inches up from the hem. That was the only detail in this otherwise very plain, solid, linen skirt so I needed to approach this shortening task from the top.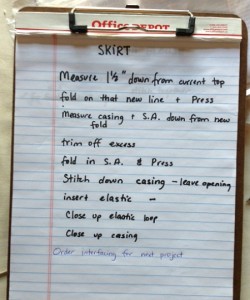
As with every project, once I figure out what I’m going to do, in this case taking the extra length off the top of the skirt, I break down the steps on paper.
All my projects start with a list. I think through the project and what it is that I have to do to get it done. My head is too full of other list (like what’s for dinner, when I’m picking up a child, what’s going on at work, etc) to always keep the next step in my head. Besides I don’t always finish before something non sewing has to happen so when I do come back to the project the list saves me from spending time trying to figure it all out again. Usually the list gets tweaked as I go and sometimes there’s something missing, or just wrong, but it’s a great place to start. Besides, the thinking part is the hardest part so after the steps are figured out it’s all down hill.
To hem from the top down I had to figure out how much to shorten it by. I put on the skirt and folded over the waist band (simple elastic casing type) until the skirt hit where I wanted it to on the leg while sitting where I wanted to at the waist. After adjusting it to suit mark where top of the current waist band hits on the skirt. I used a few straight pins to mark. This is where the new top edge of the skirt will be.
Take skirt off and measure how much fabric from the current top edge to the new marks. Take the average, which is why you make more than one mark, and write that number down. Get the seam ripper and take out the skirt’s waist band so your fabric will lay flat. You are unable to get a correct measure when your fabric is still being gathered. Put the elastic aside but not in the trash. Press the top of the skirt flat.
Measure and mark down from the old top (you will see the old top from the worn line in the fabric) the inches you are shortening the skirt (the number you just wrote down). Fold on that mark all the way around and press. this is the new top edge.
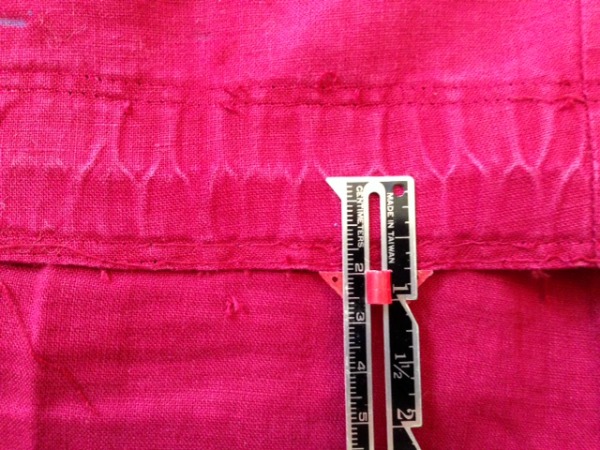
Measure the old casing so you know how wide it is and, what the heck, measure the old seam allowance too. If it worked for the manufacturer it may work for you. That said, you are now the designer. If you want wider or narrower elastic this time around then you can change it.
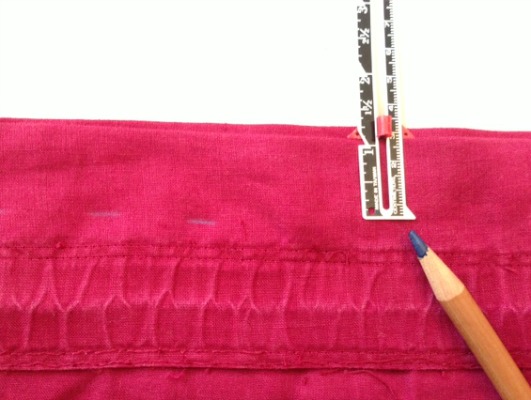
From the fold, on the excess fabric side, not the skirt side, you will add back fabric for half of the casing and seam allowance and cut off extra fabric (the old casing).
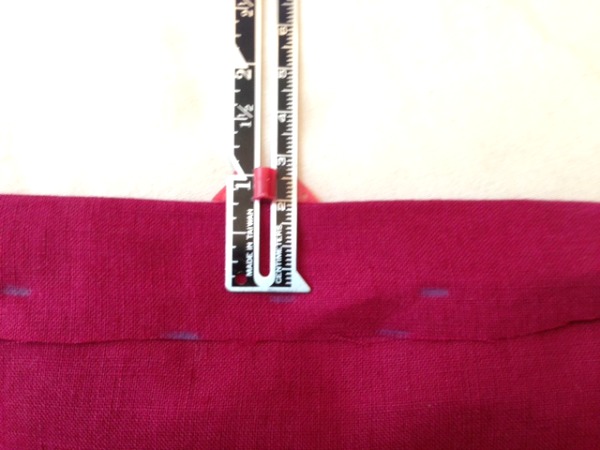
Measure and mark down from the new top the width of the casing.
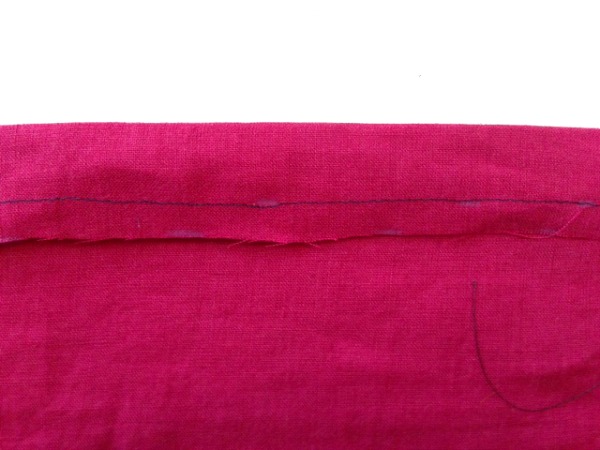
Run a basting stitch with your machine on the marks you made. If I had cut the excess fabric off more evenly (some would say, neatly) I would have measured the depth of the seam allowance from the cut edge by running a basting stitch in 3/8″ or what ever the depth of my seam allowance. Having your machine measure and mark at the same time with stitching is faster than measuring and marking with ruler and pencil.
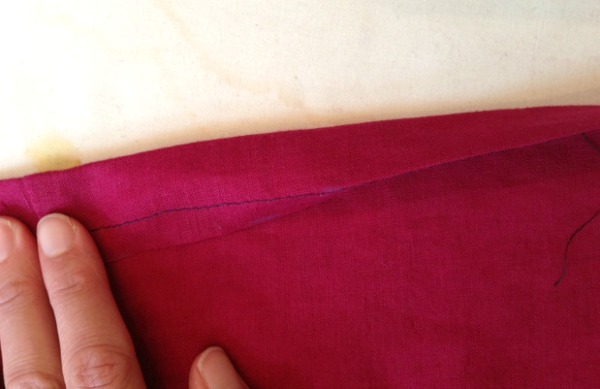
Fold under new seam allowance; press. The stitching makes folding on the mark SO much easier.
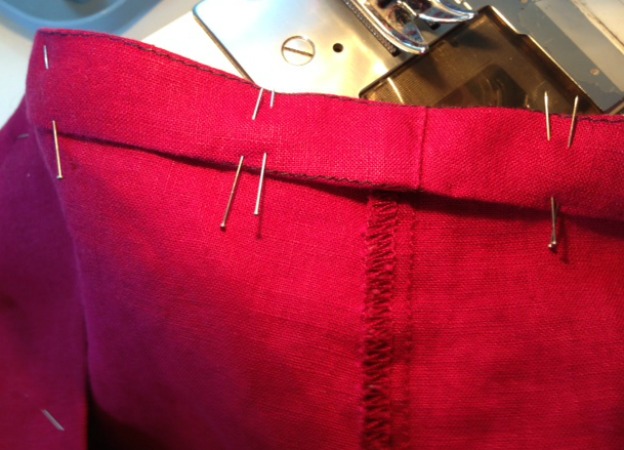
Sew the casing down but leave an opening to insert the elastic. I mark my casing opening with two pins close together. This is my visual clue for where to begin sewing when I get over to the machine and when to stop sewing. I see it easily because I never need to put two pins that close together.
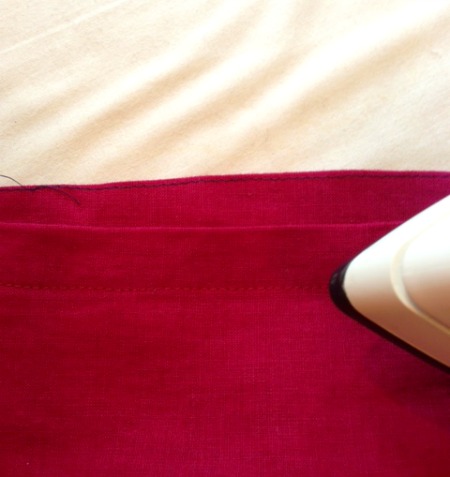
Iron the casing stitches. Always iron your stitches and in the opposite direction that you sewed them if you can remember which way that is. It will make your finished garment look better. It’s magic.
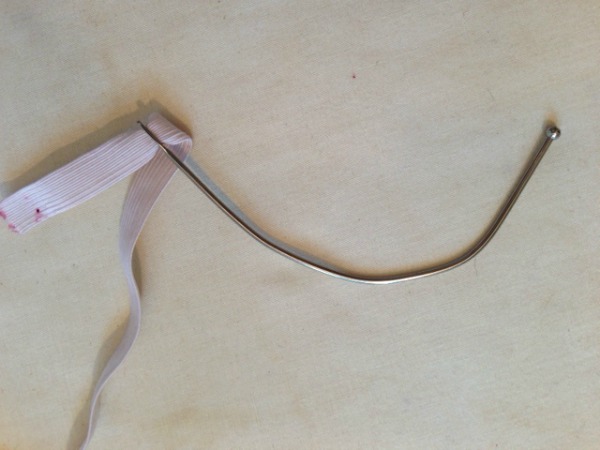
Find the elastic you set aside. If it’s still in good shape use it. If it isn’t, replace it. Insert the elastic with a bodkin. I bent a curve in my bodkin to ease around short casing loops which I use to do a lot of when my daughter was little (little waist bands and doll clothes). I learned this from my days at Colonial Williamsburg. The ladies shifts always needed new ties in the cuffs.
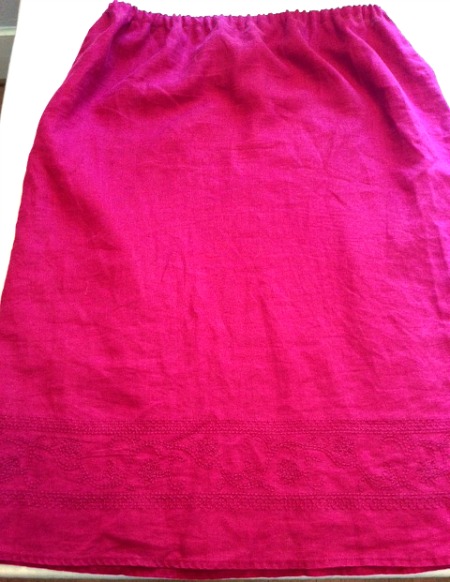
Sew the casing shut. You’re done. This project went faster than I could have found a new skirt to buy. Also a lot faster than the time spent at work earning the money to afford a new skirt. What have you got in your closet that you could update?

