

Drawing curves freehand, as with sewing curves with out a pattern, turn out, more than not, to be lop sided. I don’t know why the human hand cannot draw or sew a perfect curve over and over again and I do not have an answer how to do such a feat but I have a way to work around this (for sewing, not drawing) and really, that’s all anyone needs.
My current sewing project, a Burda sew along of their Motorcycle Jacket (inspired) pattern has two shoulder epaulettes (they call them tabs), which are curved on one short end. Typical Burda pdf pattern, I was told to draft a rectangle pattern piece for the tabs and later I found out it should be rounded off at one end.
As stated earlier, I cannot freehand a symmetric curve, let alone do it twice, for there are two tabs. The instructor on this Burda “sew along” (more on this in an upcoming post) is making her jacket in a white, raw silk. She simply draws a curve on her tab pieces after she has sewn the tab front to the tab back together with a 1/2 inch seam allowance on three sides. However, I have chosen a textured linen which at this point in the project is starting to get on my nerves, that I cannot mark in any way. So, I think, what’s my way around this?
I start to redraft the pattern piece this time with a curve so I can simply cut the pattern with the curve and then sew inside the new cut line with the 1/2 inch seam allowance. But wait, I see an even easier, cheater solution, and why not, I’m so behind on this project I need all the shortcuts I can find.
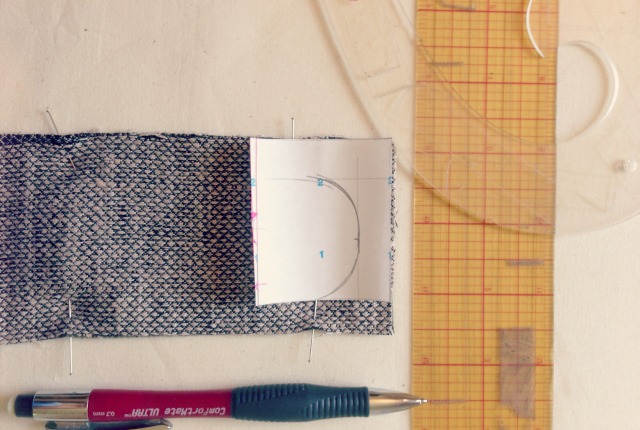
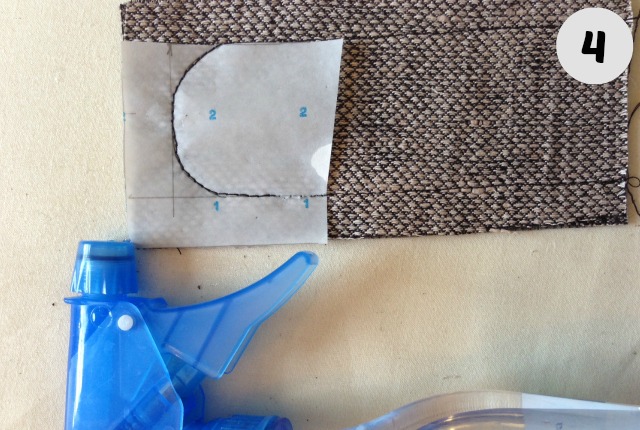
I draft with my french curve the upper two or so inches of the tab, enough to form the curve and have a little stitching down the length of the tab. I then take this new tiny pattern over to the window with another scrap of paper and a pencil in hand, tape the newly drafted pattern to the window, lay the unmarked paper on top and trace my curve. A window can make a great light box if you can access it and it is day out.
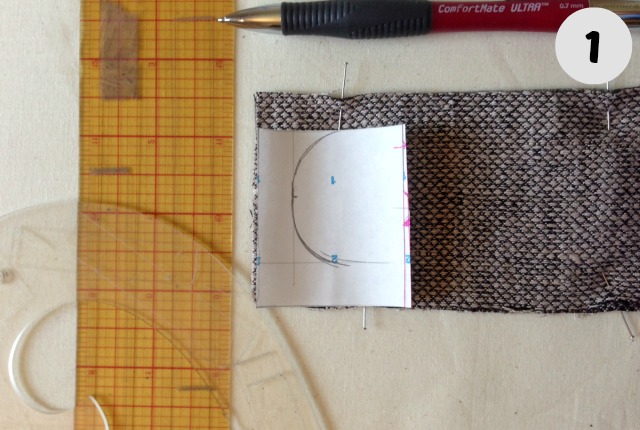
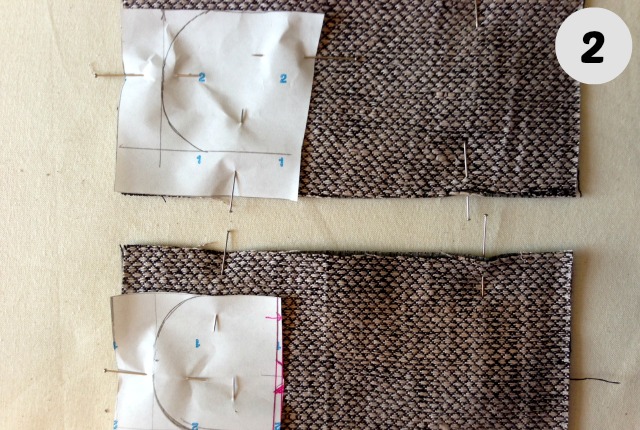
Now I have two matching curves on paper. I cut the paper down to fit perfectly on top of the rectangle tab so I see everything lining up. The edge of the pattern is the edge of the tab pieces. I do not cut the curve, I keep the pattern rectangle too. I pin the patterns onto the tabs in place but instead of cutting out the curves, I sew.
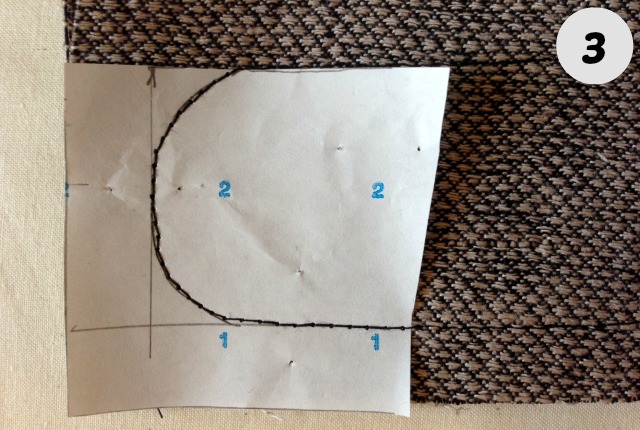
I sew up one long side of the tab, ease onto the paper pattern when I get there, continue sewing around the curve which is seen so clearly since it’s pencil on white paper and then stitch back down the other side.
TIP: When sewing curves, especially tight curves, reduce the size of your stitches. A smaller stitch makes a smoother curve line. Take a stitch or two, lift the pressure foot with the needle still in the fabric and turn your fabric slightly to follow the curve so the next couple of stitches will be on the curve. Go slow.
Fact: Paper, when lightly misted with water tears easily. When soaked it just falls apart. There is a difference.
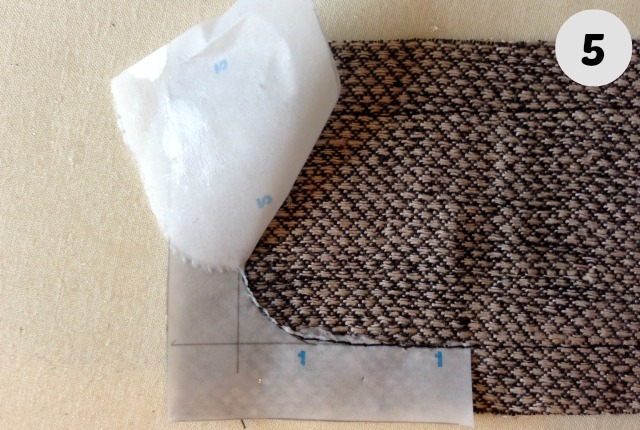
After misting the paper I tore it away from the stitches.
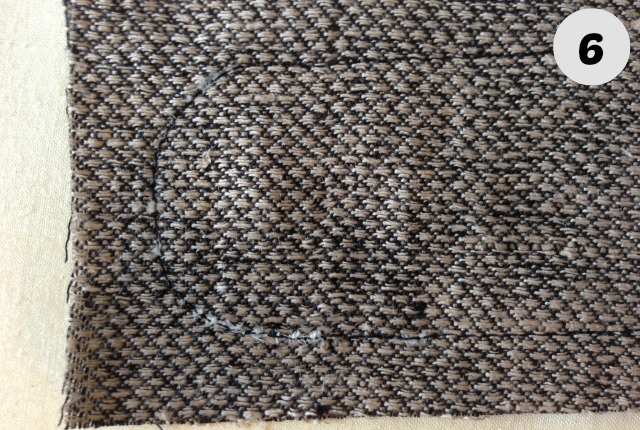
Paper gone, two tabs, with a curved end sewn. It was now just a matter of trimming the seam allowance, turning right side out, and giving it a good pressing.
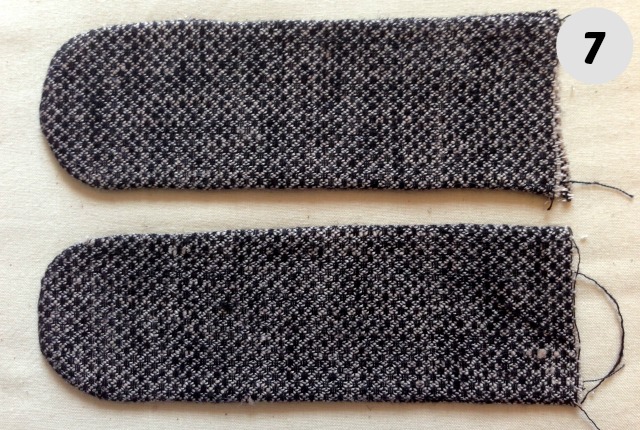
Two tabs each with a matching curve at one end. I may just be tempted to sew all my paper pattern pieces down to the fabric.