

Back tack or knot? Both secure your machine stitching at the beginning and end of a chain of stitches. Back tacking is quickly done with the sewing machine and knotting is hand tying the threads together much like hand stitching is secured.
To back tack simply sew over the first couple of stitches twice. This is done by either putting the machine in reverse for one or two stitches and sewing back over the stitches or lifting the pressure foot, raising the needle and physically moving the fabric toward you one or two stitches and sewing over the stitches just made.
Knotting is pulling the top thread to the underside and tying it with the bobbin thread into a simple square knot.
In school, I had a teacher who despised back tacking and made us knot all our threads. As you would guess, more time is needed to knot threads as opposed to back tacking and so I have learned when I can back tack and when I should knot.
Back tack threads
- on any seam that will not show (except dart points)
- if you start and stop on a spot unlikely to be seen:
- under arm when top stitching around a sleeveless armhole
- inside leg seam when top stitching pant hems
Knot threads
- at the dart point (always)
- anytime back tacking will glaringly show on the right side of a garment:
- where top stitching ends at the edges of a center front or back opening
- on a patch pocket
- when you redo the stitching in the middle of a line of top stitching (bobbin thread ran out in the middle, you had to rip just a few stitches out in a chain of top stitching and need to replace them)
- when using contrasting top stitching thread (a back tack would be too bulky and obvious)
Knotting threads is simple to do and what to do when you don’t want back tacking to show. Here’s how it’s done:
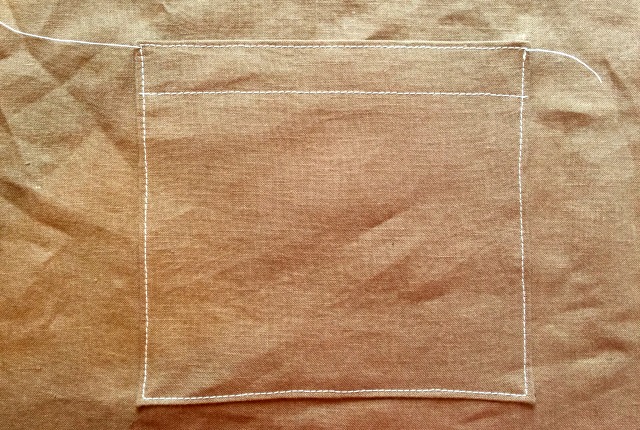
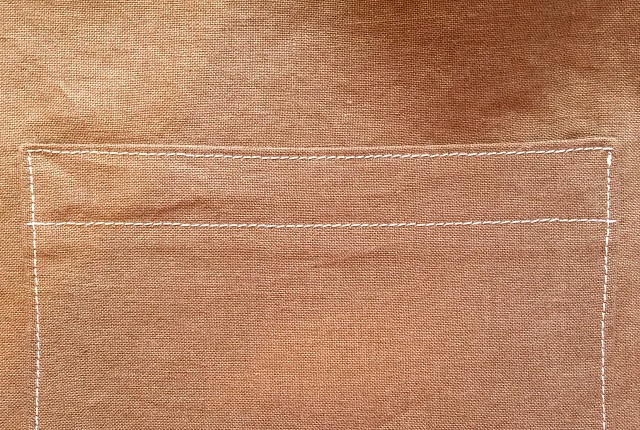
This is a patch pocket with contrasting, top stitching thread. (Topstitching thread is thicker than all-purpose thread). I have sewn this pocket onto the garment without back tacking at the start or finish (the upper corners). I have left the thread tails rather long and the stitching is not secured.
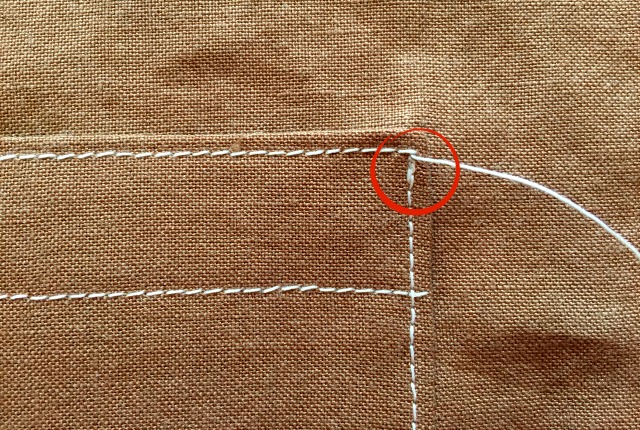
This looks like I back tacked the vertical stitches but I didn’t. The thread and the machine were disputing in the first few stitches here about what to do and I lost. However, this boo-boo shows how a back tack would look; a little bulky, not so pristine a line. It’s nothing you can’t live with but it’s also nothing you have to live with if you don’t want to.
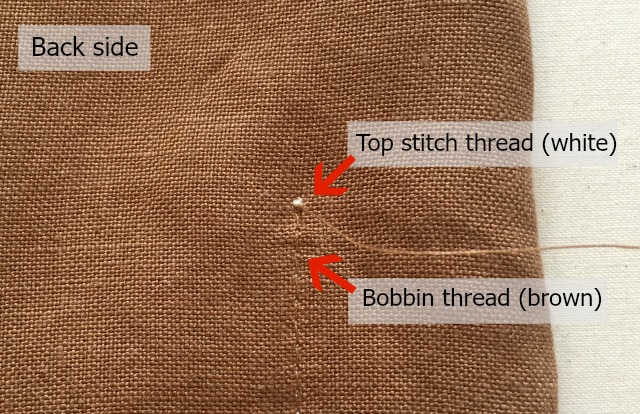
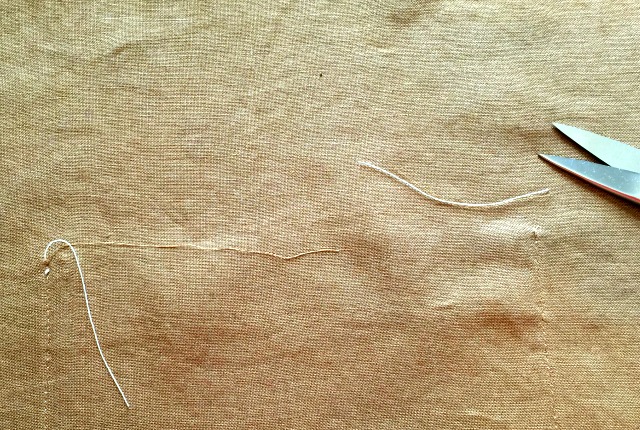
After you have stitched your stitches flip the garment over to the wrong side. The bulkier (and contrasting) top stitch thread peeks through a little but you will not see that with all purpose thread. Look for the bobbin thread tail.
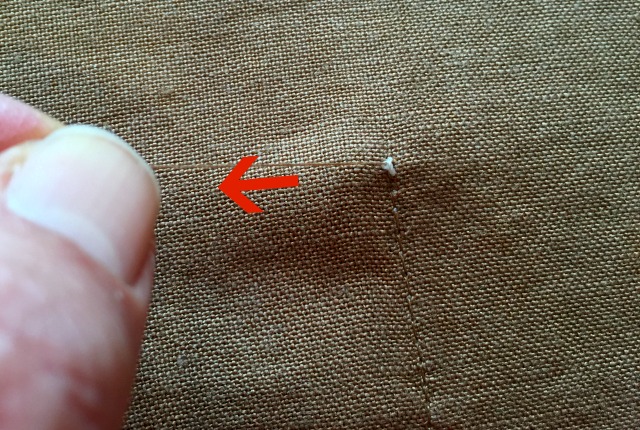
Take up the bobbin thread tail and pull it away from the garment.
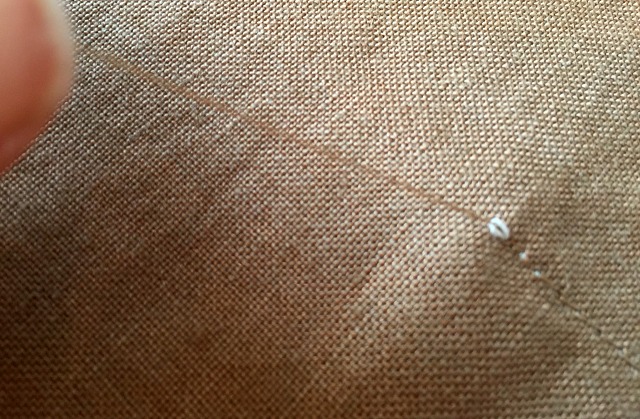
Pulling on the bobbin thread will bring the top thread through to the wrong side.

However, it only brings a little loop of the top thread through so I use a pin to gently make the loop larger thus bringing the entire tail of the top stitch thread through to the wrong side.
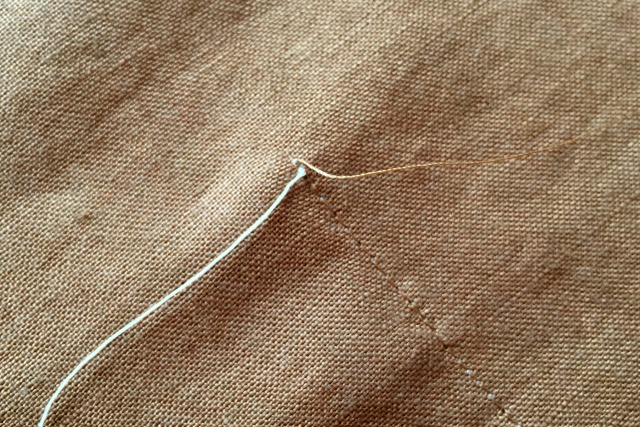
Here they are, the tails of the top thread and the bobbin thread, together on the wrong side.
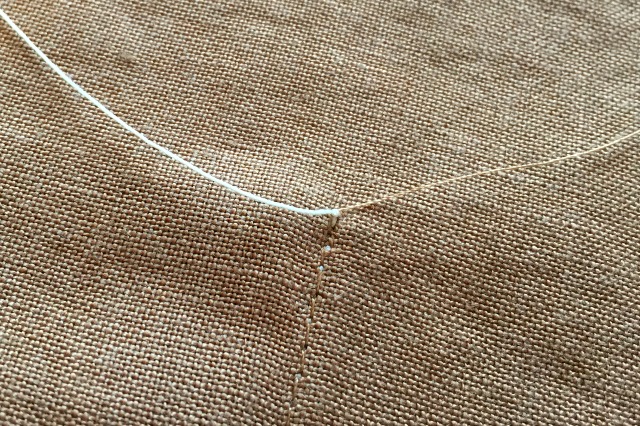
Tie the two thread tails in a square knot close to the garment’s surface. (right over left; left over right)
Clip the threads close to the knot.
Aw, gorgeous. ( I also knotted the threads on the horizontal stitch lines before attaching the pocket)
So, back tacking is not evil. It’s quick and efficient. Perhaps it can be a little sloppy looking so know when to back tack and know when knot to. (pun intended).
Happy Sewing