

(Please note, this post has been updated. My original post used hook and loop tape to hold a tab down but the glue couldn’t hold the Velcro so I now recommend using a snap in place of the hook and loop tape.)
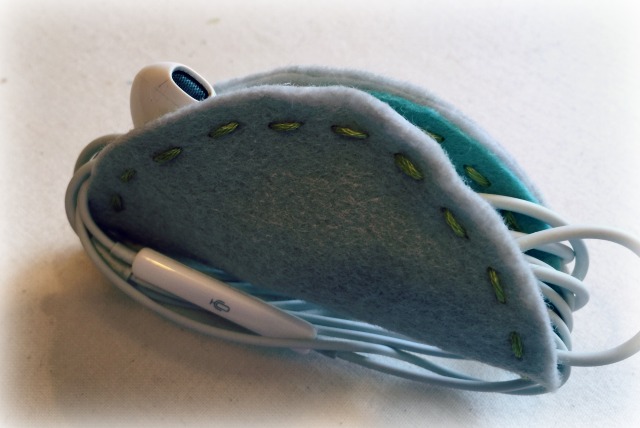
Here’s a first world problem; storing your earbuds. There are a wide array of these gadgets in plastic, fabric, leather and even cardboard. My favorite design is a simple circle folded in half like a taco and held shut with a snap. Genius I thought when I first saw them in butter soft leather. I want one. Heck, I need one. However, as much as I wanted my earbuds nestled, stylishly in the leather, I didn’t want to actually pay for it. I struggle with buying things that I know I can make with relative ease.
Oh wait, leather craft is not a skill I have. Finally, a justification to indulge in my desire to learn how to work leather. Really? Another craft? Maybe I just need to figure out how to make an earbud holder in my stand by leather substitute, wool blend felt, for now.
It worked. I figured it out. I am satisfied and, for awhile longer, will not be buying leather craft supplies.
Skill Level: Easy
Time to make: 2 hours. Less if you machine stitch.
Supplies:
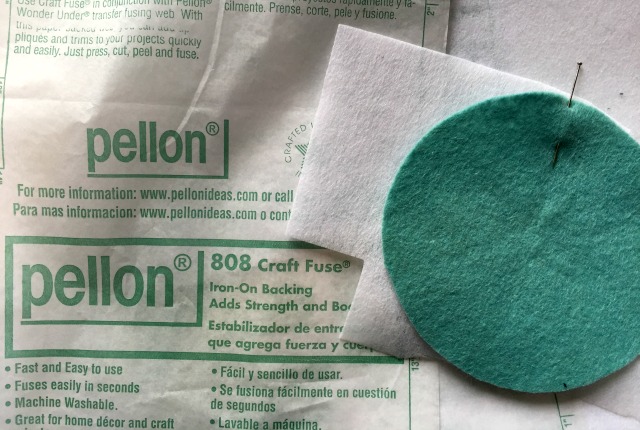
- felt – One or two colors. Enough to cut out two 3 1/2″ circles and a scrap. I used a wool blend felt. It is stiffer than 100% wool felt and softer than acrylic felt. (I bought my wool blend felt from Benzie Design on Etsy. Super products, great service)
- A large circular object to trace for the pattern or a compass. About 3 1/2″ inches diameter.
- a large sew in snap – but could use a set in snap
a scarp of Velcro or other hook and loop tapea small snap
- Craft Fuse interfacing
- fabric glue
- scissors and pins
- hand needle and thread or sewing machine
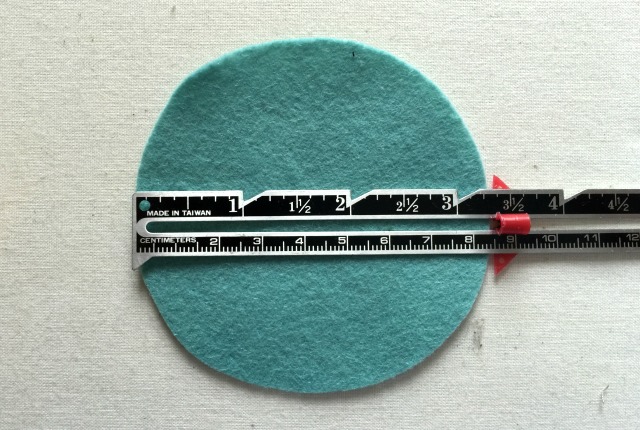
Cut out a circle from felt for the inside of your earbud holder. I used a jar to trace off the shape. A diameter of 3 1/4″ to 3 1/2″ is a good size for this project.
Lay and securely pin this circle on top of another piece of felt, same or different color. Cut a second circle out slightly lager than your first circle. This second, larger circle will be for the outside of the earbud holder.

When folded the circles line up on the edges. If cut the same size the outside circle would appear to be smaller.
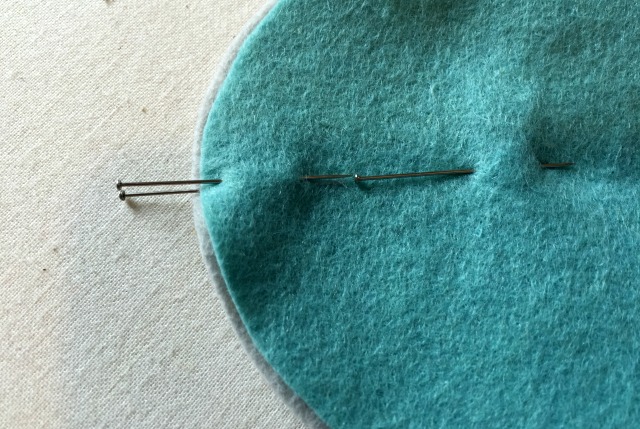
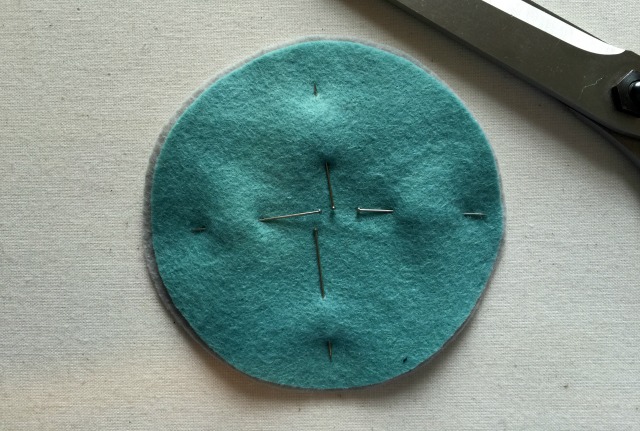
Because the circles are cut out by hand they are not perfect. Therefore before un-pinning the circles from each other you will need to mark on both the inside and outside circles a spot where they line up. I marked my circles with pins. You could mark with an air soluble pen or other favorite marking method. Think of these marks as “notches”. They will show you exactly how the circles line up when it’s time for them to come back together..
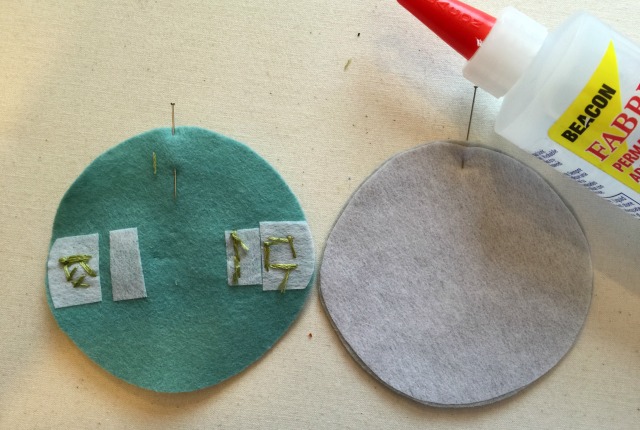
Trace off the smaller circle onto a piece of Craft Fuse. Cut on the inside your trace line so the fusible interfacing circle is a bit smaller than the circle you just traced (your smaller, inside circle). (I cut my interfacing circle out on the line and realized when it was already fused in place that I should have cut it smaller to avoid it peeking out).
The Craft Fuse gives the earbud holder a little more stiffness (like leather is naturally). This helps it to keep it’s shape with the cord wrapped around it.
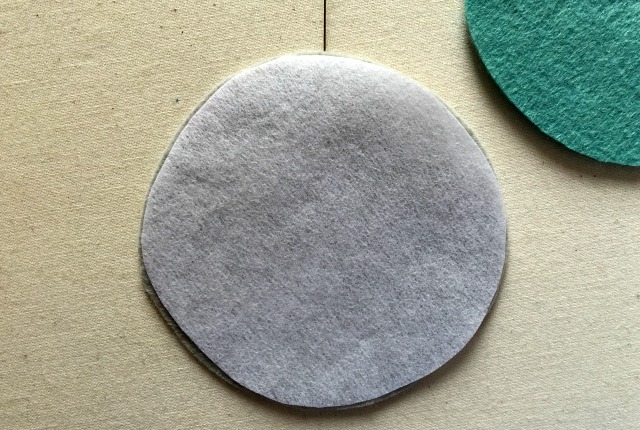
Fuse the Craft Fuse to the back of the outside circle. (Note that you used the inside circle piece to trace onto the interfacing but the interfacing is fused to the outside circle piece). If you used a pin as your “notch” pull it out of the way but not completely out. If you used a marking pen, transfer the mark if it will be covered up when the interfacing is attached. Also be careful and maybe test your pen mark on a scrap. You want to be sure the heat from fusing on the interfacing will not set the ink in permanently.
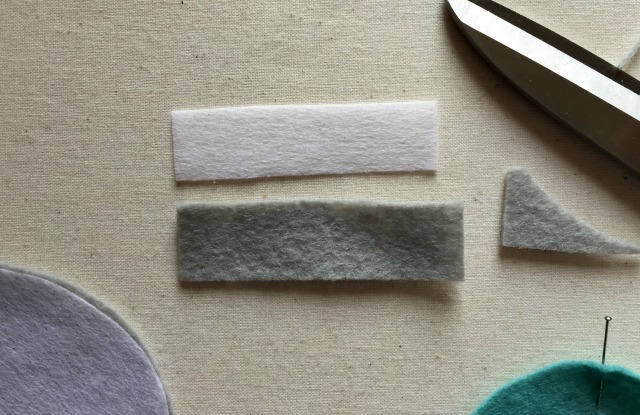
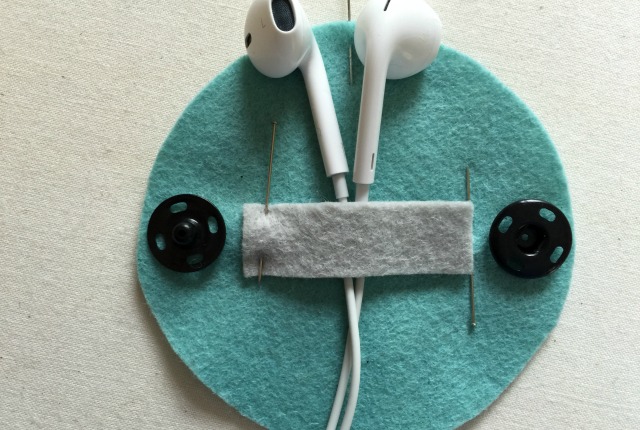
There is the tab on the inside that will hold the ear buds down. Using scraps of both the felt and the interfacing cut a long rectangle out of each for this tab. I cut mine large but eventually trimmed them to 1 1/2″ long and 1/2″ wide.
Fuse the Craft Fuse to the back of the tab.
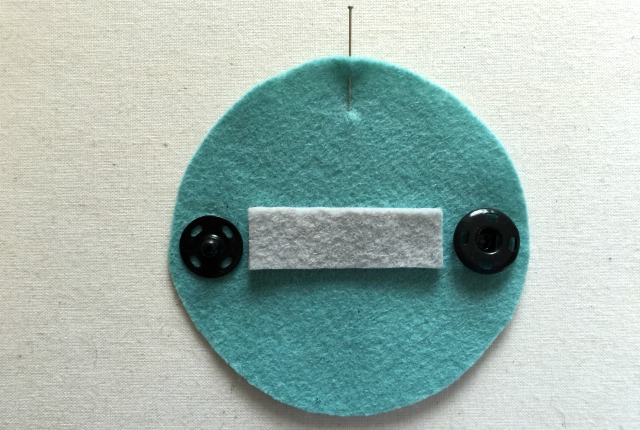
Before sewing down the tab lay it and the snap parts on the inside circle to get the placement correct. (This is the step where I realized I needed to trim down my tab).
One end of the tab will be sewn down and the other end will have hook and loop fastener attached. Pin down the end that will be sewn down and mark where the open end will be with a pin. (I’m right handed so I have the opening on my right. Some people may prefer the opening on the left. It’s a personal choice.)

On the back side of the inside circle fuse some scarps of interfacing where the snaps and tab will be sewn down for added durability. (Originally I was going to use a small snap to fasten the tab down with. As I got closer to this step I realized I wouldn’t be able to conceal the stitches needed to attach the snap to the tab so I switched to Velcro. In the photo above you see an extra piece of Craft Fuse where the bottom snap would have been sewn)
Update: My first idea of using a snap was the way to go. The glue could not hold the Velcro to the felt. If you have some super strong fabric glue you trust then you can probably use Velcro. For the rest of us it’s better to use a snap. You could sew on a small snap and hide the stitches on the tab with a little felt circle or square that you glue on the tab on top of the stitches OR use a set in size 15 snap (pictures shown in next step).
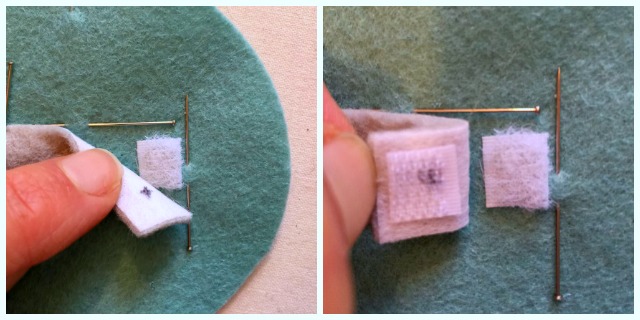
Glue the loop piece of the hook and loop tape with fabric glue to the circle where the tab will lay; next to your mark. Line up the tab and mark the placement for the piece of hook tape. Glue the piece of hook tape to the back of the tab. (Here’s a tip; do not use ball point pen to mark the placement on the back of your tab because the glue encouraged and aided the ink to bleed through the hook tape. Another lesson learned).
Update: Again, the glue didn’t hold the Velcro. I had to place a set in snap on the tab. I used size 15 snaps and followed the directions on the back of the package.
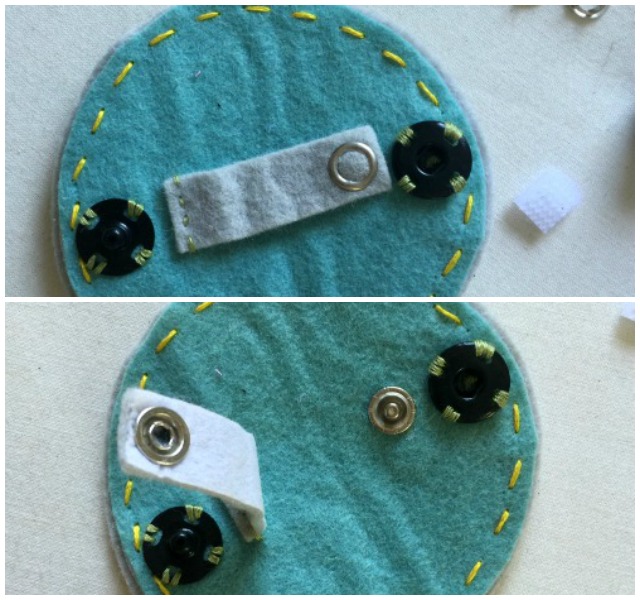
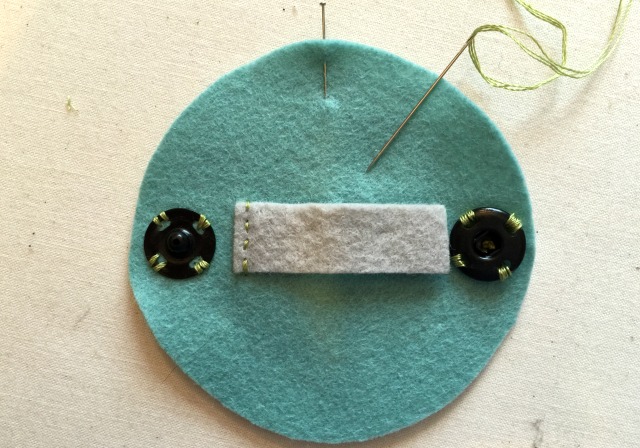
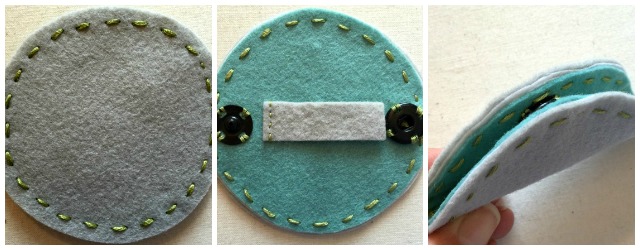
Sew the tab down on the end opposite the hook and loop fastener small snap. Sew the large snap parts down. I used embroidery floss to introduce a third color. You can use all purpose thread or sew the tab down with a machine.
There are options for the large snaps too. You can use set in snaps, a button and button hole or a button and an elastic loop.
Place small drops of fabric glue around the edge but not too close to the edge because you are going to be stitching there and you don’t want to push a needle through the glue.
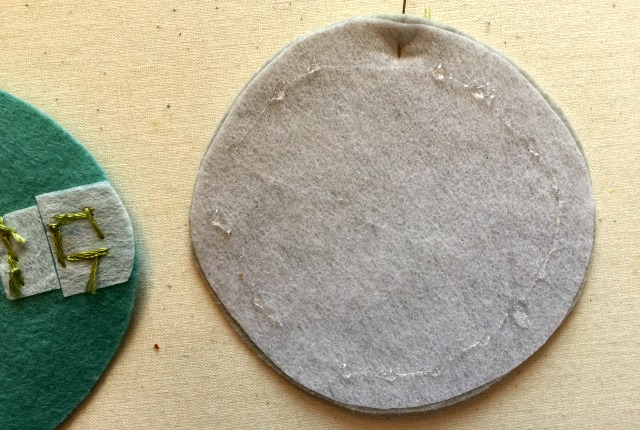
I did not put glue all over the circle or in the center because I was not certain that the glue wouldn’t produce puckers or make the felt stiff where it was applied.
After gluing the two circles together stitch around the edge. Again, I used embroidery floss but feel free to machine stitch if you prefer (use a zipper foot to get around the snaps). I started with a blanket stitch around the edge but I didn’t like the look so I started over with a luggage stitch which has always been a favorite of mine (and more like leather).
The photo on the far right shows why the interfacing needs to be trimmed slightly smaller than the inside circle. Do you see it peeking out?
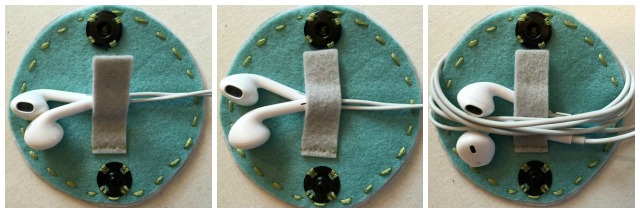
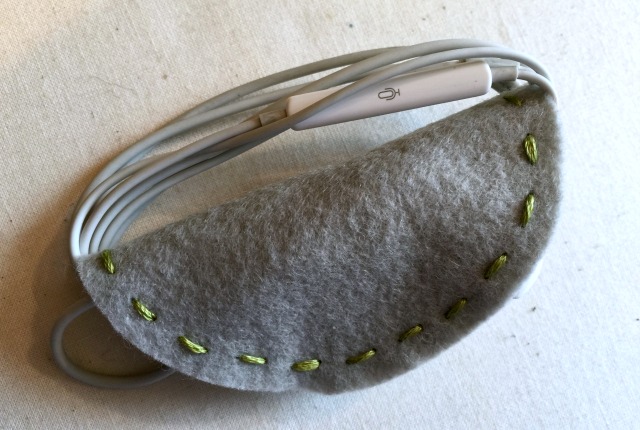
That’s it. Lift up the tab. Place the ear buds down. Fasten down the tab and wrap the cord around the holder Tuck the cord end back up under the tab. Fold the holder in half and snap it shut.
Update: When the loop tape became unglued to the earbud holder I wondered if I could do without the tab at all. After a couple days I realized I needed the tab and I was going to have to come up with a better way to fasten it down; the snap.
To put the snap in I had to rip out the top stitches and pry apart the front and back circles enough to get the back of the snap in place. I took advantage of the stitches being removed and trimmed the interfacing down so it wouldn’t be seen.
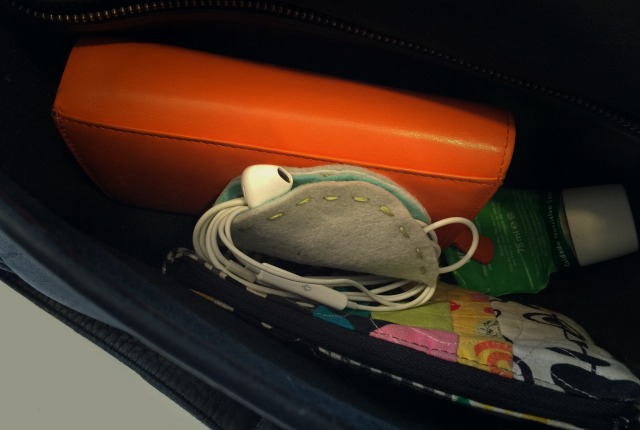
Secure and easy to find. After two days in my purse it’s still tangle free. This could be the start of my organized life.

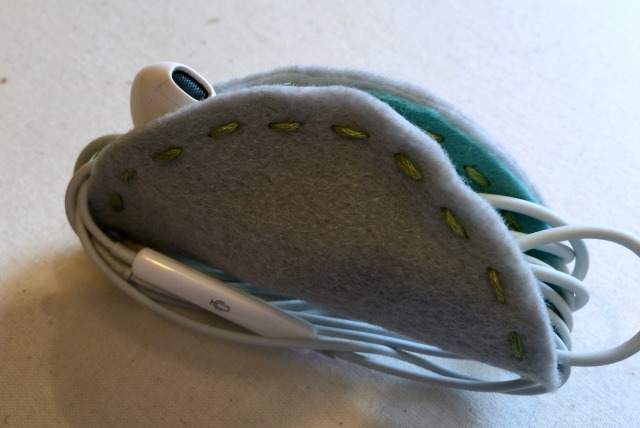
Here is the updated earbud holder. No visible interfacing and a tab that’s staying put.
I could really use TWO for Mother’s Day (hint,hint)..
hint heard loud and clear 😉