

Novelty is a powerful attraction to me. I like trying new things; new Ritter chocolate bar flavors, new music, new hair cuts and so forth. Of course life is a contradiction and there are some things I am fiercely loyal to; flannel sheets, Breyers Vanilla, Dr Hauschka soap for example. However most things in my life fall into that “this is fine for now” including many of my sewing methods. I learned how to do it one way but I am not saying it’s the best way or am I opposed to trying it another way.
So I’ve been trying out a few sewing tips I come across that actually sound helpful. I figure that some will work for me and some won’t but I won’t know until I try. If I can pick up a new trick or skill once in awhile it will be time well invested.
The latest tip I read (and I’m sorry I can’t remember where I read it in order to give credit) was to back thin tissue patterns with cheap, fusible, non woven interfacing in order to give the pattern strength and “tooth” when it’s laid on the fashion fabric for cutting out.
Although tissue patterns don’t really bother me I do find cutting out the fabric the worse part of any sewing project. Could it be that my dislike of cutting out the fabric is simply because I cut tissue paper? Probably not but I decided to try it anyway. My objective was to see if this idea really made a difference and if so was it worth the extra effort and cost?
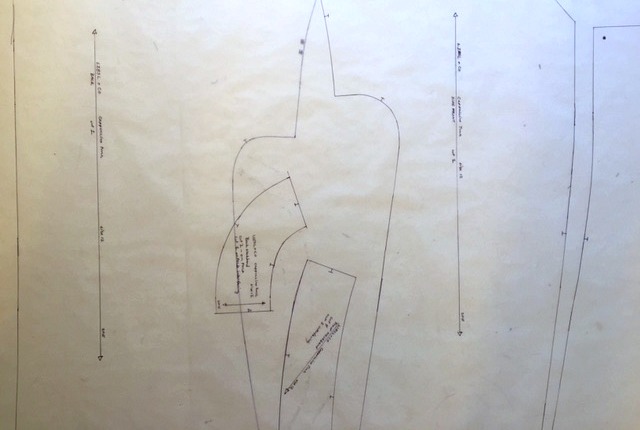
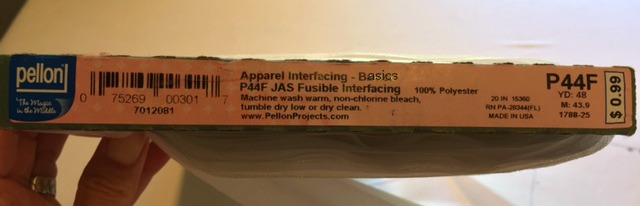
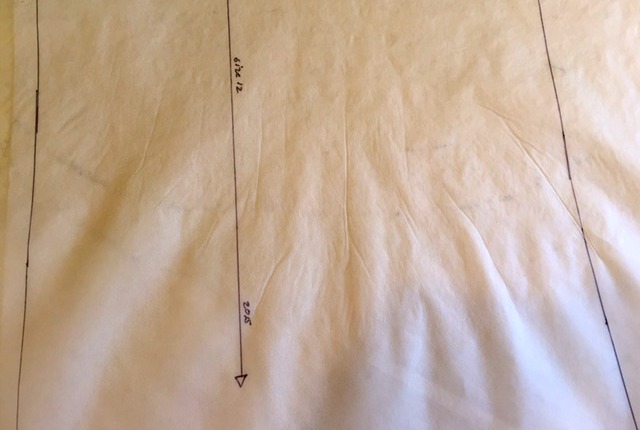
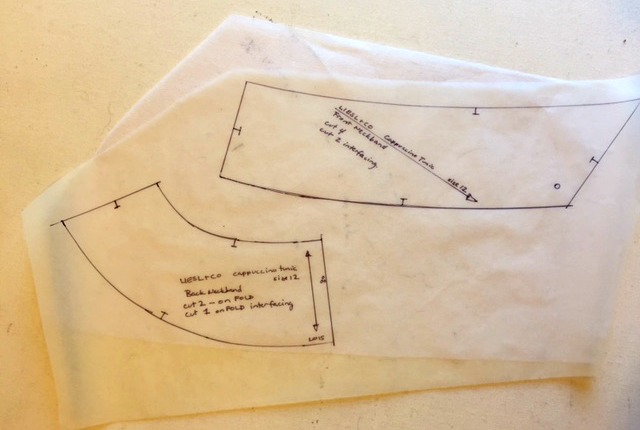
To begin, I traced off my size from a taped up, multi sized, pdf pattern onto thin tracing paper with a sharpie marker. I may even have used that medical exam paper (I am not sure where this roll of tissue paper came from). Then I bought some fusible, non woven Pellon; the cheapest I could find.
I may have finally learned to slow down a bit and think things through because I stopped myself from fusing the pattern onto the Pellon as soon as I got home from the fabric store. Instead I drew three sample squares on the tissue with the same Sharpie marker for testing. I didn’t have the instructions for applying the Pellon but I set the iron on its wool/silk setting which is the medium-high setting on my iron.
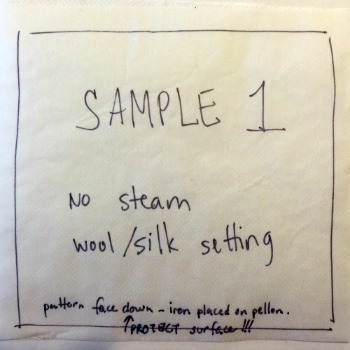
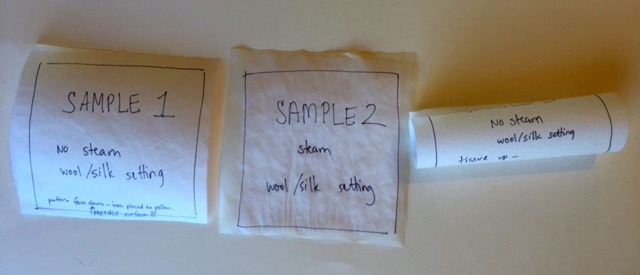
Sample 1 was fused without steam. I placed the pattern facing down onto a piece of the tissue paper which lay directly on the ironing table (to protect the table from fusible hanging over the pattern). The fusible interfacing was placed on top of the pattern glue side down and another press “cloth” piece of paper was placed as the top layer to protect the iron. This worked nicely but having all that extra paper to protect every surface was a pain and a waste.
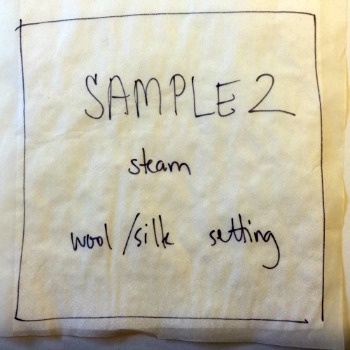
Sample 2 was applied with steam but this time I flipped the pieces. The Pellon went on the table (glue side up) with the pattern on top of it. The iron would be directly on the pattern. Easier but the steam wrinkled the paper too much as I suspected it would (moisture and paper only works with paper towels).
Because I liked the ease of the Pellon on the bottom and the pattern directly under the iron this is how I kept Sample 3 but I used a dry iron – no steam. Ok, that worked and was easy. I had a winner.
Through the test samples I noticed that Sharpie pens were reliable under the iron. They didn’t run, or bleed or transfer any marks. Also, I observed, it’s helpful to leave some extra paper around the edges of the traced off pattern pieces if possible.
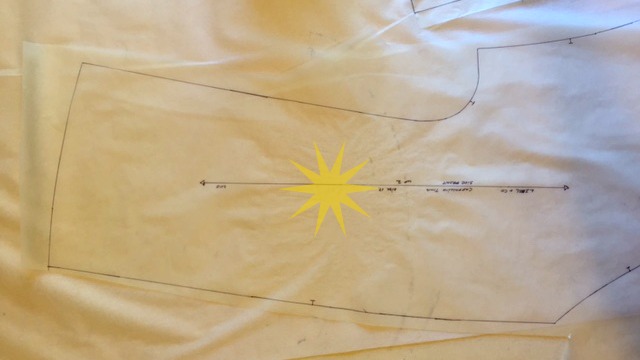
When fusing the interfacing to the pattern I started with the largest pattern piece. I left as much tissue around the edges as I could. I started with fusing the Pellon as you would fuse it to cloth that is I kept the iron in place for 10 seconds, lifted it up and placed it somewhere else on the pattern for 10 seconds. However this lifting and holding method made the paper pucker horribly. (My test samples were much smaller, about 4″ squares, so this problem didn’t come up with them.)
On the remaining pieces I kept the iron moving, smoothly like pressing a garment. Not much heat was needed to adhere the glue to the paper so moving the iron smoothly and quickly worked. It also reduced the puckers.
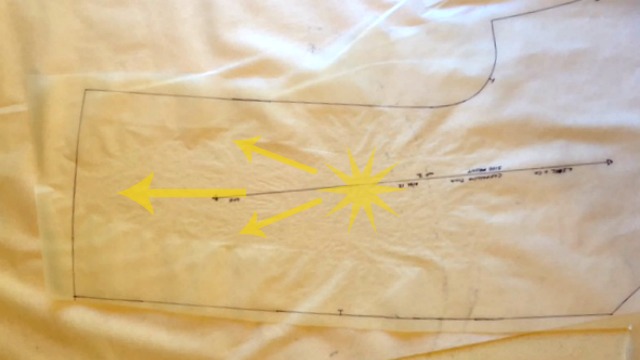
I started the iron in the center of the pattern piece and move out to the edges. This way, I was told, helps reduce puckering when you fuse interfacing to cloth. (The interfacing shrinks a bit so if you apply to the center first any shrinking will affect only the edges which are usually the seam allowance so you wouldn’t notice it anyway.) After the initial fusing I went over the pattern piece with the iron ensuring a good bond.
The tissue puckered a bit with this method too, but not so much, so my pattern is a wee smaller than before I fused it to the interfacing. When cutting my pattern pieces out I was going to make certain I cut on the outside of my traced lines to maybe gain back a little of what was lost to the puckers.
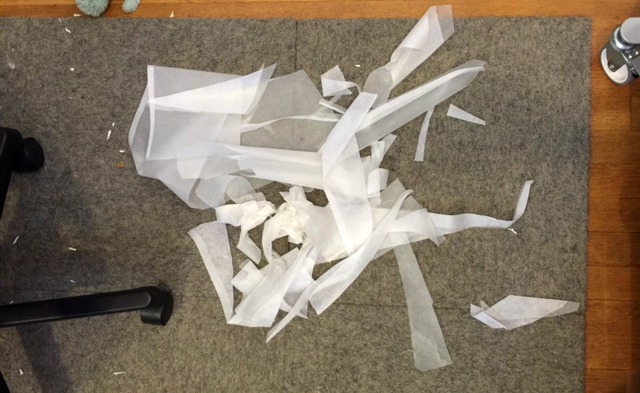
Since the non woven interfacing has no grain (non woven) you can lay the patterns onto the interfacing in anyway they fit best to avoid waste. There is still waste though and at this point in my experiment, what with the cost and waste of the Pellon, the time it was taking and the slight shrinking that was going on I thought I would never do this again. It wasn’t worth it. Or maybe I would for a pattern I was going to use over and over which usually isn’t the case with my patterns.
Then I started to cut the individual pattern pieces out (on the outside of the lines) and it was like cutting butter. Never have I ejoyed cutting tissue paper patterns but this time my scissors skimmed along and sang and it was lovely. Now I’m thinking, well, if I can get a 50% off coupon to buy the Pellon I would do this again on a pattern I might use twice.
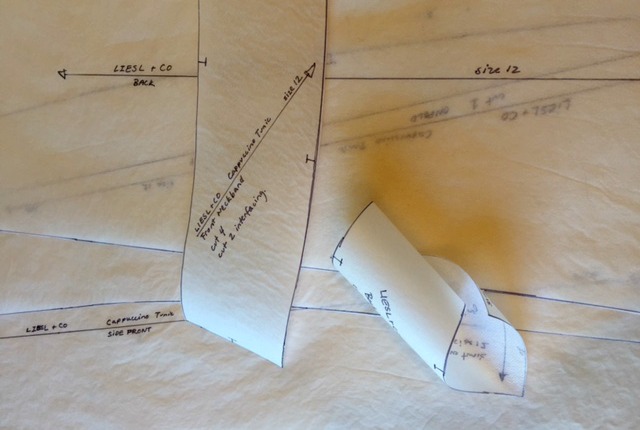
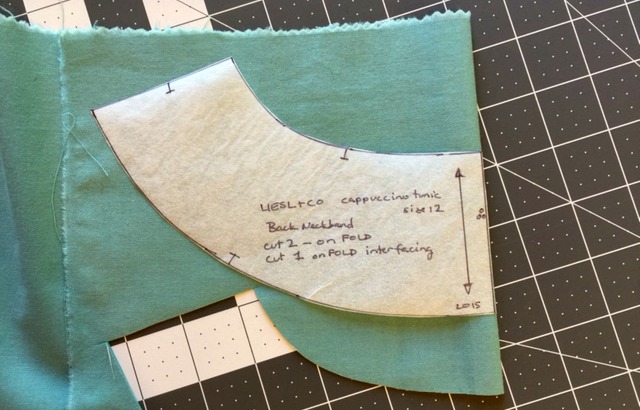
Oh wait, trouble. My back neck piece is curled up like a fancy pastry. Wait, uh..when did that happen?
I look at my samples. Now that time has past (have I mentioned I’m a little impatient) I see sample 3, the no steam – tissue placed on top of interfacing, is also curled. I look at sample 1, at flat sample 1, just sitting there with all four corners looking back at me. And this, my friend, is why being impaient is not considered a virtue. Oh well, too late now, at least my big pieces are flat.
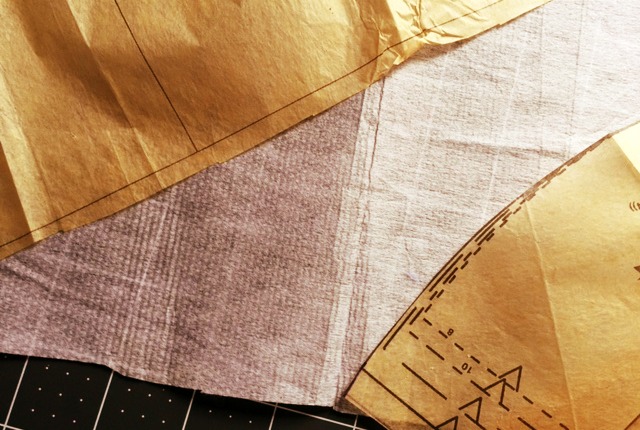
Let’s keep moving. Let’s cut out the fabric. I start with the curly back neck piece. I lay it on my fabric. It stays there, flat against the fabric. Whaaa? Seriously, it’s like magic. The interfacing did indeed give the pattern “tooth”. It reminded me of a felt board. Remember, during story time, teachers (the cool ones) would put up a little floppy piece of felt on to the vertical felt board and it stayed there like magic. The felt pieces were picked up and moved over and over and still they stuck to the board. This was my back neck piece to my cotton fabric. This meant I could use my preferred stacking of interfacing and tissue and still be able to use all the pieces whether they curled or not.
With the “magic” stick the patterns also didn’t require a dozen pattern weights to hold them in place; just a few. This made cutting with the rotary cutter easier too because the weights weren’t in the way. I could move a weight out of the corner and the pattern stayed down. Amazing.
I was pleasantly surprised how won over I became with backing tissue paper patterns with interfacing. I wouldn’t do it for every pattern and of course you would want to alter your first tissue pattern to fit then retrace it in order to back it with Pellon (and that’s a lot of extra time) but I have a few basic type patterns that I do use over and over and I will definitely be fusing them onto interfacing.
I’m wondering though, could I use non fusible, non woven interfacing and glue the tissue pattern onto it with a glue stick? This would avoid puckering (I think). How about just tracing the pattern directly onto non fusible, non woven interfacing? Is it transparent enough to see the pattern through to trace it? Now I get why people like to trace patterns onto the Swedish Tracing Paper. But if the non woven, non fusible interfacing is also a dollar a yard like the fusible was (and use a coupon) than it’s a better bargain than the Swedish Tracing Paper. Well, now I have more things to try.
What have you done to make your tissue patterns stronger? Let us know.
Thank you for these experiments. Very helpful to me.
I followed your instructions using a dry iron to fuse the interfacing to the pattern. And it worked great! I use Swedish tracing paper to trace. Maybe the interfacing would work OK for tracing, but it has those bumps undecided glues.
Anyway, here I am eight years later. Thanking you for this post.
Chris.
Thank you for letting me know what worked for you.