

There was a time I would wear whatever I made even if fabric puddled up on the garment in some places or it was too tight in others. I made it, I was going to wear it.
The same went for ready to wear pieces too. I bought it, I liked it, I was going to wear it.
But, guess what. Clothes that don’t fit don’t feel good at best. At worse, they make you self-conscious and nag at your idea of your body image, maybe even at your self-worth.
I don’t look forward to making test garments of patterns or tailoring my store bought clothes because let’s face it, it’s an extra step, aka more time, between now and me wearing the desired garment and it’s hard to fit yourself, by yourself. But I’m learning and picking up some tricks along the way.
Let’s Fix It:
If you have a ready to wear garment that needs to be taken in skip on down to the Fitting Tips.
If you are making a garment from a pattern start with these general Test Garment Tips and see this post on making a muslin.
Making a Test Garment Tips:
Please remember to cut test garments out of cheaper fabric. Sometimes we get lucky and can make our test garment wearable but please, don’t count on that. In this example, I knew only small adjustments were needed, that the style of the top and the knit fabric were forgiving of fit. So, I did think it would be possible to wear this top when I was done but I used fabric that if it didn’t work, I wouldn’t cry.
- The trick to a test garment is to sew or baste or even pin just the main pieces of the garment together so you can try it on and see any areas that need adjusting before you sew any details.
- Remember start with the size that is closest to your body measurements. Measure the pattern and compare against your measurements and adjust the flat pattern before you even cut the test garment out. For example, I know, if there’s a bust dart involved, I’m going to add length to the bodice between the shoulder and the bust apex. I also know I need a slight forward shoulder adjustment. I do these alterations right out of the envelope in most cases.
- If you know it’s a minor adjustment you could sew the seams you know are going to fit and baste any seam where you may need an adjustment. And if you suspect the test garment will be a little tight in one area, or short, cut extra wide seam allowances or a deeper hem should you need the extra fabric.

The garment in this post was my second attempt to get Hey June’s Lane Raglan to fit how I like. The first try was good but a tad too small in the shoulders (I have large shoulders). This top was cut from the next size up thinking it would fit my shoulders better.
Fitting Tips
- Try on your garment in front of a mirror. And if you have a second mirror, place it so you can see how the garment fits in the back.
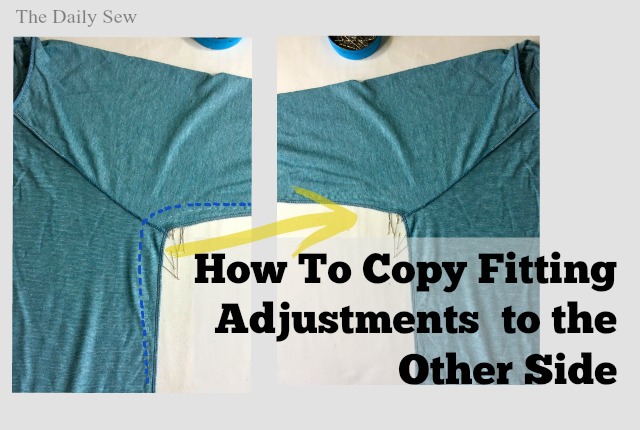
- If you’re fairly symmetrical in the area you’re adjusting and especially if the garment is somewhat loose fitting, you can get away with making changes to just one side of the garment and copy these marks to the other side. (What this post is about)
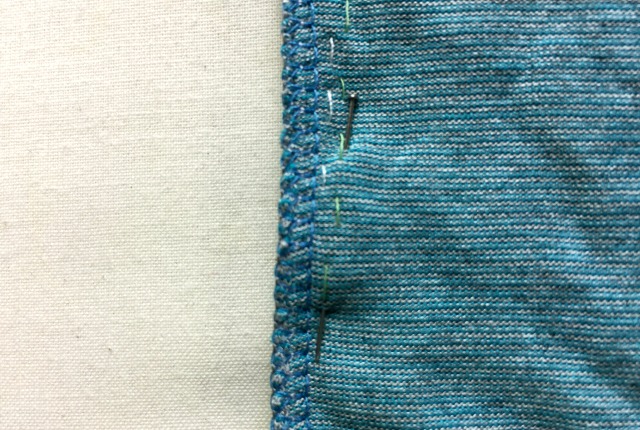
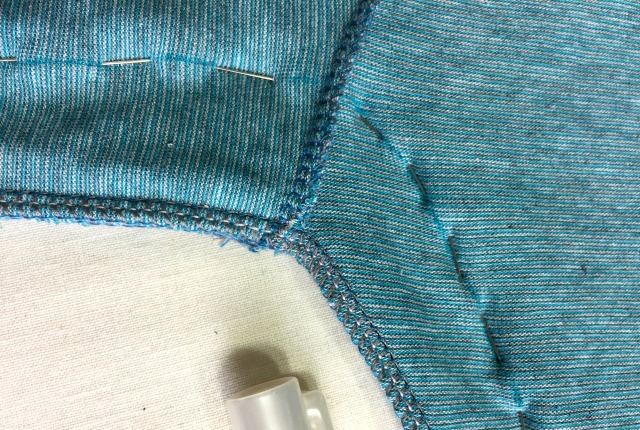
- Where the garment is too large, pinch out the excess fabric on the closest seam. Are you pinching out an even amount all along the seam or does it vary? (In the photo above and below more fabric is pinched out under the arm and less as the seam moves toward the hems.) Make a mental note where the most fabric is pinched and looked in the mirror to see how much is pinched out (take a good guess).
- Look and note how far along the seam you need to take out excess fabric.
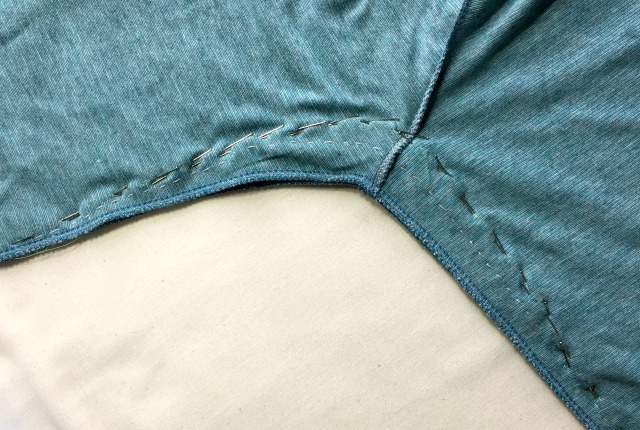
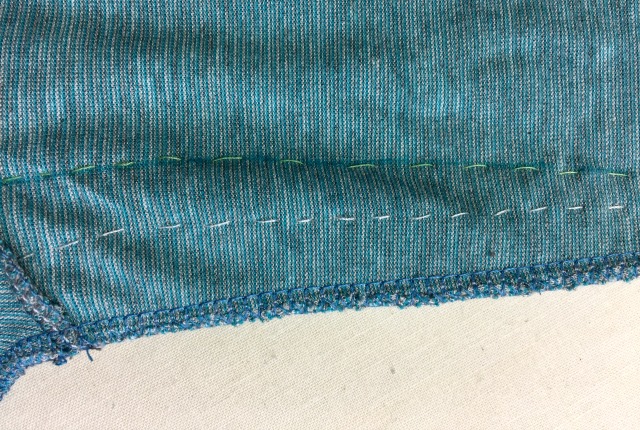
- Take your garment to your work table and draw your marks, how much you’ll take in where. Draw a smooth line connecting these points and tapering into the existing seam line. Baste*, machine or hand, on this new line.
- Try on again and repeat if more adjustments are needed. (I had to do this twice because the top was still too big in this area.)
- Be careful not to pull the center front of your garment off center as you’re pinching out excess fabric.
*I chose to hand baste. It’s not that time consuming and it’s so fast to remove. You could pin out the fabric instead of basting. It depends on the location of the pins. You wouldn’t want to get pricked when you try the garment back on.
If you are adjusting a test garment (not a ready to wear garment) you’ll need to transfer these new stitch lines to your pattern.
- If your patterns are on pattern tissue or tracing paper simply lay the pattern on top of the garment. Line it up carefully. Trace the basting stitches onto your pattern. Add seam allowance.
- If your pattern is on heavier paper lay the garment on top of the pattern. Line it up carefully. Lift back the edge of the garment to the basting stitches and mark the pattern where this line is. Add seam allowance.
Transferring the Fitting Adjustments You Made:
AND THEN you’ll want to transfer the new stitch line to the opposite side of the garment as accurately as possible. Here’s an easy way.
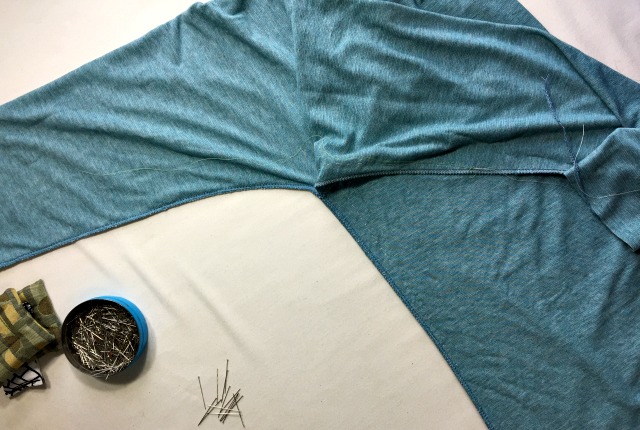
Fold the garment either along center back or center front and line up the sides so they lay perfectly on top of each other
Right here you could place a piece of dressmaker’s tracing paper between the layers, folded back on itself so the transfer surface is facing out on both sides, and run a tracing wheel over your line. With the paper folded this way, you’ll mark the back of the upper layer and the top of the bottom layer at the same time and you’re done.
Very easy. But…
knits and some other fabrics don’t show tracing paper’s marks so well.
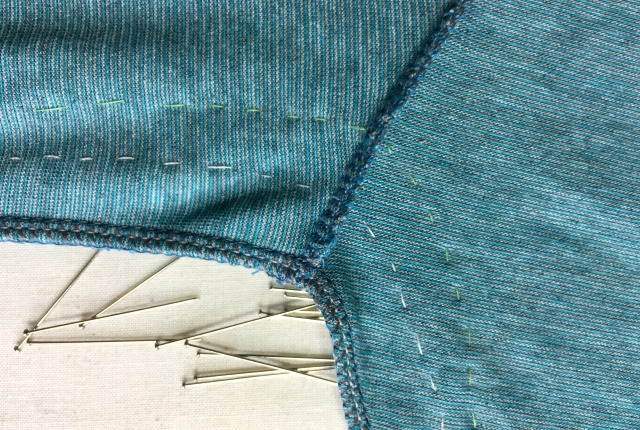
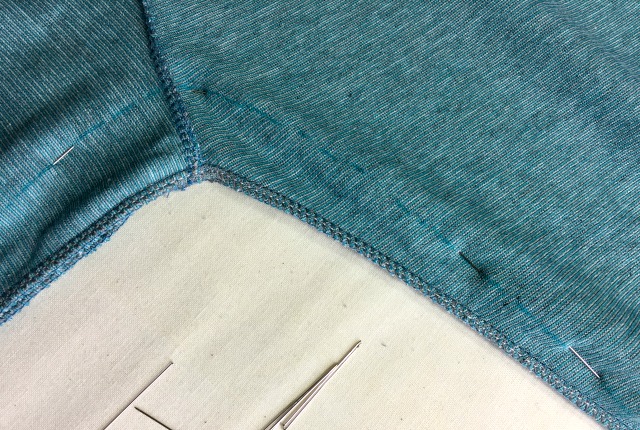
So another way to copy your line to the other side is with pins. After lining up the two side seams perfectly, start placing pins through all four layers of the garment along the line you marked.
If you pinned your original line instead of basting with thread you will mark the pin placement on your garment with a fabric marking tool of your choice and connect these marks to make a smooth, new stitching line. Then, fold the garment in half and line up the side seams. Pin along your drawn line.
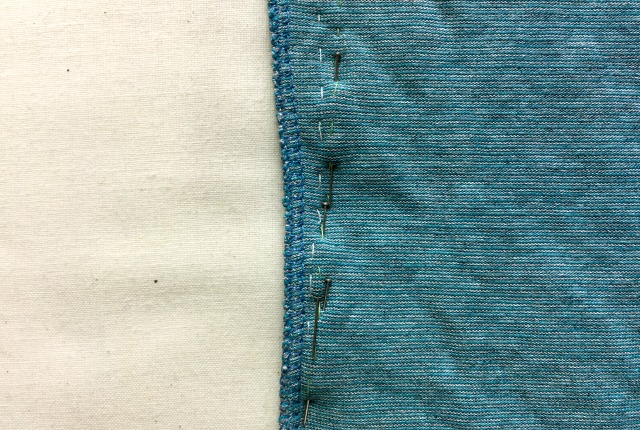
Where ever the pin takes up fabric it’s “drawing” a dashed line on the under side. So place in as many as you think you need to connect the dashes to get a true copy of your line.
Going around curves you may want to take up shorter amounts of fabric onto the pins. This will make your curve a smoother shape.
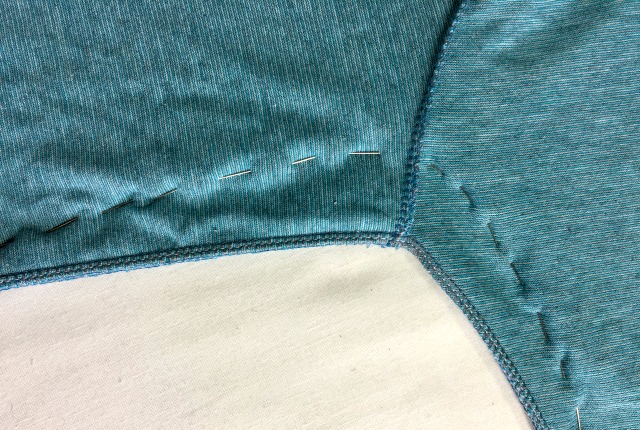
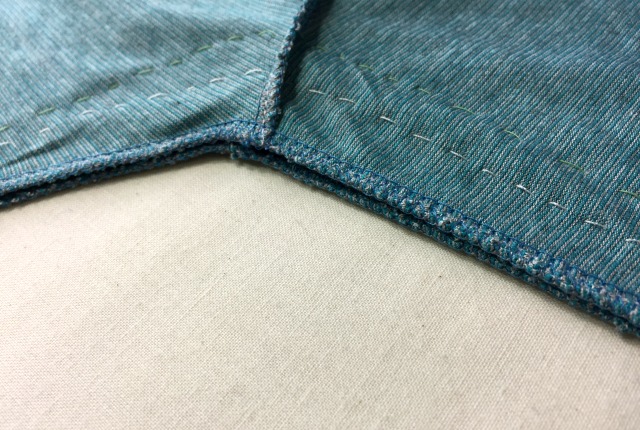
After it’s all pinned, flip your garment over to the back side.
Draw in the line between the dashes, and where you can, under the pins too.
Start taking the pins out and filling in the gaps of the line.
Flip back over. If you had pins instead of basting stitches both of your sides now have a line.
If you, like the example had basting stitches, now is the time to mark your line with a fabric marking tool over the basting stitches (or next to them).
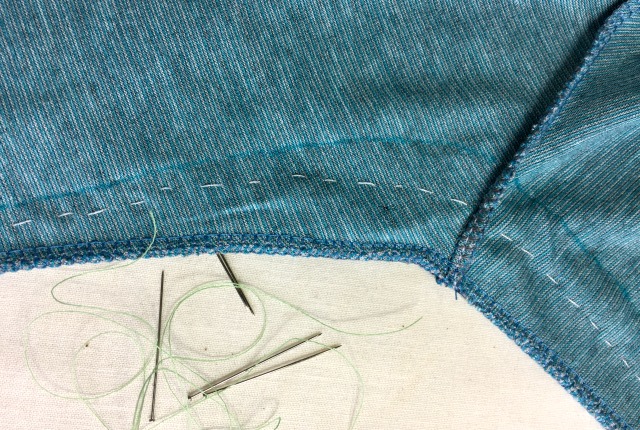
Take out the basting stitches and sew on the new side seams (leaving in your stitches is tempting but they will be a big pain to take out should they get caught in the new stitches and they could work their way through the seam and poke out to the outside of your garment.
Sew on your new line. Trim off excess fabric. Done.
All your clothes should fit you how you want them to fit. You’ll feel better if they do. You can do many alterations yourself but don’t hesitate to take your clothes to a tailor, even if it’s just to see how they make the adjustment so you can then replicate their solution on other garments you own.
Happy Sewing and happier wearing.