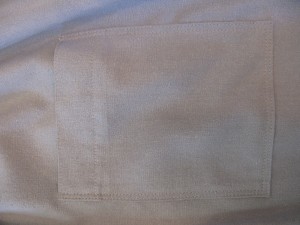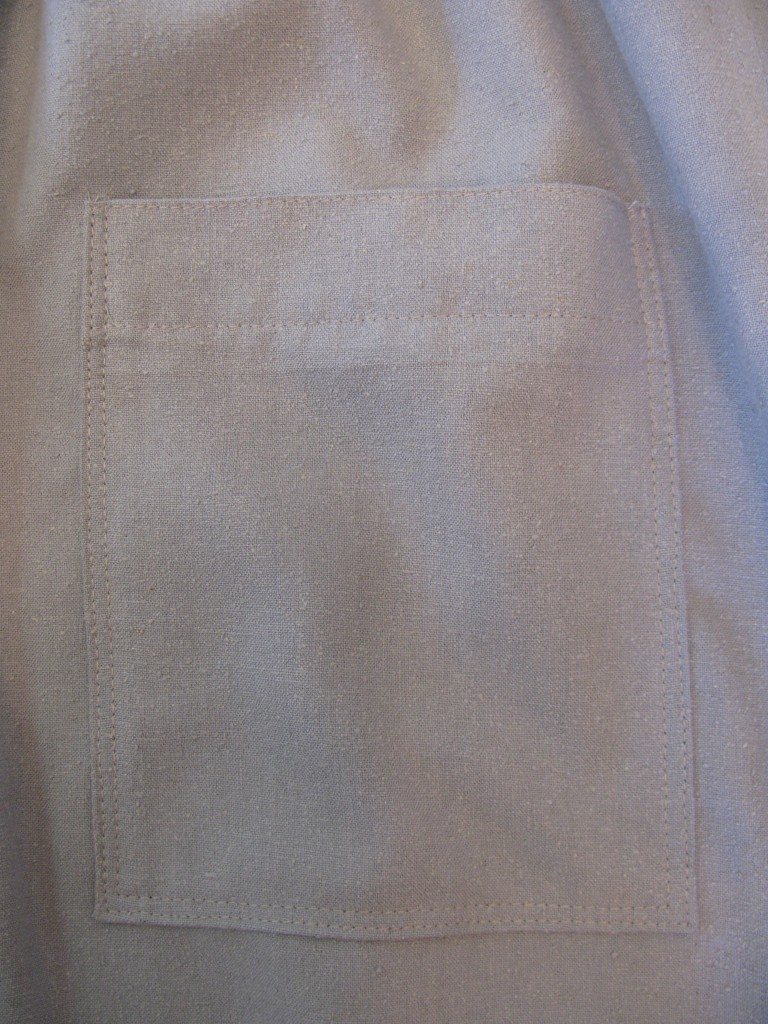
The Details:
The skirt, like its parent dress, was simple but now, without its boat neck to echo the horizontal tuck near the hem, it lacked something the dress had. The tuck looked like a mistake; like I added on fabric to the hem as a way to add length. I needed to accent the tuck so it didn’t look random. Ah, a great way to draw attention to something is of course to repeat it.
I couldn’t repeat the tuck but I could repeat the strong horizontal line just like the neck line did when it was a dress. The solution – patch pockets. It was a bonus solution because now I would have a place to put my bubble gum.
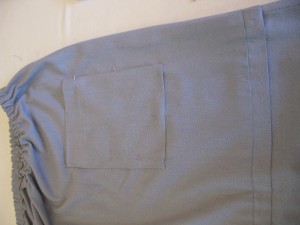
The pockets would have been easier to apply to the skirt before I put the elastic in but I didn’t know I wanted pockets when I started and besides, being able to try on the skirt and place the pockets where my hands fell, was going to be helpful.
With skirt on, I put my left hand where I thought the pocket should be and used my right hand to mark the lower edge (where the tip of my middle finger fell) with a straight pin.
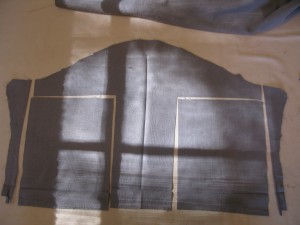
Let’s make the pockets. The fabric for the pockets came from a sleeve and already had a folded and creased edge from the sleeve’s hem so I used that hem as the pocket’s top edge.
To start, fold the facing over so it will lay on top of the correct side of the pocket. It’s opposite how it will be on the finished garment. After you sew the sides of the facing to the pocket, (next step) you will trim the seam allowance in the corner and flip it right side out so the top corners are finished and the facing will be cleanly incorporated into the pocket.
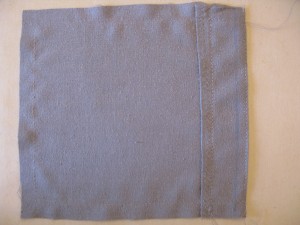
Using a basting stitch, run a stitch ½” in on the sides and bottom edges of the pockets, catching the facing and sewing it to the pocket front. This stitch will be a visual guide where to fold in the pocket edges. Thread is cheap, I always take two minutes and stitch a folding guide. It saves time and burnt fingers from folding and holding while you iron it down.
Flip your facing right side out and iron it. To emphasis the horizontal line, I edge stitched the top edge of the pockets and to keep the middle of the pocket facing from ever creeping up into view I sewed a straight horizontal stitch about an inch and a quarter down from the top edge catching the facing.
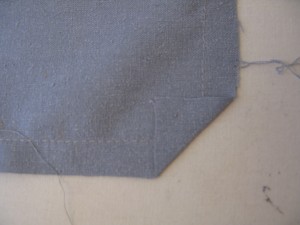
Fold the two bottom corners up at a 45 degree angle; iron down. Fold in on your stitched line and iron down the sides and the bottom edge. Adjust corners, re-ironing if needed until you get some good looking (meaning straight and true) corners. Pokey, pointy corners are not attractive so take a few minutes and get it looking good. At the same time it’s a tiny detail so it doesn’t have to be perfect; just good. Crazy print fabrics are going to hide details like this more than a solid fabric.
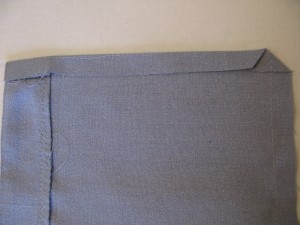
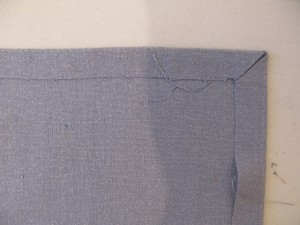
Now pin the pockets into place on the skirt. I measured up from the horizontal seam on my skirt and in from the side seams. You could measure up from the hem. You cannot measure down from the waist band if the elastic is already in (like mine) because it’s not lying flat. Pin both pockets (if using two although I thought about using just one for a little interest) in place. Lay the skirt down flat on the work surface and see if they’re even with each other.
Sew the pockets onto the skirt with an edge stitch all the way around, leaving top open naturally. Go back and sew ¼”in from pocket edge (not from edge stitch that you just stitched) for strength, especially if you’re going to put keys into your pockets. Iron the pockets.
And the finishing; clip all those little threads from your stitching, close to your skirt. People will notice them so don’t leave any stragglers. Now you’re done. Yeah!!!!
