
Drawstring bags are under appreciated. It’s probably the unglamorous, homey vibe they give off but let’s not judge a book by it’s cover. Drawstring bags are practical, versatile and can be “dressed-up” with fabric choice or even trim but most importantly they are very easy to make.
When my kids were little I used them for toy storage, hanging the bags from pegs in their room, and toy carrying in the diaper bag. When invited to other children’s birthday parties I would make a bag to “wrap” the gift in. Now I make them for baby gifts and use mine for my knitting, for corralling small items in my gym bag, and when traveling (great for dirty clothes or shoes).
Here’s how you can make one version of a drawstring bag. This version is a little more time consuming as it requires a buttonhole. The buttonhole allows for a center opening which I like. Maybe I just like symmetry. My next post will be an easier variation of the bag; one without a buttonhole.

Cut a piece of fabric; any fabric. This post shows a bag I made in flannel but I have used linen, quilting cottons and men’s shirting. If you want a 12″ x 15″ finished bag (and you can make the bags any size you want but they work best if the bag is taller than it is wider) then cut one rectangle twice the width (24″) plus 1/2″ seam allowance on each edge (1″) by the desired finished height (15″) plus a 1/2″ seam allowance on the bottom edge plus the casing (your choice but 1 1/4″ is good) plus 1/4″ to turn the top raw edge under. SO… you’re cutting your fabric, if you want a 12″ x 15″ finished bag, 25″ x 17″. Options: Cut two separate pieces. (Two 13″ x 17″ pieces for the same 12″ x 15″ bag) or cut the rectangle vertically (to be folded on the bottom edge) (and if you did that, it would be 13″ x 32″ but make sure your fabric doesn’t have a one direction print).
Square up your edges with a ruler and rotary cutter or scissors, a great eye and a steady hand.
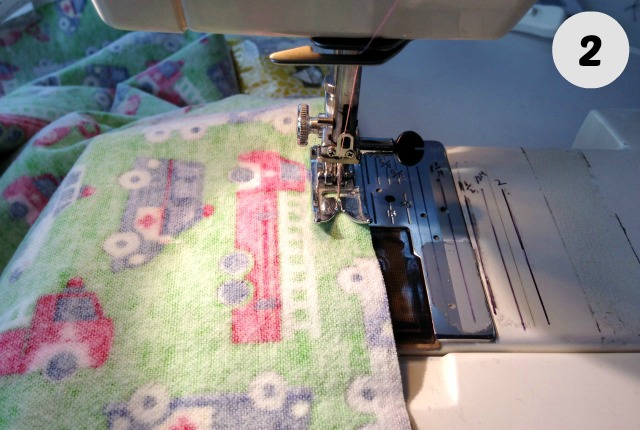
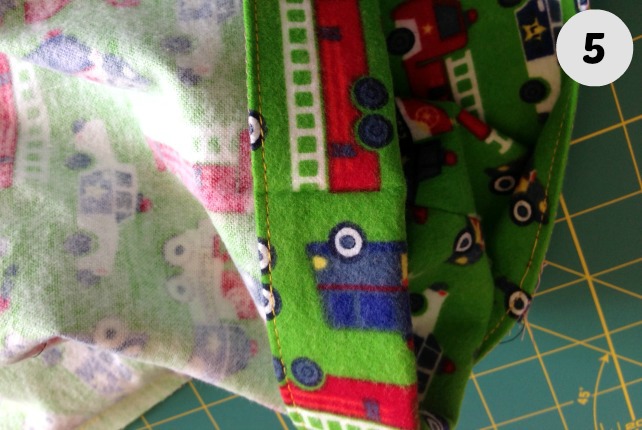
Finish top edge by folding over 1/4″, pressing it and sewing it down. In the above photo I am sewing a basting stitch 1/4″ in from the top edge to mark where I fold. It is so much faster to have the sewing machine do the measuring and marking then measuring with a ruler as you fold it and press it. This basting stitch doesn’t even have to be removed if you fold the edge over so the stitch is just on the inside of the fold.
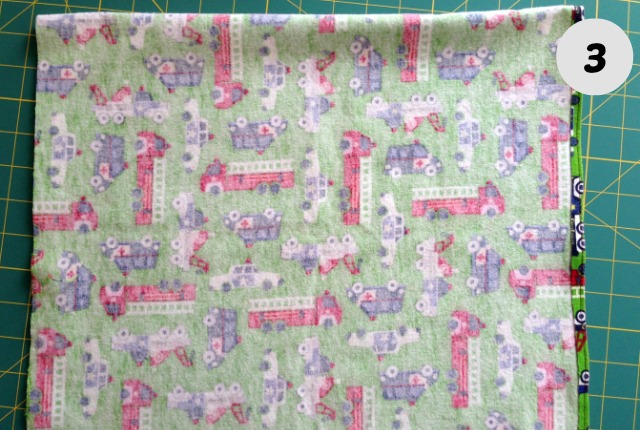
Press the top edge after it has been stitched down. Fold the fabric in half, front to back, right sides together. Line up the top edges. Notice, mine is folded on one side. Yours might be folded on the bottom edge if you cut the fabric vertically or, if you cut two separate pieces, there will be no fold at all.
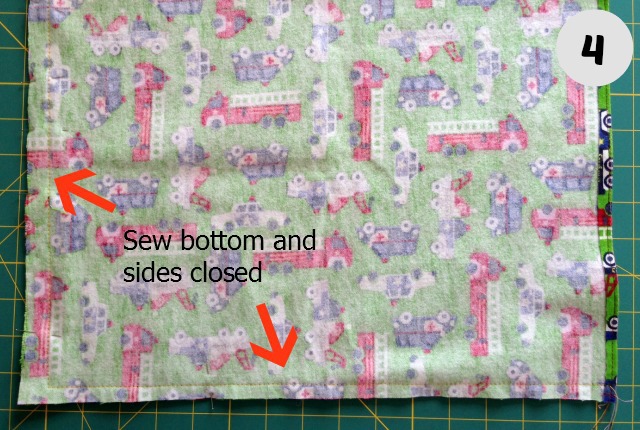
Sew the open edges closed using a 1/2″ seam allowance. Do not sew the top edge closed. Press your seams and clip the excess seam allowance off the corners. Don’t clip right to the stitch.
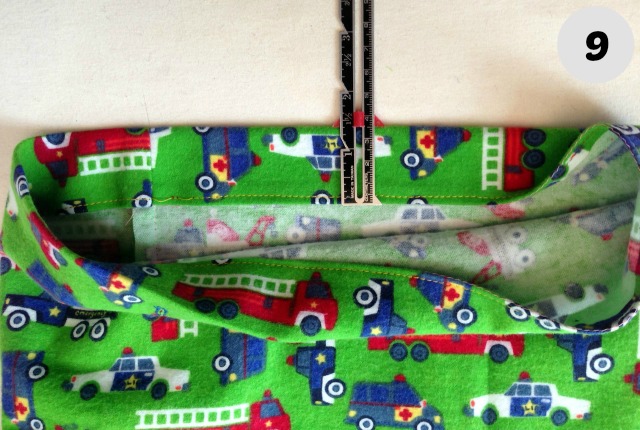
Where is that buttonhole going? Oh, yes, the center of the side I pick as the front. So let’s find the center. I could measure with a ruler, I could eyeball it, or I could fold my bag in half vertically and press to make a crease (just at the top, where the buttonhole is going). Sometimes you can just finger press. Sometimes you have to press with the iron to see the crease. (Picture above shows the casing folded down).
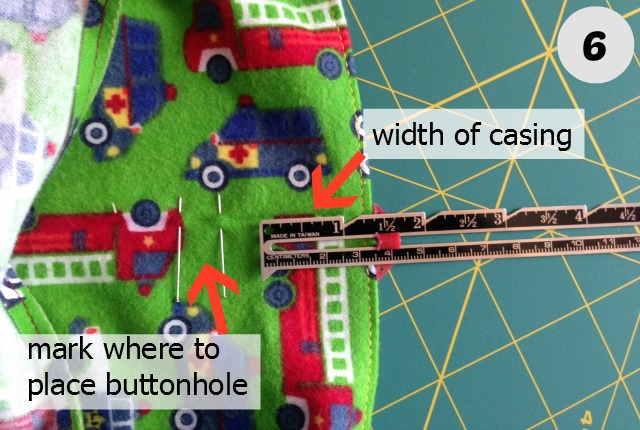
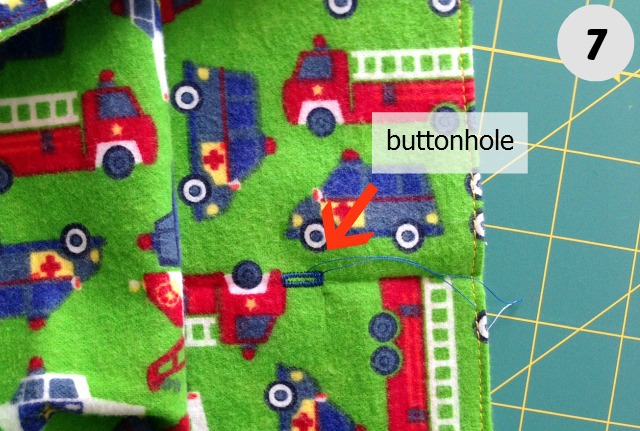
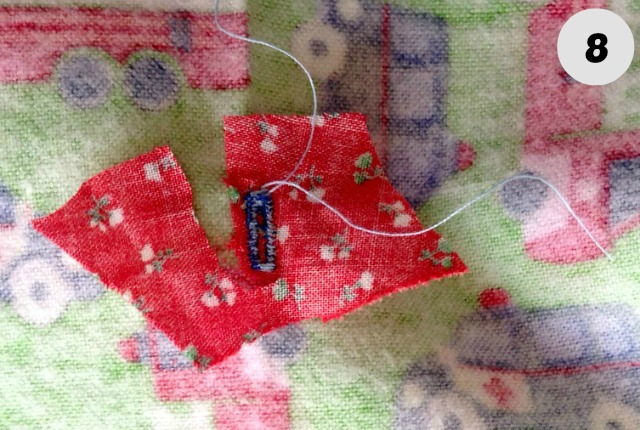
Sew the buttonhole. The size will depend on your cord but keep it on the small size as the pulling of the cord will stretch the hole. So even if you are using 3/4″ wide ribbon you will do fine with a 1/2″ buttonhole. (The ribbon isn’t going to be laying flat as it goes through the opening).
Trim away excess stabilizer (scrap in my case) on the backside of the buttonhole. Remember, no one will see this side as it will be in the casing.
Open up the buttonhole.
Measure and fold over the casing. Press the fold but do not sew.
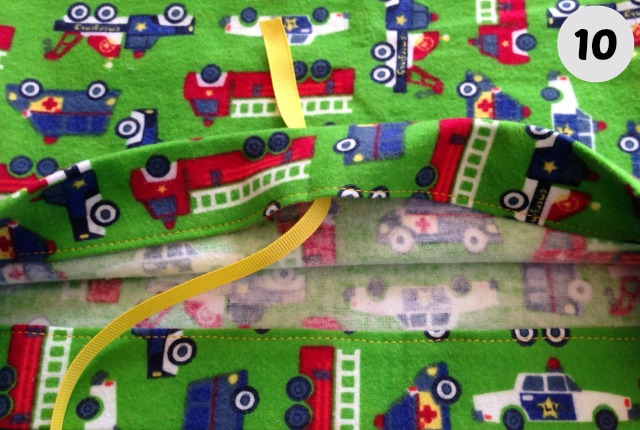
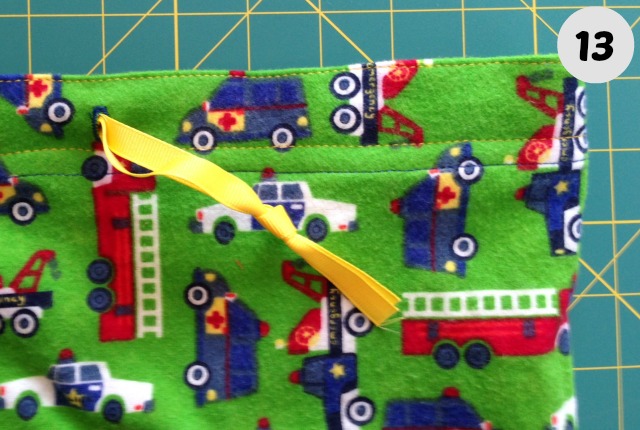
The casing is only folded down, not sewn, so feed one end of the cord through the buttonhole from inside the bag to outside. (I used grosgrain ribbon for my cord).
Lay the cord down flat inside the casing all the way around. When you get back to the opening measure a few inches more of the cord then clip off the spool if needed. Basically you need enough ends left to tie the two together and have a little cord hanging outside the bag when the bag is fully opened. Thread this last end through the buttonhole as you did with the other end, inside to outside.
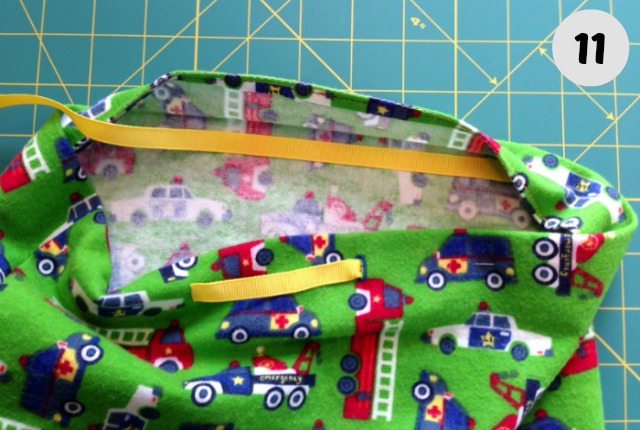
Ready to sew the casing down in place. I pin the cord down to keep it out of the way when I sew. Be sure to not to place the pins directly on top of the cord if you pin it in place or you will encase those pins in the casing making them impossible to remove. (it could happen so pay attention) Pin on the fabric instead.
Sew the casing down close to the edge you folded under a 1/4″. This catches the raw edge into the casing. Press your seams when you’re done.
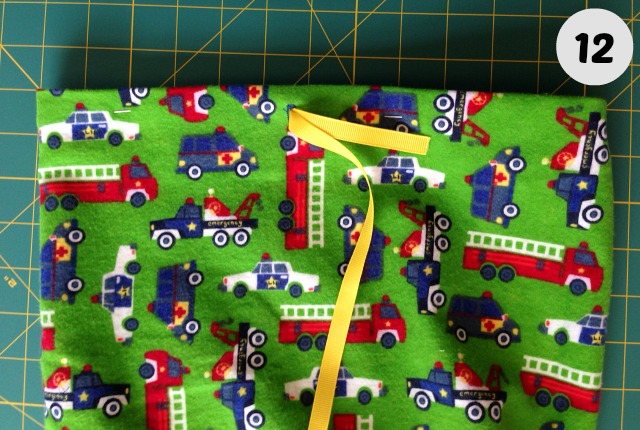
Note: I like to sew the top edge too to keep a little shape to the top when the bag is pulled and I like to add a row of stitches closer to the cord to make a narrow casing. I also like to use contrasting threads for fun. It’s a great way to use up bobbins that only have a little thread left on them.
Knot the ends of your cord.
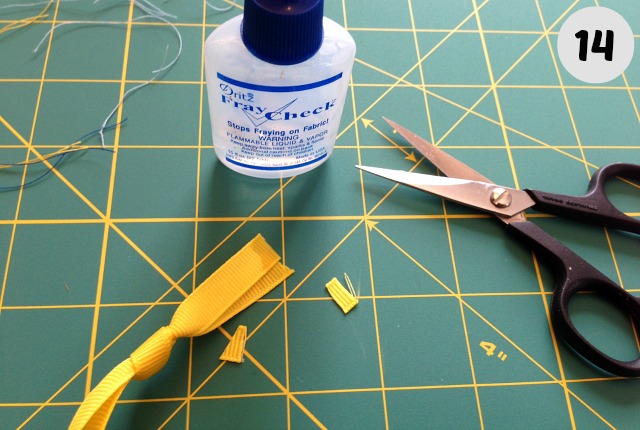
Trim the cord ends to make them clean and before they can start unraveling again put a dab of Fray Check on them.
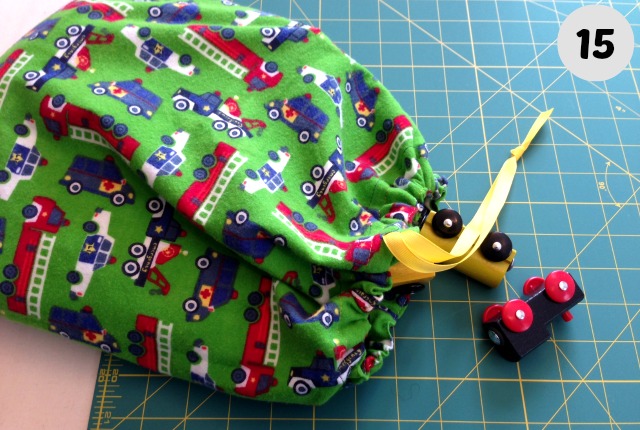
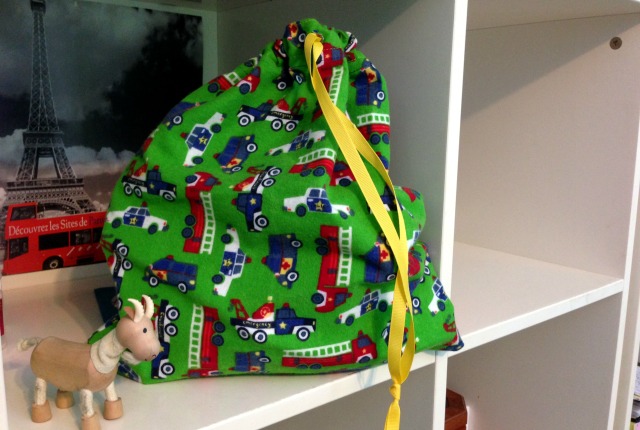
Add toys, pull the cord, and you’re done.