
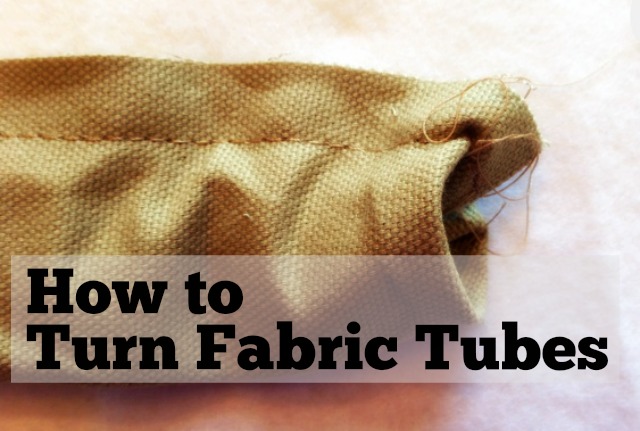
When I was in school I had a professor who always said that after you cut your fabric it’s all down hill, meaning the hard part is over. At first, I thought he was kidding but as the years went by I agreed with this bold statement until today that is when I had a contestant for worse sewing task ever; turning fabric tubes.
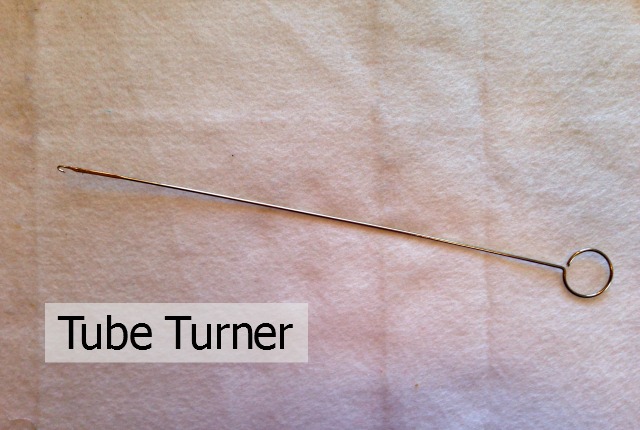
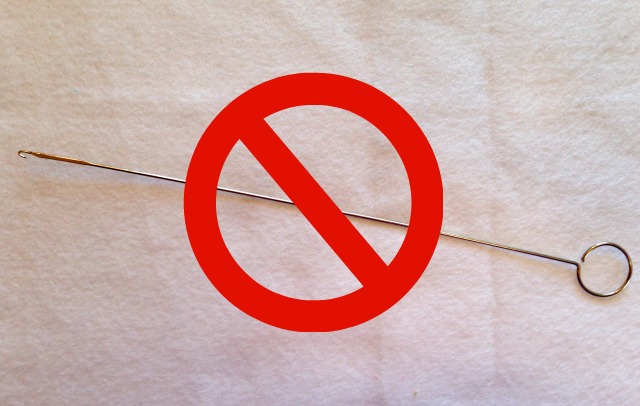
I have always used this wire tube turner. It works, with a lot of work, time and some frustration but be careful, the hook can tear your fabric if you pull too hard. So today, with four 24″ long tubes out of canvas to turn I thought I would see if there was an alternative way to turn a fabric tube.
There is. There actually are a couple but one involved buying a gadget just for turning tubes. I already have a gadget for that. It’s not my favorite tool so let me try something else.
In PatternReview.com‘s book “1,000 Clever Sewing Shortcuts & Tips” I read about using ribbon to turn a fabric tube. Uhm, ribbon? A length of selvedge that I ripped off a piece of fabric earlier caught my eye. “That will do for ribbon. Let me see if this works.” It worked. It worked so much better than my wire tube turner and it’s cheaper than acquiring a new gadget.
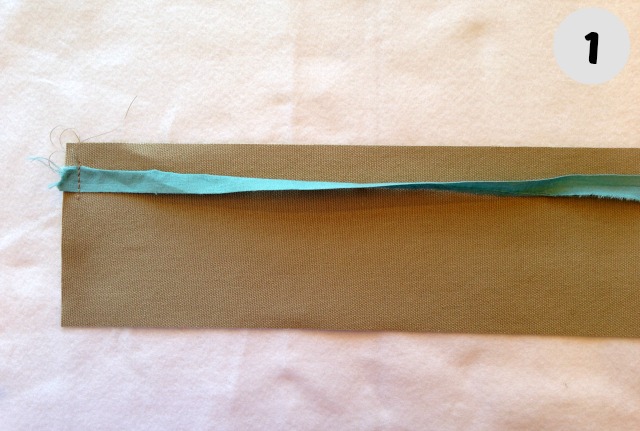
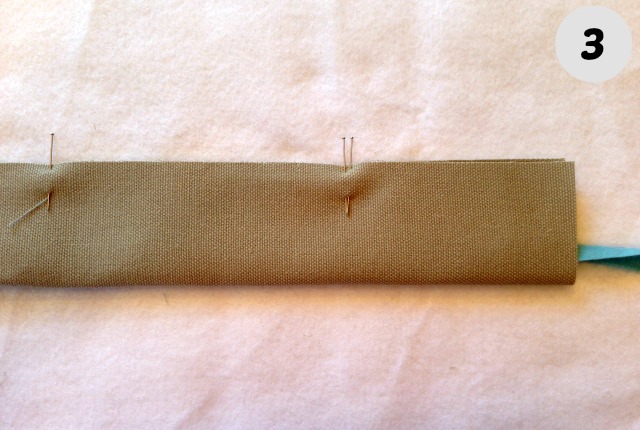
Before sewing your rectangle into a tube, take a cut of strong ribbon, twill tape, or selvedge from any fabric. (The blue in my photos is selvedge from quilting cotton I picked up off my floor). This piece, whatever you are using, needs to be longer than the tube you are sewing. Place the ribbon or selvedge at one of the short ends of your fabric and baste it down about 1/4″ in from the edge. (This picture is from the first tube I tried this method with. In the following tubes I place the selvedge piece closer to the center of the short end).
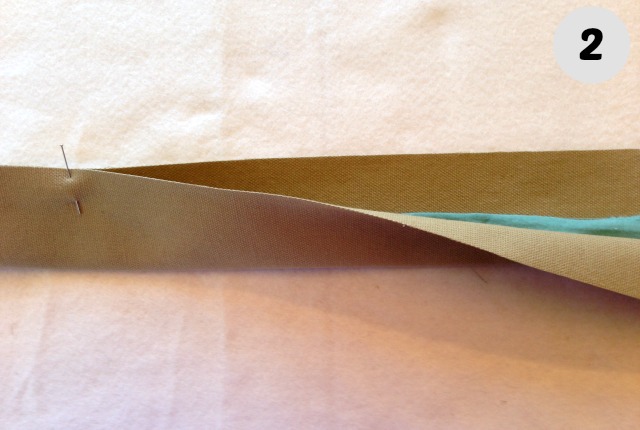
Fold the rectangle lengthwise encasing the ribbon or selvedge.
The ribbon or whatever you are using should be sticking out the other end. Sew your tube closed down the length seam. Do not catch the ribbon or selvedge in your stitching of the seam.
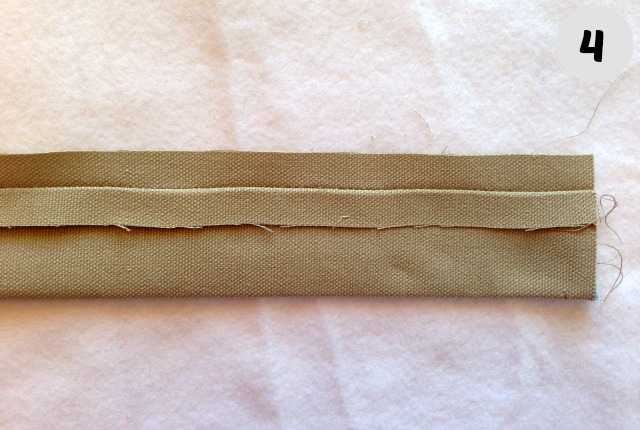
After sewing, since my tubes are for handles on a tote bag, I needed to iron my seam allowances open. It’s hard to iron seam allowances open when the fabric is sewn into a narrow tube. So I ironed one length of the seam allowance open first.
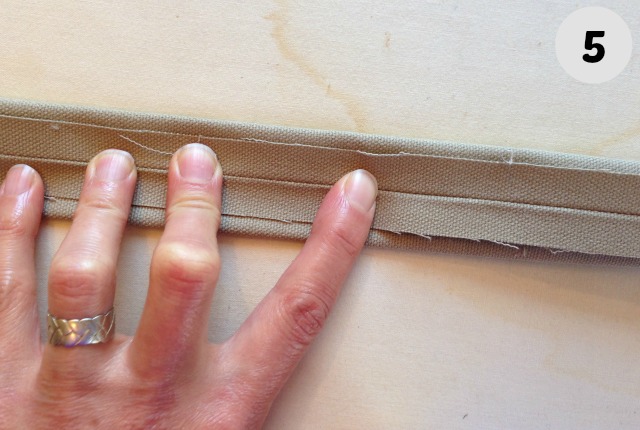
Then I finger press the seam allowance flat and open.
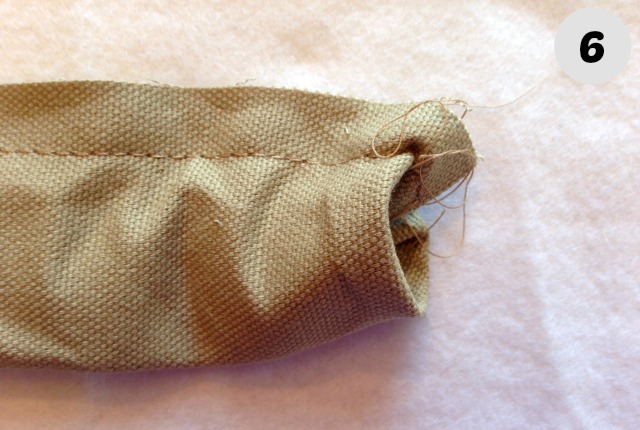
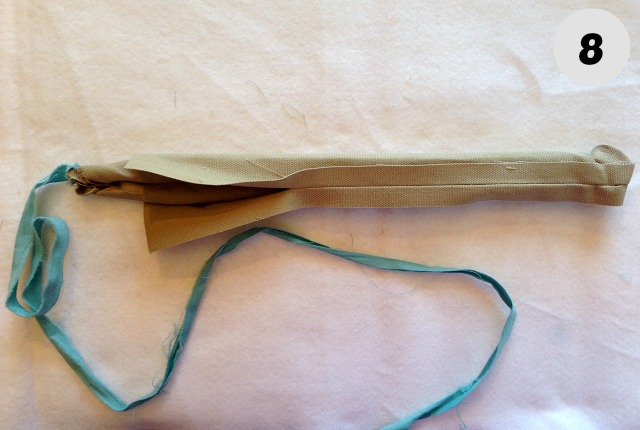
Let’s start turning the tube inside out. Poke, with your fingers the short edge which the ribbon is basted to down into the tube. Try to feed a half inch or more down into itself to get a good start. Then start pulling gently on the loose end of the ribbon or selvedge. (Note: the photo above shows a tube where I did not iron the seam allowance open).
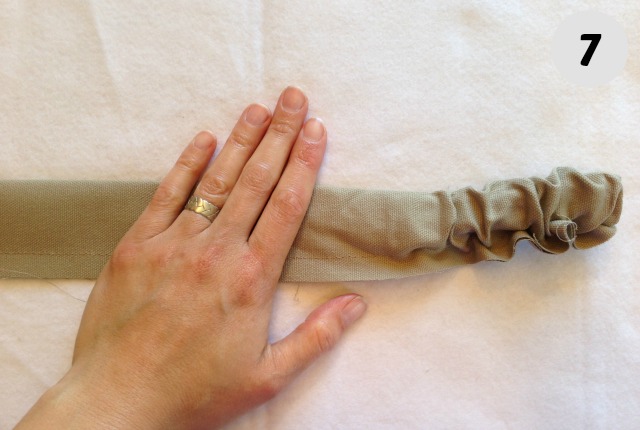
You can pull a bunch and then hold down with your non-dominant hand closer to the action while you work the fabric up so it goes down into the tube (directions here- up, down, in – are all a bit dizzying). Or just work a little bit at a time.
Eventually, with a little work (less than if you use that wire loop turner) you see the right side out tube come out of itself. This gives you hope that you will soon be done with this task and motivation to make it so. Onward! we must reach the end before sunset!
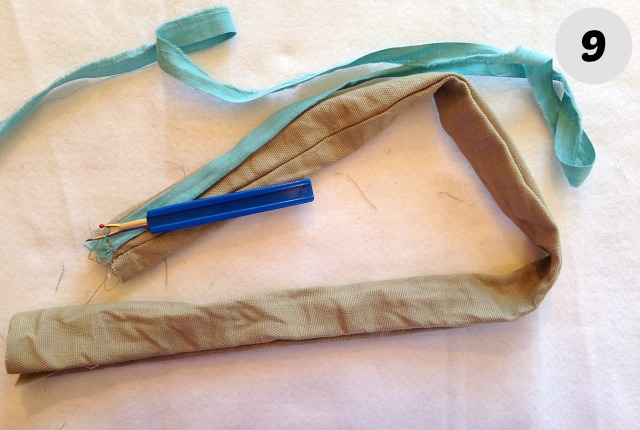
Once the tube is completely turned right side out detach the ribbon or selvedge from the tube.
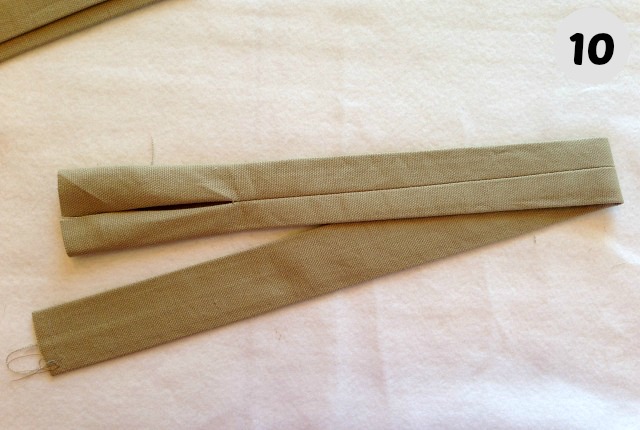
Smooth out your tube and iron it flat. No more wire loop turners! and now cutting is restored as my nemesis. I need a tip for that.
What a marvellous idea…..I am having trouble right now trying to turn a bag handle which is quite thick, as it is lined with fleece plus piping. I will try this. Thank you.
OMG! My sister-in-law wants asked if I could make something for her, I said, I’ll give it a shot if it’s easy…. I am making my first piece of clothing (?) with straps…an apron! I THOUGHT it would be easy lol. I have spent an hour and half turning the two neck straps..I was actually able to sew them inside out with a MOSTLY STRAIGHT line…turtle speed lol! THEN, the dreaded part..1 yd long tubes to turn, 1 end closed. I searched high and low on YouTube for a tutorial for long tubes, thick fabric………..I managed to do them both with Lori Holts “turn-it-all” tool. It was NOT easy. I am using DUCK CLOTH, thought I would never get them on the tube, watched the video she made, several times and went along with it, went back rewatched. If I were using my quilting cotton, I can see where it would be a lot easier. Even with the length. I learned that making masks. But the side straps for the apron will wrap around, not just tie in the back. They are 45″ long. This is when I made my search on Google and the first blog I came to was this one….It will be well worth ripping the stitches and starting over (this is the 2nd set I’ve started on, the first ones, per pattern, were too small for her. So happy to find that out before they were attached! THANK YOU for sharing your story…I hate the wire turners also! I can’t even snag the fabric let alone rip it!
I hear you on turtle speed. That’s still my sewing speed – especially if turning tubes are involved. I tend to procrastinate when I know something I don’t like to do is coming up. But Great job persevering through this apron gift. She’s one lucky sister-in-law.