Sewing tutorials are abundant and then you lose the one you wanted to try and it’s like looking for a needle in a haystack to relocate it. This time I couldn’t find the tutorial I had printed off months ago for a rectangle shape toiletries bag. I searched and ended up finding a different tutorial and figured it was probably the same process.
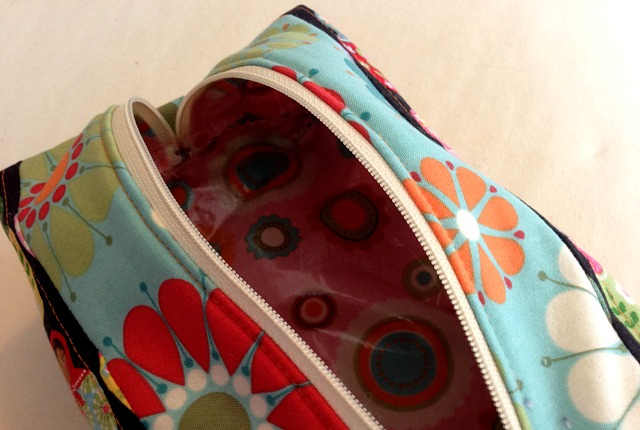
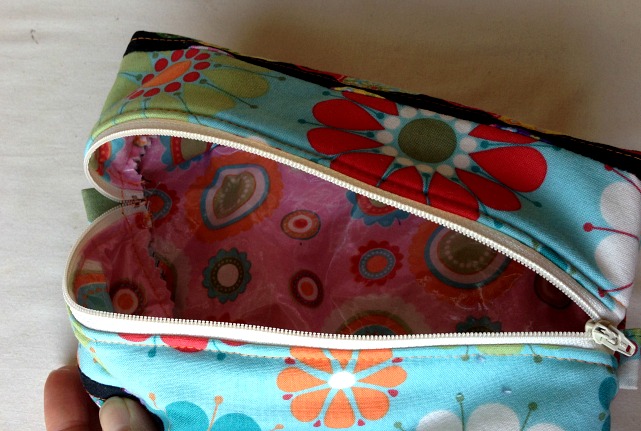
Ok, ever have those moments when you say to yourself, “What the french? What do I not get here?” This tutorial had me sewing tubes for the bag’s exterior and for the interior (lining fabric). Both tubes are separate but yet sewn to the same zipper. I knew the idea of this method is to encase the seam allowance but this method made no sense to me. How do I sew it separately when they are connected at the top and bottom ( and sides) of the zipper. I thought this through and thought some more. The only solution to sewing this bag together that I could think of was going to leave the seam allowance exposed on the inside. Seriously, what am I missing?
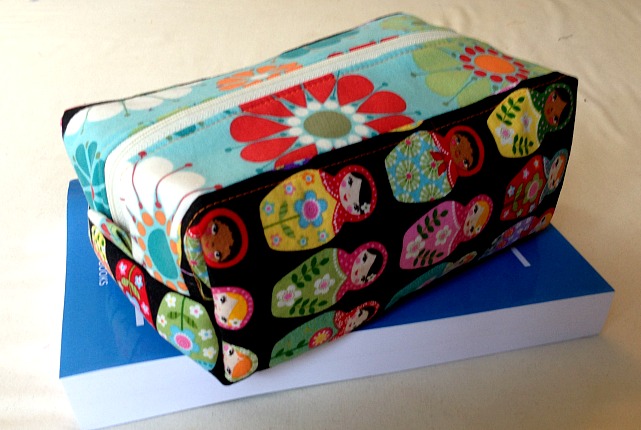
So I did what I frequently do, I pushed it aside, went to find my husband, and ranted on to him about how frustrating this project is. (I ignored the fact he was trying to figure out his own electrical wiring issue.) Feeling slightly better and less dumb after complaining, I went to my laptop and found yet another rectangle shaped toiletries bag tutorial. This one constructed the bag the same way that I figure out in my pea size head; the seam allowances are going to show inside the bag (but in this tutorial they are pinked and the bag is small so they are not so obvious). I went back to the sewing room and conquered the toiletries bag!
Here is the confusing tutorial I used for the beginning of the project and the one I used to be able to finish the project. I liked the piecing aspect and the handle (which was sacrificed in the end) of the first tutorial. I liked the fact I could understand the second tutorial.
This second tutorial is so much better than the first but I found it odd that the author remarks, “Truthfully, if you understand bag construction, you should mark 2.5″ from one edge, and 2.25″ from the other to account for the seam allowance”. Truthfully, if you were interested in teaching your readers, you would explain why (including the seam allowance in the measurement throws off the “square” after you cut) and you would tell us which end is 2.5″ and which is 2.25″(the edge with out the .25 seam allowance will be measured in 2,25 the edge with the seam allowance is measured in 2.5). However, the author did know to include a lot of photos and keep things simple. Yay for pinking shears!