
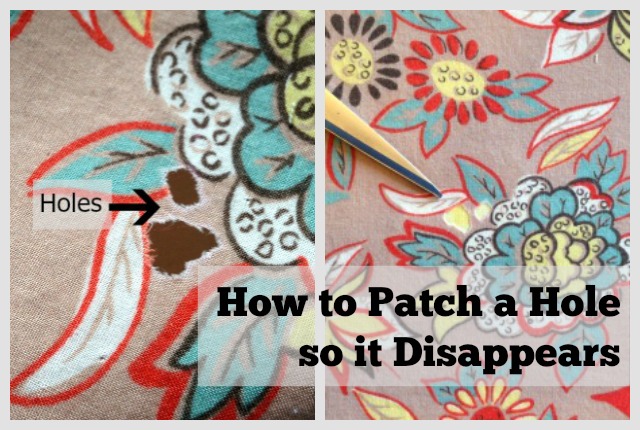
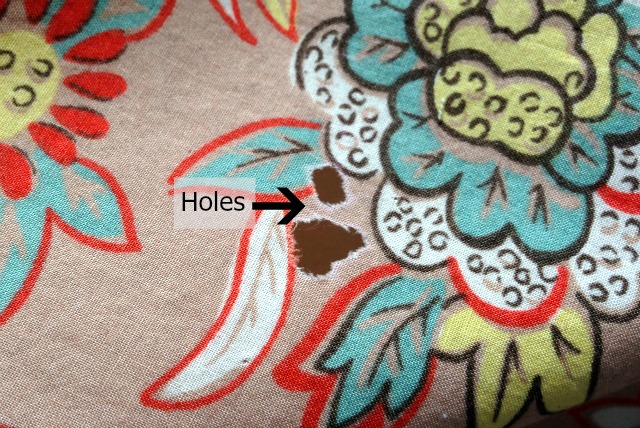
Look what I found; two holes in my cotton skirt. Holes too big to ignore or stitch up with a little thread. And this skirt, a Boden skirt, is too dear to me to throw away or use for parts. I wasn’t sure how to patch it in a subtle manner without having any matching fabric. Luckily I came upon this easy method in a book I own, “Mend it Better” by Kristin M. Roach.
I’ve recently made a video showing both the how-to of applying the patch and also how to choose the best fabric to make a patch with.
Believe it or not, you don’t have to have matching fabric to make a patch that blends in.
Applying the patch is easy and quick.
Supplies Needed:
- Fabric for the patch
- Scissors with a small sharp blade
- Fusible webbing. I use Pellon #807. It’s also called Wonder Web. Pellon #725 also works. It has a paper backing that you would peel off. And Stitch Witchery by Dritz could also work.
- An Iron. Borrow one if you don’t have one. You need an iron for this method of patching
- A marker or pencil that can come off of fabric. I like Frixion pens by Pilot. The ink disappears with heat.
- Optional but great: Pinking shears. You know, the scissors with the zig-zag teeth.
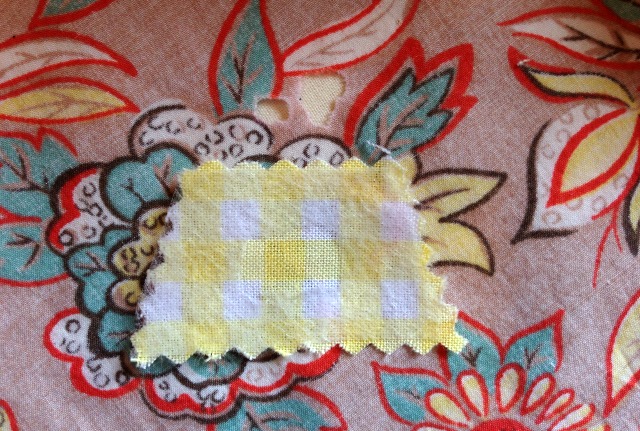
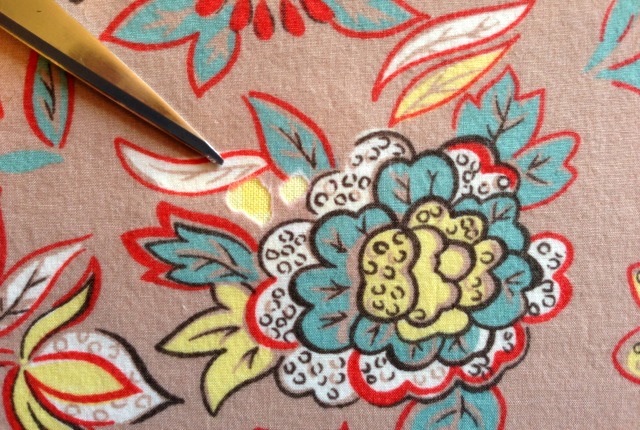
The patch should be from fabric of a similar weight and exact care instructions as the garment. Bonus if it matches the garment but if not choose something that will blend in. You will be surprised, at a distance, how well prints will blend into other prints so test a few scraps to see what works best.
You’re going for tonal value. If you have to choose between a patch a little too light and a patch a little too dark go with the darker patch. It will recede and therefore blend in better.
You can also use sharpie markers to replicate a print design or to make a fabric a little darker or a slightly different shade of color. I show how to do this in the video.

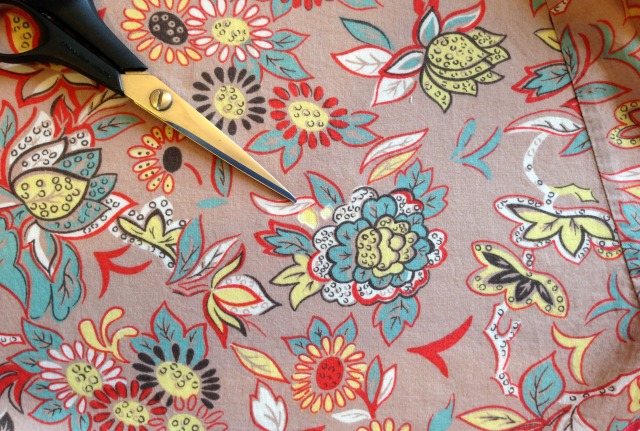
Cut the patch a least 1/4″ to 1/2″ larger, on all sides, than the hole to be patched. Because I have two holes close together I am treating them as one large hole and using one patch.
Round the corners of your patch. This helps prevent the patch from peeling off the garment in the laundry.
I use pinking shears around the patch to prevent the raw edge from fraying but this is optional. When the patch is applied the fusible webbing should keep the patch from fraying.
Cut a piece of fusible bonding web the same size as your patch. Fusible Bonding Web is the same thing as Stitch Witchery but in a sheet form and not the narrow rolls that Stitch Witchery comes in. You can use the rolls of Stitch Witchery if your patch is smaller or you don’t mind piecing a few pieces of it to cover the patch. I say if you already have some, use it.
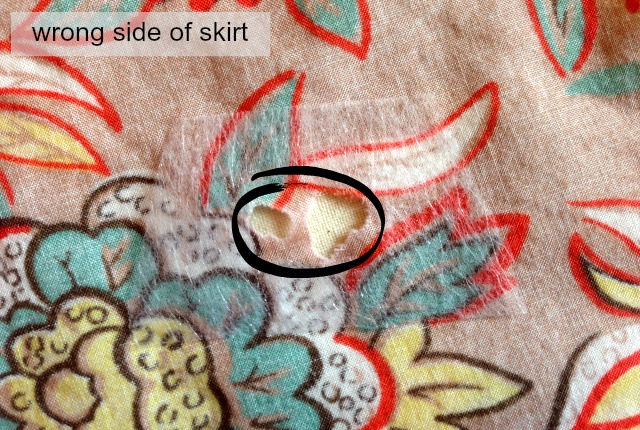
Lay the bonding web over the hole on the wrong side of the garment and trace the outline of the hole with a pen, pencil or chalk, (or just eyeball it). You are removing the bonding web where the hole is. You want to have a 1/4″ of the bonding web left on all sides of the hole. I have close to 1/2″ of bonding web around the holes.
Lay the patch fabric right side up, lay the bonding web on top of the patch and check that the edges line up. Trim any extra webbing off.
Make sure the webbing is not larger than the patch AND clear away any cut-off scraps from your work surface. You do not want to get the webbing on your iron. It’s glue in a sheet form. It will melt and stick to your iron in a very messy way if you let it.
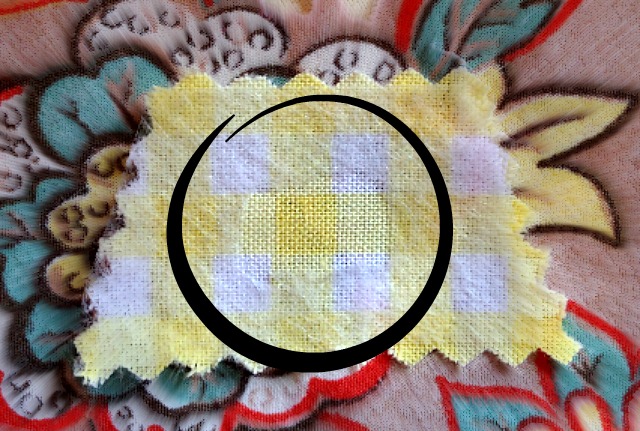
Here is a close-up of the hole in the bonding web. This will line up over the holes in the garment so when it is attached to the garment only the patch fabric will peep through. The bonding web is strictly the glue. You do not want glue showing on the right side of your garment.

Place the bonding web on top of the hole in the garment so the cut out in the web aligns with the garment’s hole and does not overlap it.
Flip the patch over, wrong side now facing you, to lay on top of the bonding web. Line up the edges of the patch with the edges of the bonding web. Follow the fusible bonding web or Stitch Witchery instructions for fusing the patch to the garment. It’s usually pressing firmly down on the garment & patch with a hot iron for a count of 10.
Because it’s a very hot iron use a press cloth so as not to scorch your garment. I use a piece of plain cotton for a press cloth. You could also use a plain paper towel, an old cotton T-shirt, or a cotton pillowcase. (polyester will melt)
If the patch doesn’t stick, just press it a second time.
From farther away it blends right in. Skirt saved. Yay!

Very clever! Thanks for this idea. 🙂
You’re welcome
Would this method also work with a thin t shirt? My daughter was trying to cut tags out of a brand new shirt, and ended up cutting a small hole about 3/4 in in diameter near a side seam. I do not have a real good sewing machine, but hate to just “give up” on it. I could try a “patch & darn”, but this seems to look better.
It should work on knit fabric too. My daughter did the same and because it was a casual type t-shirt we ended up cutting out a little heart from some other knit fabric and hand-stitching it on over the hole. Yes, the ol’ patch & darn trick but it looked cute. Sort of Alabama Chanin style 😉
I love that little heart patch idea! I’ve also covered up a logo I didn’t want, on a t shirt, with a floral strip. Used thin web interfacing, ie it “glues” both fabrics together. Firmly ironed together with steam then followed by a firm dry iron. They’ve stayed together through several washes! & now I’m not advertising a brand! I love it.
This is a great idea. I’m not a brand person either. So no sewing? the bonding stuff was all you needed? That’s great. So much easier when you don’t have to sew which means, changing needles and thread 😉 Thanks for telling us.
Thank you so much for this. I bought a beautiful J Jill blouse from a consignement shop and didn’t realize it has a hole in the sleeve. The blouse is dressy and stitching it hasn’t worked without it glariingly obvious. I am going to try this. You have helped me think beyond needle and thread! Thank you again. ~Dee
I hope this method does the job. It is a clever way to mend and you’re right, I also get stuck in the “must start with needle and thread” loop when there could be other options.
I was looking for ways to patch a hole in mens athletic polyester navy blue pants and found this
My absolutely favorite thing of your solution is how the yellow portions on the patch appear on the right/correct side of your cherished skirt as little leaves or petals floating away as natural parts of the flower. It’s very clever and inspiring.
thanks – You have an artist’s eye. I can see what you mean but I hadn’t seen it before you said it. I love that.