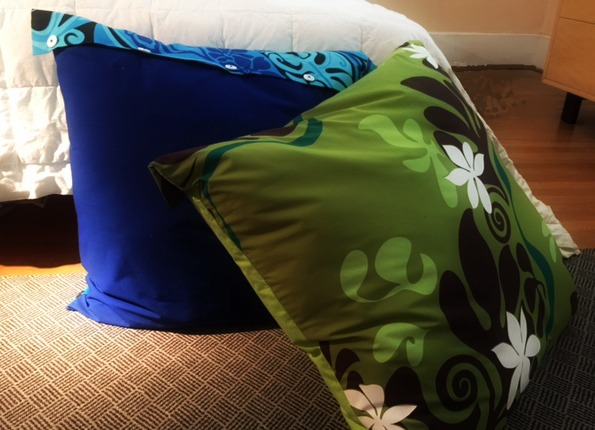
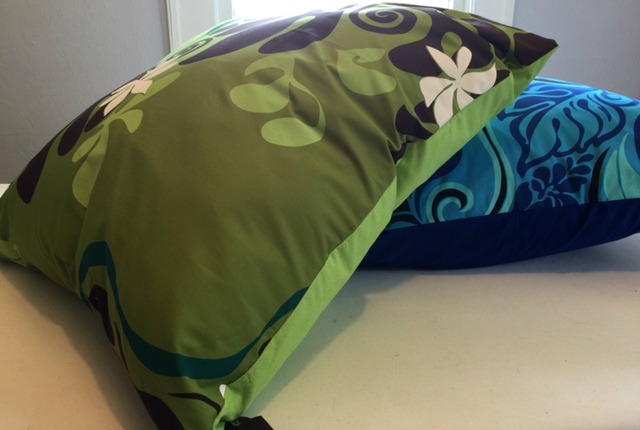
My daughter is in her first apartment and wanted to buy a big armchair for comfy reading except that money doesn’t grow on trees. I suggested a bean bag chair but then more seriously floor pillows. Floor pillows are comfy, arrangeable, can easily be transported when moving and are budget friendly.
To make them even more budget friendly, I had her look at my fabric stash. Surely something in that untamed and glutinous stash should suit her taste. Score! Prints picked up on our trip to Hawaii years ago. All we needed to buy were the pillow forms (or stuffing) and we found large forms with no trouble and a reasonable price. (Yes, I had spent money on the fabric but I spent that years ago so this project seemed cheap).

When the floor pillow idea occurred to me I thought of simple knife edge pillows. They are the easiest make; two squares sewn together all the way around (one side by hand). However, I considered that my daughter has cats and will probably snack while reading so I wanted to make the covers removable, and therefore washable.
I could think of three ways to make the cover removable: leave one end open like a pillow case for a bed pillow, install a zipper on one side, or have the cover overlap itself and button close (There are many design variations for the overlap. For instance; the case could button down the center front, it could be an envelope style flap with one button, or button down one edge.)
I decided to have one edge of the top extend and fold over to the back and button close because I already owned enough matching buttons (salvaged from some curtains I had years earlier) but I didn’t own three long zippers.
Making a pillow covering like this is easy and doesn’t take much time. The directions are the same no matter what size pillow you make so you could use these instructions for throw pillows or rectangular pillows, as well. Large pillows like I made could be a nice, fun addition to a teen’s room, a den, a patio (lay out three in a row for sweet, sweet naps) or to glam up the inside of a genie bottle.

(I loved watching I Dream of Jeanie)
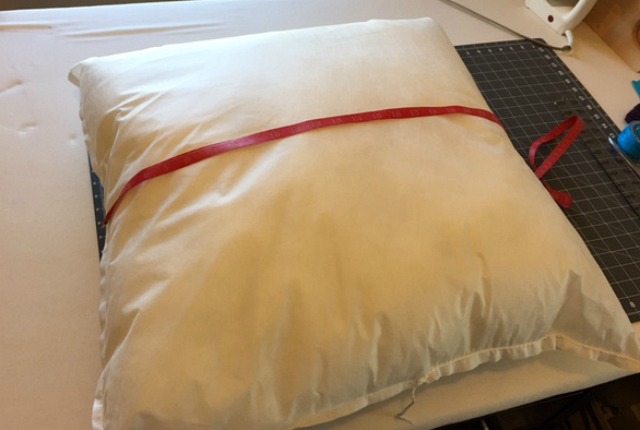 Whatever size pillow you make start by measuring the form, side seam to side seam in both directions. My formed measured 26″ square.
For a traditional knife edge pillow you would cut the covering fabric for both the top and the back one inch larger than the form in both directions. If it’s a 26″ square form then cut two 27″ squares. If it’s a 18″ x 12″ form then cut the fabric 19″ by 13″. You are cutting the cover the same size as the pillow form plus a 1/2″ seam allowance on each of the four sides.
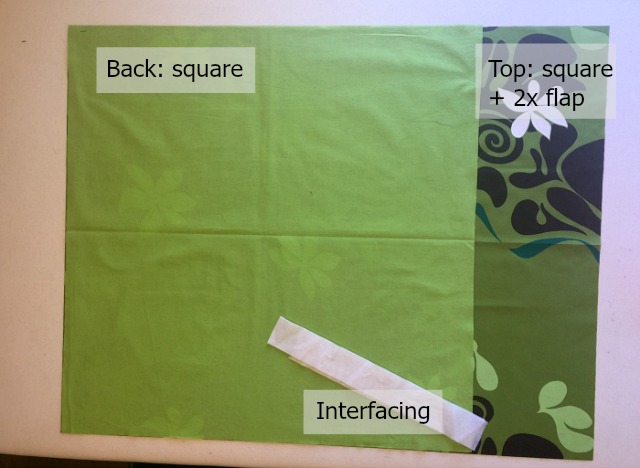
Only the top has an extension in my design. The back remains square like the pillow form. I cut the back piece (solid green in above photo) 27″ square. I cut the top piece 27″ in one direction and 27″ + 2x the desired depth of the flap or the extension. (A 1/2″ seam allowance for hemming the raw edge of the flap is included in the 27″ square). For this pillow I wanted the extension to overlap the back 3 1/2″ so I cut the length of my top piece 27″ + 7″ (Next time I would make the extension deeper and more substantial looking to match the proportions of the large pillow.) (Live and learn)
I also cut a 2″ wide strip of fusible interfacing 27″ long (Well, I used shorter 2″ wide pieces. Since the pieces are fused down I knew I could use smaller pieces to make one long strip). The interfacing will give a nice crisp edge to the extension and extra durability where the button holes will be sewn.
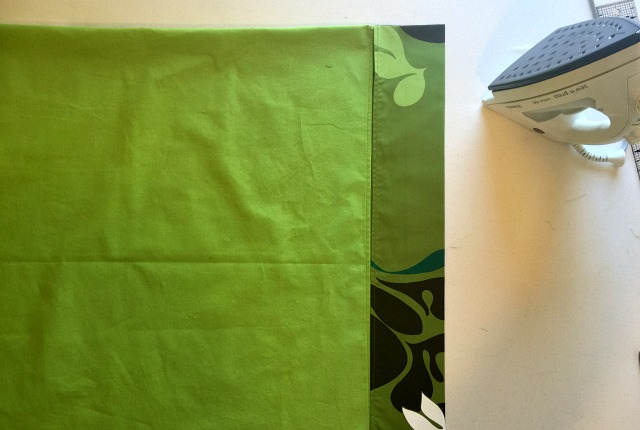
Start by hemming one edge of the back piece. (If it’s square then any edge will do. If it’s rectangle or a one directional print then hem the edge the extension will conceal.)
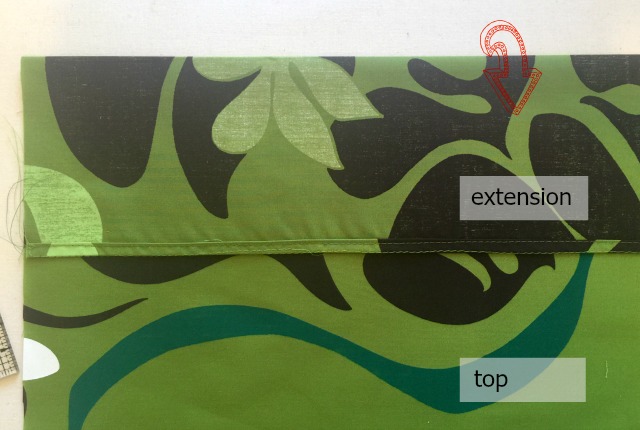
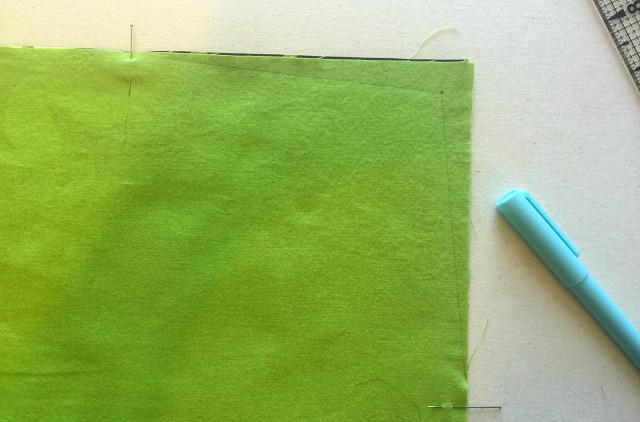
And while you’re at the machine go ahead and hem the extension edge of the pillow top. Remember we have a 1/2″ seam allowance so fold and press over 1/2″ then tuck the raw edge under itself and up to the 1/2″ crease you just made. Press and stitch down the hem close to the folded edge of the hem (not the outer edge of the extension which is also a fold). This gives you a 1/4″ hem. If you prefer a little more fabric to work with then add another 1/2″ to that edge BEFORE you cut the top piece out.
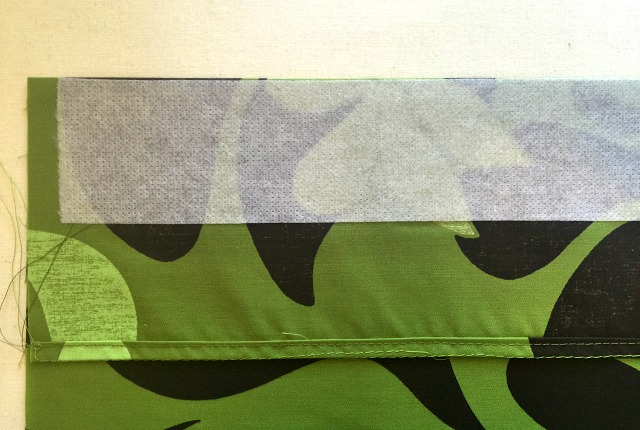
Fold the extension back over upon itself the depth of your flap (for this pillow, 3 1/2″) right sides of the fabric together. Press. Apply the interfacing up alongside this folded edge. I apply fusible interfacing to the side that won’t show when possible. So I’ve applied the interfacing here to what will be the underside of the flap.
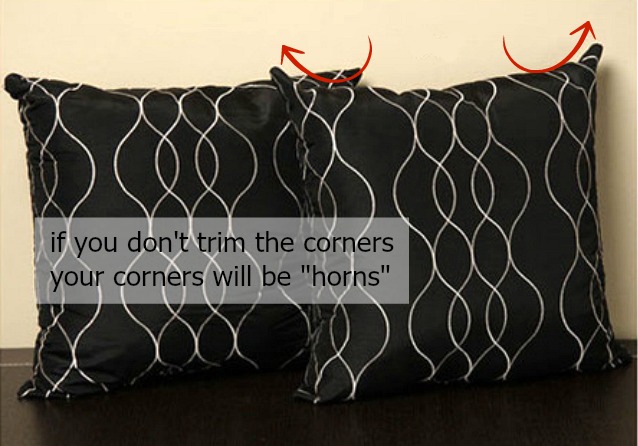
How fast do you need these pillows done? If you have an extra five minutes then consider trimming the corners as I’m about to explain. You can skip this step, many people do, but the corners of your pillow will poke out like horns (see above). You decide; it’s not crucial. On a small pillow the “horns” are probably less noticeable.
You can trim the corners separately or all of them at once. To do it all in one go for a traditional knife edge pillow (meaning all four corners need to be trimmed) stack the back piece on the top piece right sides together and line up the raw edges. Then fold this as one unit, in quarters, stacking and lining up the corners.
Because I have an extension on one edge I only trimmed the two corners on the side without the extension. The same method only stacking two corners not four. So stack the back piece on the top piece right sides together and line up the raw edges. (The extension will not line up to the back on that side) and fold, as one unit, in half. Match one corner to the other corner. You will have four layers of fabric. Remember, don’t trim the corners of the extension.
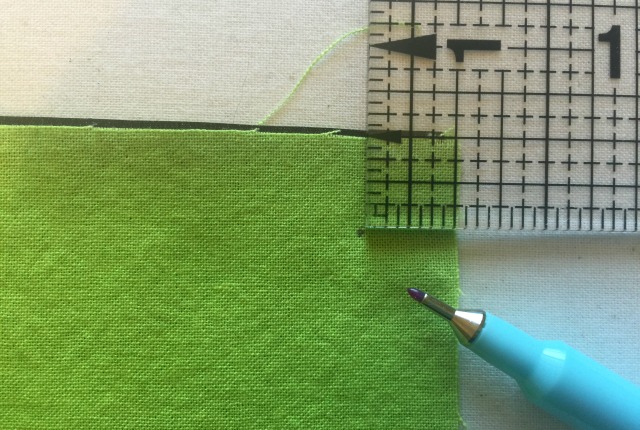
Measure in at the corner 1/2″ on both sides; mark. (A half inch is my seam allowance. Measure in your seam allowance)
The next mark you need is 1/4 the distance of the side. Since we are trimming only two corners we have already folded the cover on one edge in half to line up the corners. Measure and mark halfway from the corner to that half fold. This will give you 1/4 of that side measurement.
If your pillow form is square that same measurement will work for the other side. Round the measurement down if you wish toward the corner.
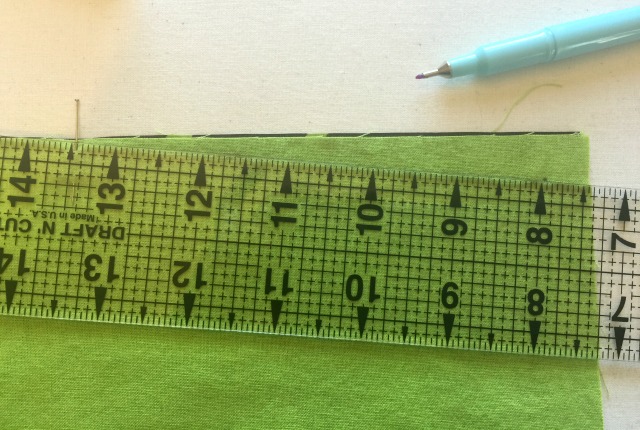
Examples: I have 27″ sides. One half of the side is 13 1/2″ and one half of that is 6 3/4″. I measured from the corner 6″ in both directions (I rounded down). If you have 19″ by 13″ rectangles for your cover you would mark on the shorter side 3 1/4″ from the corner (or round it to 3″) because 3 1/4″ is one fourth of the 13″ edge and mark down the longer edge at 4 3/4″ (can round it down to 4″ or 4 1/2″) because that is 1/4 the length of the 19″ edge.
Draw a line from the mark in the corner to the mark on the side. I made a straight line but generally it should be gently tapered.
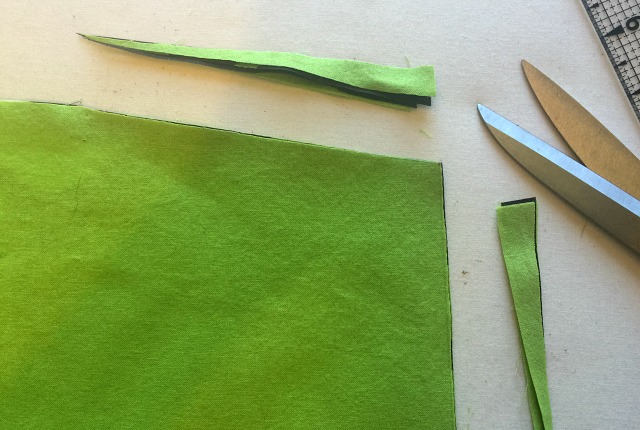
Trim on this line. Yes, you just cut the seam allowance off the corner. This is the new outer edge and you will still use a 1/2″ seam allowance when sewing these corners. Hard to believe that the extra inch makes such a difference between unflattering, wimpy corners and corners so normal that you won’t even notice them.
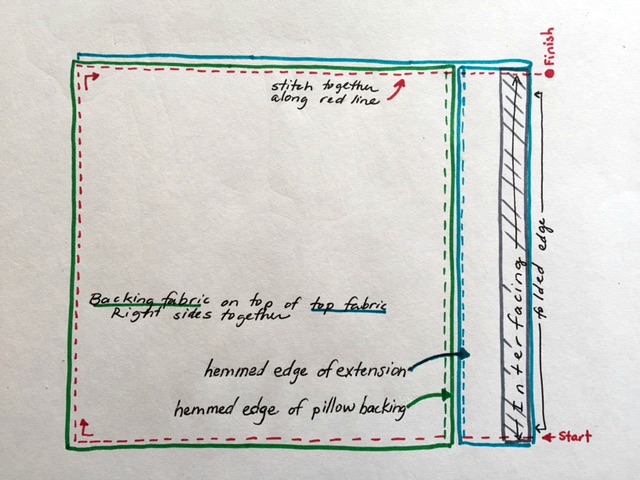
Unfold the cover pieces if you trimmed the corners and pin the back to the top (right sides together) along the three open sides (not the flap side). Sew these sides together and the open ends of the extension shut by starting at one of the folded edges of the extension and ending at the the other, as shown above in red. Clip off the excess seam allowance from the corners.
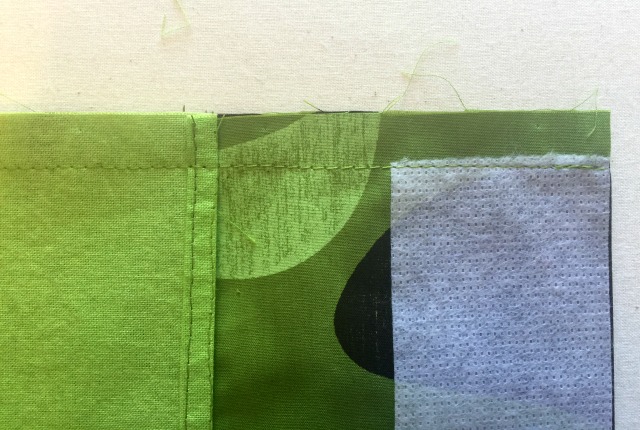
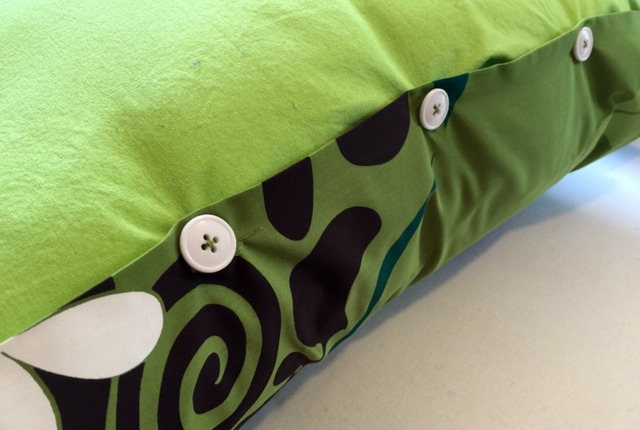
Up close. My hemmed back piece overlaps my hemmed extension. This is okay and it’s also okay if the two hemmed edges just “kiss”.
Turn the case and the extension right side out. Press the extension flat. The interfacing will be lined up against the crease inside the flap.
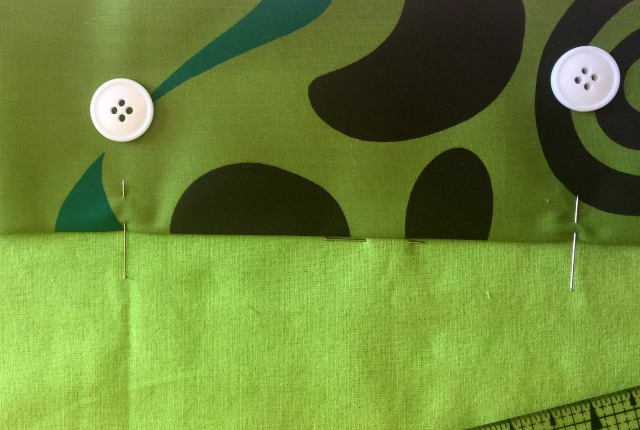
Fold the extension to the back. It will overlap the back it’s full depth (mine is 3 1/2″). Measure the extension in a few places to make sure the overlap is the same along the entire length. Mark with pins on the back piece where the edge of the extension lies.
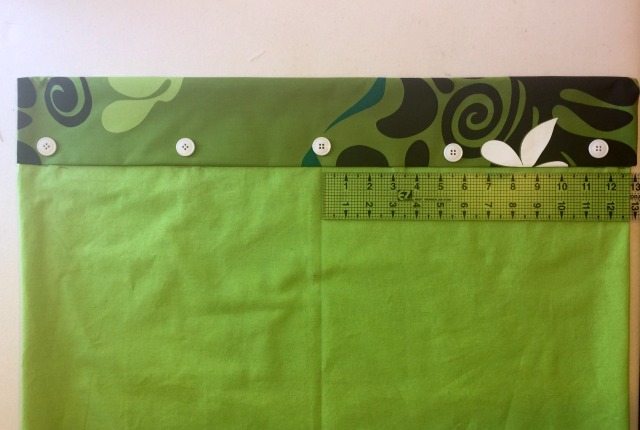
Place the buttons along the extension to decide where they should go. The number of buttons will depend on size of the pillow and size of the buttons. Find an arrangement that pleases you.
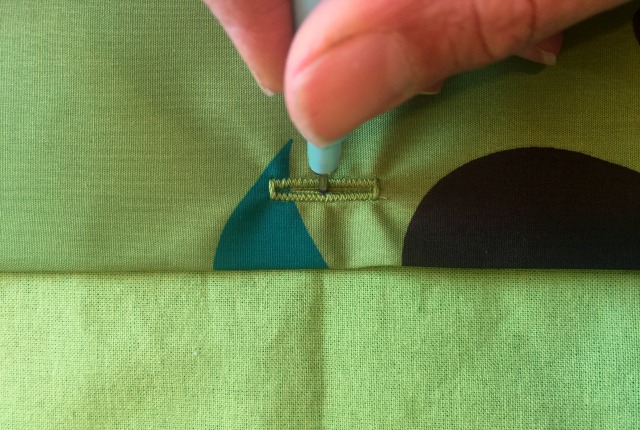
Button holes go on the extension. Button holes can go vertical or horizontal. Decide how far in from the edge the button holes will go. Use a ruler to mark the center of where the button will be or whatever mark you need for sewing button holes in the right spot.
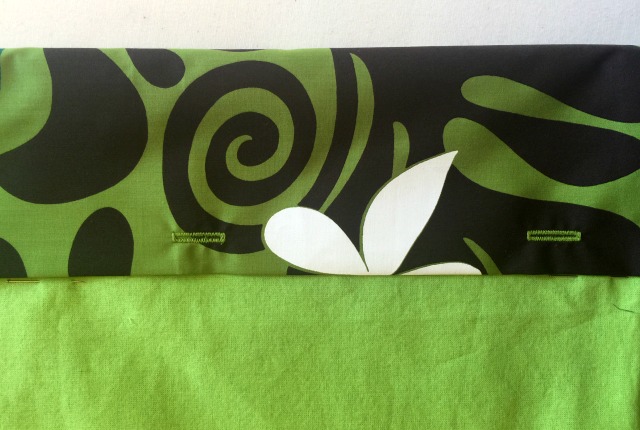
After sewing the button holes fold the flap back over and line up the edge with your marks.
Mark where your buttons will be sewn onto the back piece. If your backing fabric is thin add a little piece of interfacing under the button on the inside for added strength.
Stuff your pillow form into it’s new case.
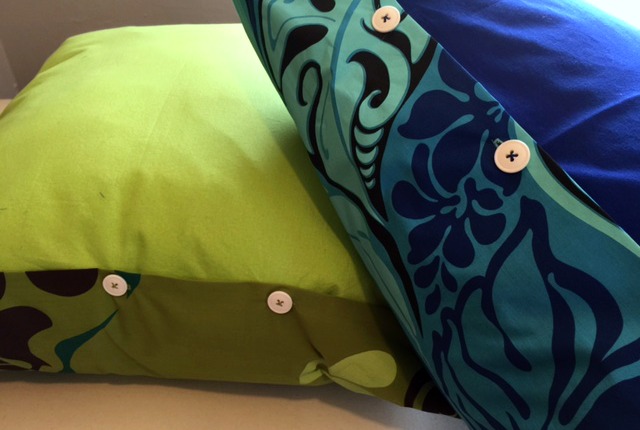
A third pillow was made in a pink print and solid purple back. We had to use a solid back because I did not have enough of the prints to cut a top and a back. I heard earlier today that resourcefulness is the ultimate resource. Yeah, I think that’s right.