

I have a love hate relationship with gift wrap. I love the designs, the colors, the way they make the simplest gifts look so good. I don’t like that it can only be used onced and then tossed away. (Yes, same with Kleenex, but Kleenex serves a very useful purpose before it is tossed). Gift bags are slightly better since they can be reused a few times, until they get too crunched up and creased. However, I can never make the tissue paper that peeks out of the bag look good.
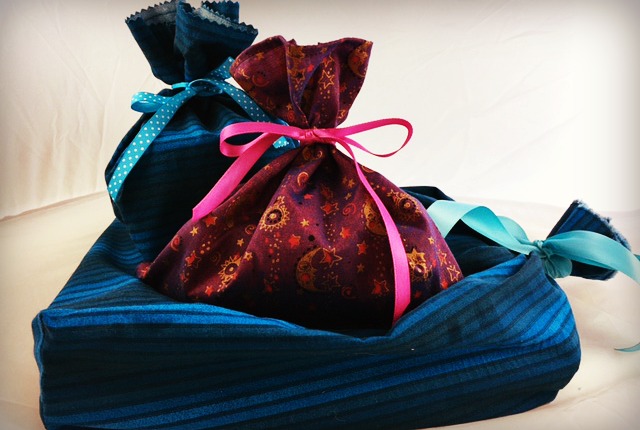
Years ago, to save money and room in the trash can, I started making cloth gift bags for my family’s Christmas presents. I figured, if I used them to wrap gifts for my husband and kids I would be able to keep them and use them year after year after year. And I have. And I’ve made more. Every year I add a few to the collection and pass on a few to friends and far-away-family for them to reuse.
So, they save money, but buying wrapping paper after Christmas does too. There’s more to it though. I feel they are worth making because they are reusable, they’re quick to make (super quick), they can be ironed out if needed, they can be made any size and to store them away I just throw them in the Christmas box as extra padding.
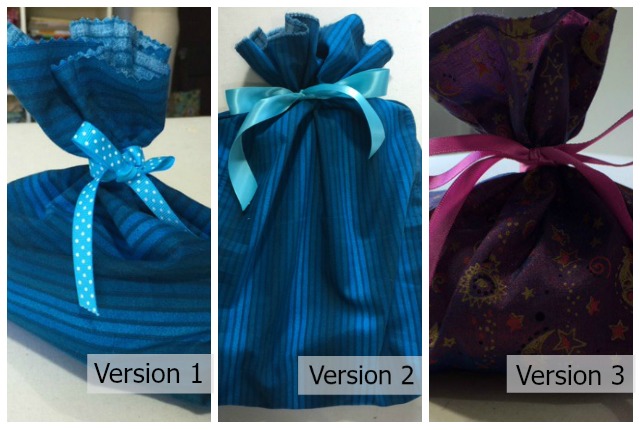
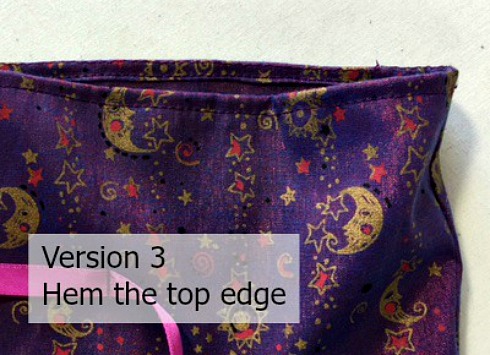
I have three versions to show you and all are easy to make. Version 3 requires the most time to make but it’s still pretty darn quick. I’ve also listed some variations that you can use on any of the versions at the end of this post.
Since gifts are given all year long you can make bags to wrap any presents; Mother’s Day, Valentines, even as goody bags. The fabric you use can be bought especially for the gift or gift’s receiver; a holiday theme fabric, the birthday child’s favorite character, or you may already own a large enough, festive, scrap. How much fabric you need will depend on the size of the gift you want to wrap.
TIP: These bags are great for wrapping clothing (no box needed), odd shaped things, and small to medium objects. Large boxes, like some games, Lego sets and new sewing machines (I wish) will do better wrapped in paper*. A cloth bag has to be large enough to go over the gift/box and gathered together to tie shut. That could be a lot of fabric.
* I do what I can. I reduce my use of paper wrap, I reuse it if I can, and I recycle it if possible. And I don’t worry about any of it.
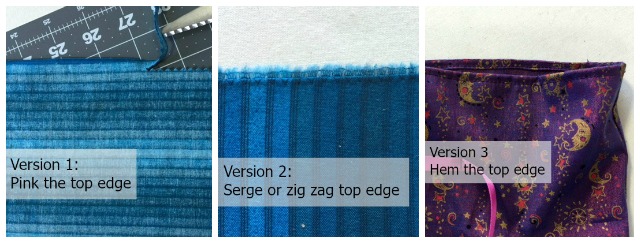
All three versions of the bags are simply sewn together on 2 to 3 edges by machine. The only difference is how to finish the top edge. A ribbon is sewn into the side seam which is used to tie the bag shut. When I started making these bags I used them for my husband’s gifts. I knew he wouldn’t be tempted to untie them for a peek inside. Later years, when I had more bags to use, the kids presents were wrapped in them. So far neither of them have ever confessed to peeking but if you have a child who is very curious, and spunky, and excited about gifts, you may want to fasten the bag with a twist tie under the ribbon as a deterrent.
For all three versions:
- Cut the fabric any size you want. Plan enough room to place over the object and a couple inches taller to tie the bag shut.
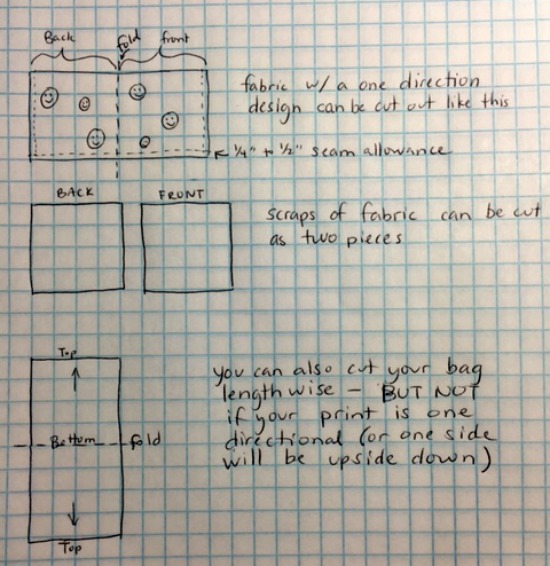
- You need a front and a back which can be cut on the fold as one piece or cut as two separate pieces.
- Leave or add a 1/4″ seam allowance on the bottom and side edges. For version 3 also leave or add at least a 1/2″ seam allowance across the top edge.
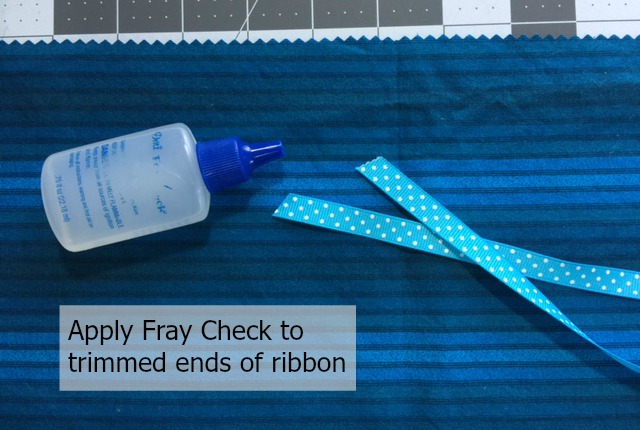
- Cut some ribbon about 20 inches long for the tie. It does not have to be washable ribbon since you are not washing these bags. I have even used wired craft ribbon recycled from a gift I received.
All three versions follow the same construction steps shown below in the photos. The top edge of versions 1 and 2 are finished before sewing the sides and bottom. With version 3 I reverse the steps and sew the sides and bottom together before I finish the top edge.
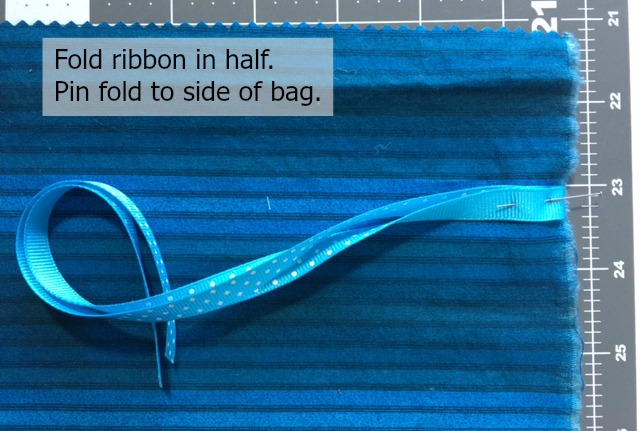
The ribbon will be attached to the bag in the side seam. Place ribbon about 2″ to 3″ down from the top edge.
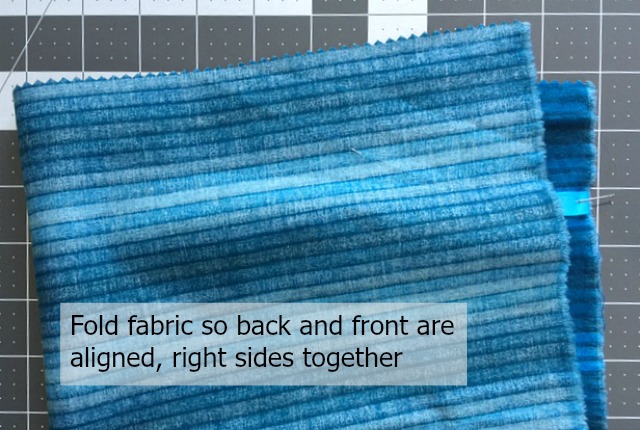
If your back and front are cut separately you will align one piece on top of the other, right sides together.
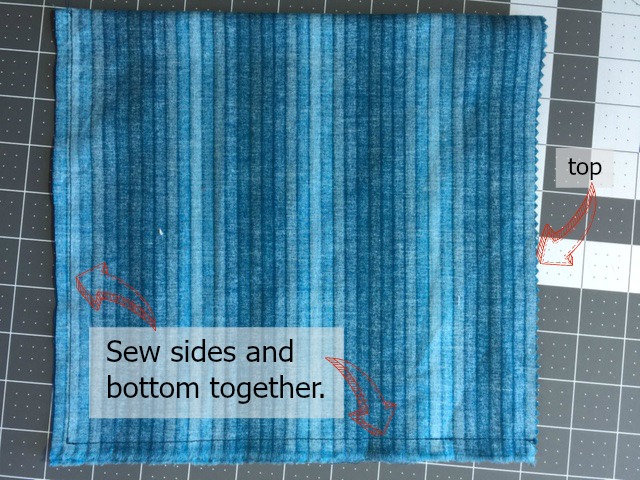
I reinforce the stitching over the ribbon by sewing over the ribbon, reversing the stitches and sewing back over the ribbon and then going forward over the ribbon a third time. This isn’t necessary but I pull on those ribbons pretty tight. (How strong do I think I am exactly?)
If your back and front are two separate pieces you will also need to sew up the other edge. If your back and front pieces are folded across the bottom, just sew up the two sides.

To finish version 3 you will now hem the top edge. If you’ve allowed 1/2″ for the hem fold over half of your seam allowance (1/4″) toward the inside and fold that again to tuck the raw edge in under the fold. Pin in place and sew down the hem by machine. Careful not to catch the ribbon ends in your stitches (I’ve done that).
Variations for all the bags:
- Use one fabric for the front and a coordinating or contrasting fabric for the back
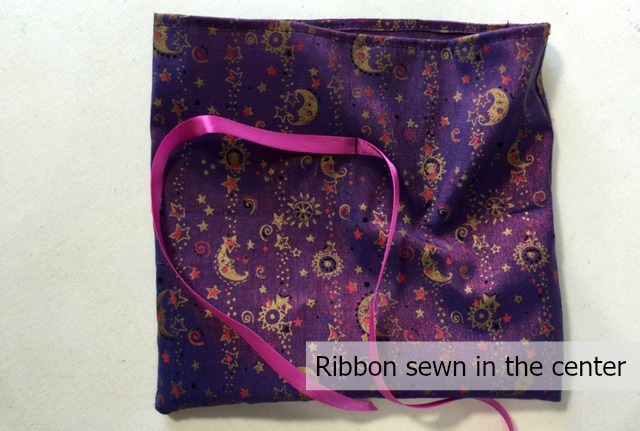
- sew the ribbon onto the center of the front or back for symmetry (some people are in to that) before or after you sew the sides. (see photo below)
- Leave the ribbon out of the seam and tie the bag shut with an unattached ribbon. This way you can use curling ribbon, raffia, or change the ribbons every year for fun or as a color coded way to mark who the present goes to (each family member has a different color ribbon)
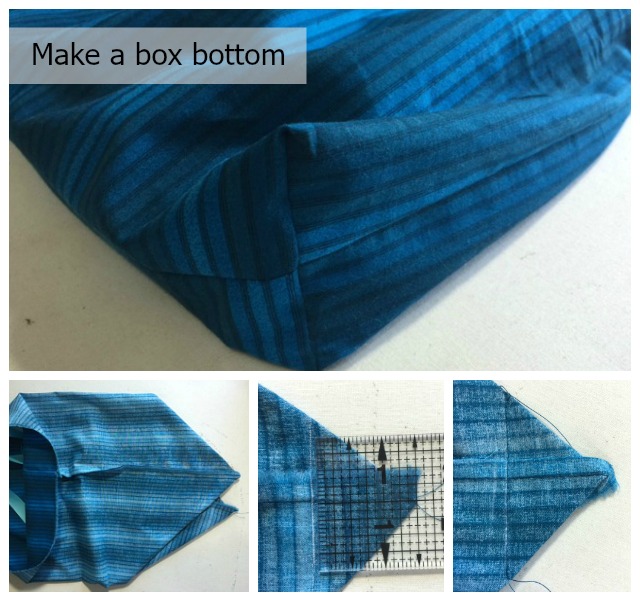
- Add a box bottom to hold bulkier items. (see photo below)
- Fuse or applique designs from other fabric scraps onto bags made in a solid fabric (great for making the bag a Disney’s Frozen theme with a scrap you already have)
- Embroider a design or the receiver’s initials onto the bag.
- Embellish the bag with trim, patches or buttons for decoration.
Attaching gift tags is easy too. I’ve used stickers placed directly onto the fabric. I’ve made little paper tags, punched a hole in them and strung them onto the ribbon tie. I’ve used store bought tags attached to string that I strung onto the ribbon tie. And I’ve used a little scotch tape to hold paper tags onto the fabric.
Tonight I’m sitting down in front of some costume drama on TV to wrap my gifts and I’ll be able to hear every word spoken for there is no loud crinkling paper, no scissors cutting and tearing and no scotch tape screeching. Ah, that’s the best part – how quick it is to wrap presents in these bags.