
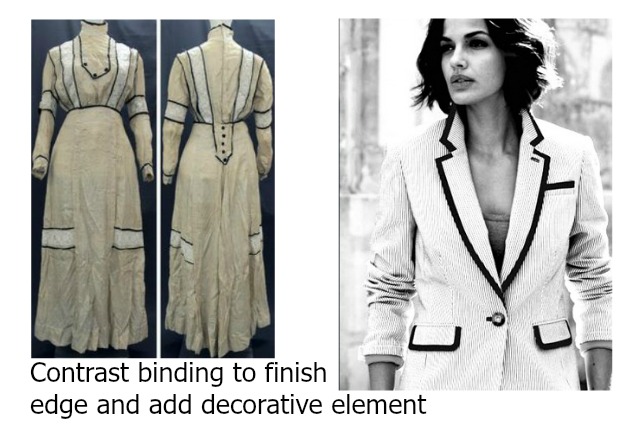
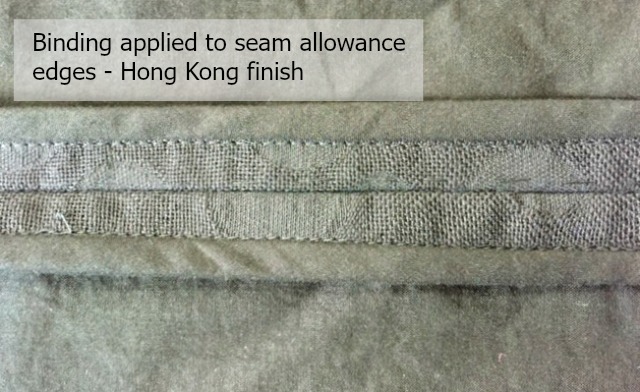
Bias binding is used to bind or cover the raw edge of fabric. Bias binding can be made in self or contrasting fabric as a decorative edge of a neckline, sleeve, collar or other feature. It can replace a full facing as with sheer or bulky fabrics or it can bind and finish seam allowances inside a garment as with the Hong Kong finish.
Bias binding (also called bias tape) is a long strip of fabric made by sewing together smaller strips which were cut on the bias (or sometimes cross grain) thereby having a lot of natural stretch to it. The long strip is folded and pressed together before applying it to the garment. There is single fold bias binding (which actually has two folds in it) and double fold bias bindings (which has three folds in it) Both types of binding can be made in any desired width.
Bias binding can be purchased ready made in limited solid colors of usually a cotton polyester blend. It is so easy to make though and can add a nice touch to garments that many sewist make their own. Making your own lets you decide if you want to match your fabric exactly, use a contrasting color or a print or use a different type of fabric altogether like a satin binding on a knit top.
I usually look to my scrap bin when I need to make binding. The scrap has to be fairly large to get enough strips out of and even though there are no rules I would think you would want the strips to be no shorter than 8″ or 20 cm. In fact you want a few strips on the long side but in the sewing jungle you do what you can. Every where you join two strips together there will be a seam. Shorter strips mean more seams. There is an easier and faster way to cut the bias strips from yardage (a half of yard of fabric will make about nine yards of bias binding) but I almost always find myself making bias binding from scraps. (one day I will make binding that other way and tell you how).
Cotton or other natural fibers are best for bindings because they press so crisp and shape well around curves. However, if you want to make binding from a synthetic fiber you can.
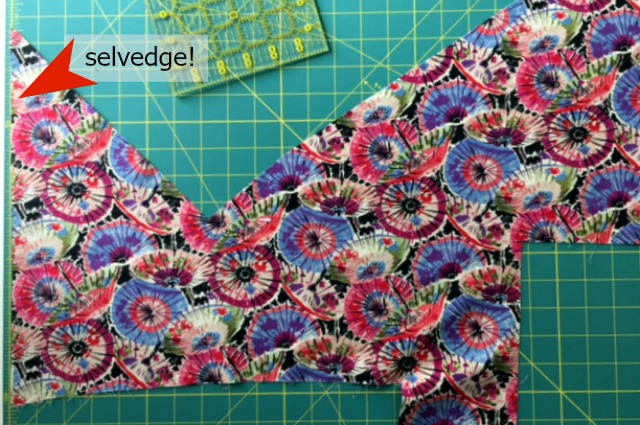
Iron your scrap (or yardage) and determine the grain lines. If you can find a selvedged edge you are golden. Bias binding is traditionally cut on the bias grain (45° angle) hence the name but for quilting and edges not too curved you can cut your binding strips on the cross grain. The bias will give you more stretched so it’s great for binding armholes, necklines and anything with a curve. Here’s how to find the bias.
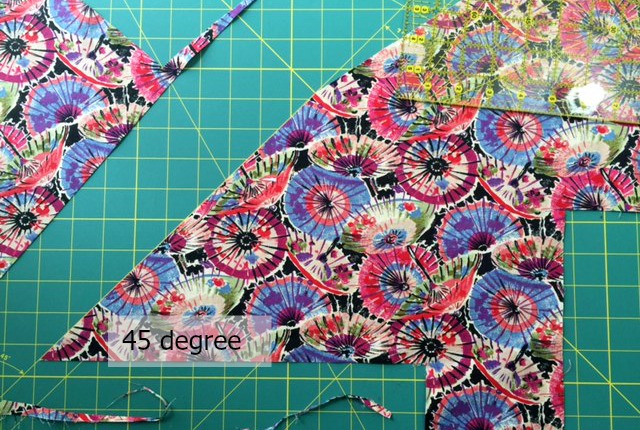
Trim the scrap (or yardage) at a 45° angled to the selvedge. If the selvedge is no longer attached to your fabric use the straight grain as a guide (as it is parallel to the selvedge) Here’s how to find the straight grain. I sometimes trim the cross and straight grain too on my awkward shaped fabric scrap. It makes for less confusion when I go to sew the shorter ends of the bias strips together.
How wide do you want the binding to be? The most common is 1/2″ (12 mm) but it will depend on what you are using it for. What ever amount you want showing on the outside of the garment, cut your binding strips 4x that width. You want a 1/4″ wide decorative binding on the armhole? Then cut your binding 1″.
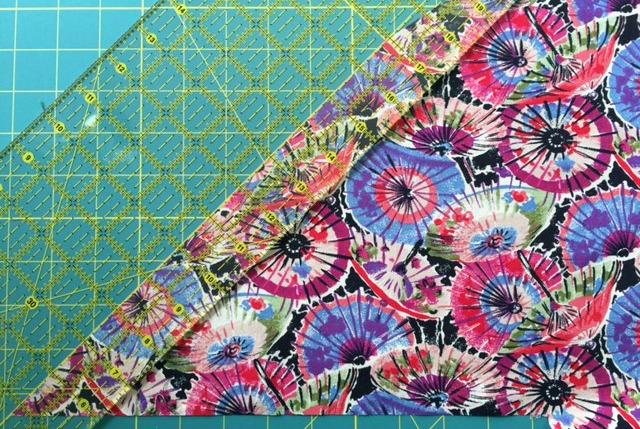
Line up your ruler to your 45° edge and cut a strip as wide as you desire.
The easiest way to cut out strips of fabric (bias or not) is with a rotary cutter and ruler on a cutting mat. Have no fear though if you do not have such items. Simply mark the strips on the fabric and cut on those lines with your scissors. (Ball point pen can be ok on most fabrics because it’s a thin line, which you will cut on, that will be on the edge that becomes enclosed – now what happens when you wash the garment? hopefully you used a pen with permanent ink.)

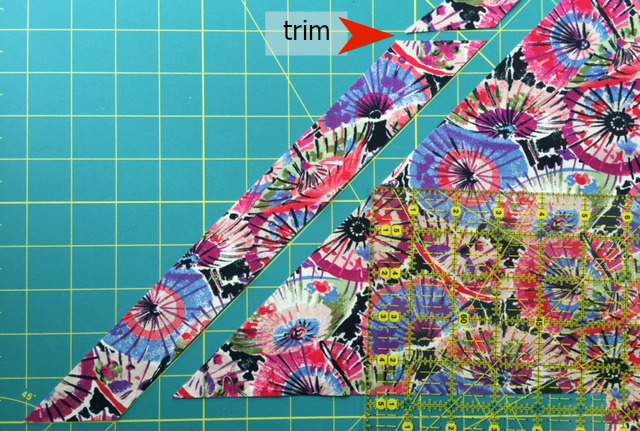
Repeat; lining the ruler with the 45° cut each time. You may have to true up your cut guide after a few strips have been cut out. You’ll know if you need to because the ruler will no longer line up.
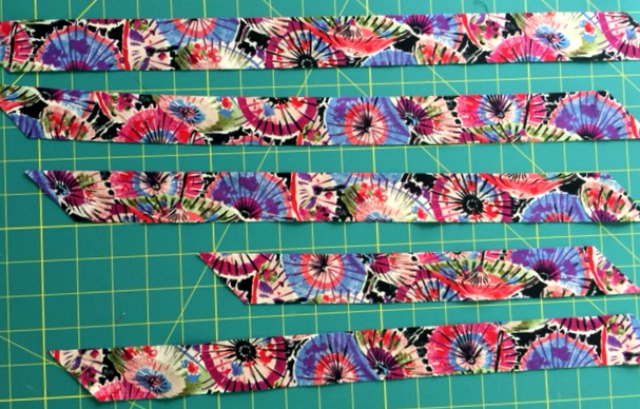
Cut out as many strips as you can or as you want. You will need your binding as long as what ever edge or edges you want to bind plus an inch on both ends (per edge) to clean finish the binding seam.
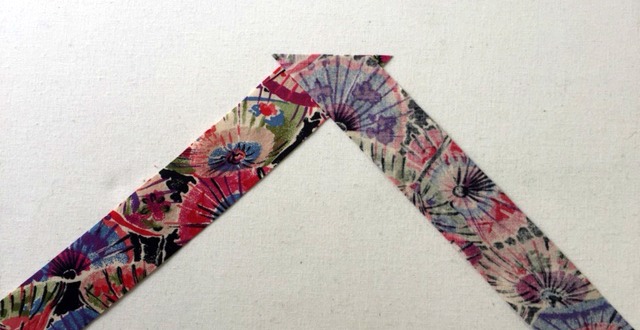
To make the bias binding you will lay the short ends of two different strips over each other, right sides together, in opposite directions so, when sewn, they will form one long, continuous, bias strip.
I always pin my strips together, placing my pin in the same direction the thread will stitch the seam, to check that I have laid them down in a way that will indeed work. (The ol’ check twice, stitch once routine). So many times I have sewn two strips together only to make an “L” and not a continuous line.

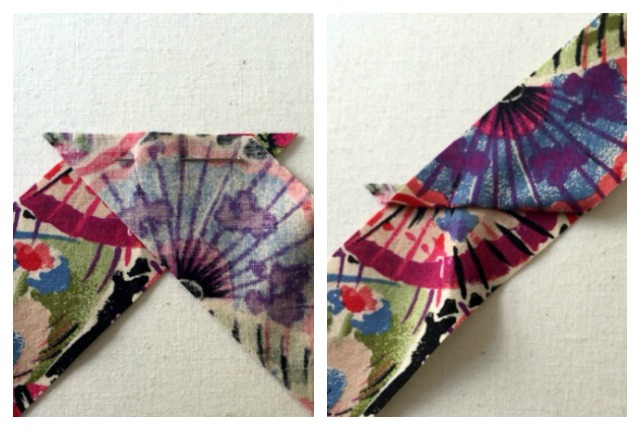
Line up the short ends with a 1/4″ or 5 mm seam allowance. The tips will over hang but the seam line will be lined up. Pin in place for sewing.
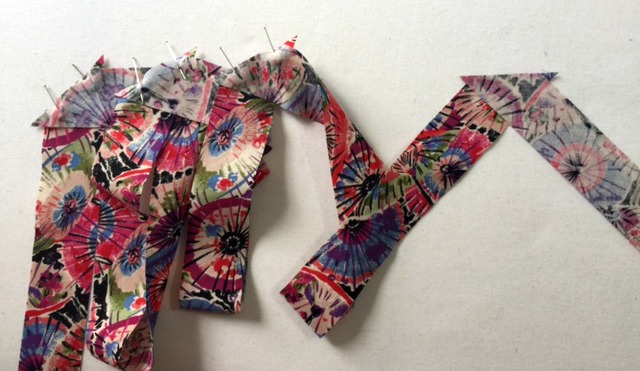
Go ahead and pin all your pieces together before going to the sewing machine. Keep in mind, if your binding will be showing on the outside of the garment, that the seams made by attaching these strips together will show. Therefore if you have different length strips try to place them together in a way that you can reduce any of these seams being center front on your garment. Or you cannot over think it and alternate shorter and longer strips. If all the short strips are together you will have a piece of binding with seam after seam after seam.
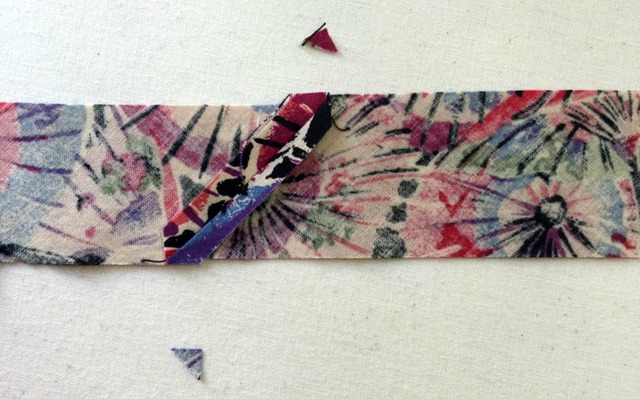
Stitch the strips together back stitching at each end a stitch or two. Press open the seams of the strip and trim off the tips.
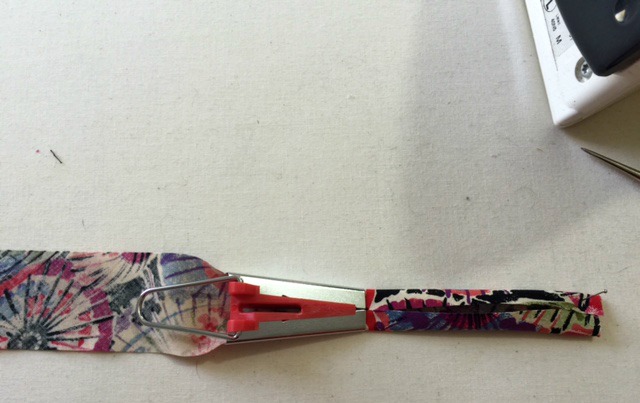
Bias tape makers come in varying widths. They are not adjustable. You need a different bias tape maker for different widths. (They cost about $6 each.) They really make the job a snap. If you think you’re going to be making a lot or even a moderate amount of bias binding you will want one or two of these gadgets.
You simple thread one short end of your fabric strip through the metal template (It reminds me of a cookie press or a play-dough extractor) and pull it down along the strip by it’s handle. As you do so, the bias maker folds the long ends of the strip into the center but it doesn’t crease them down so you need to, with your other hand, follow the bias maker with your hot iron. The gadget is fast and saves your fingers from hot irons.
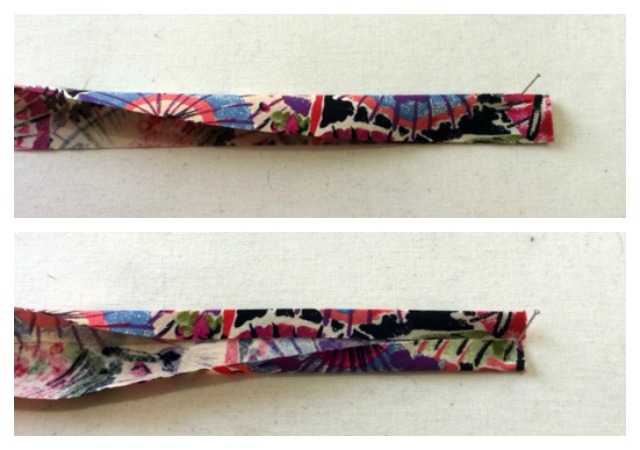
If you do not have a bias tape maker simply fold the bias strip in half lengthwise and press with the iron. Then open up the strip and fold the two long raw edges in toward the center so they meet at the crease you just pressed. Iron these folds down. You may have to do one side at at time and you may iron flat that center crease but it’s all good.
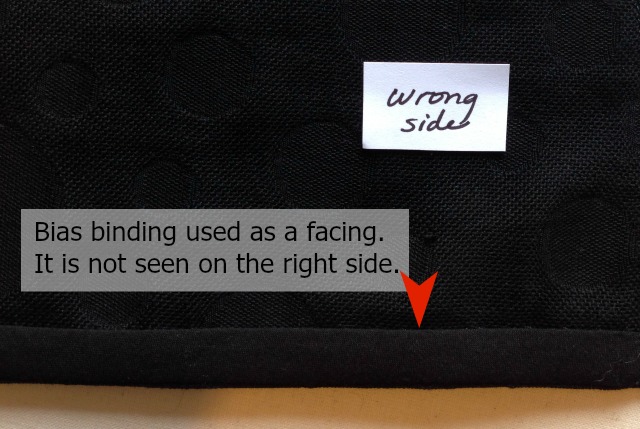
If you are using the bias strip as a facing, not to be seen on the outside of the garment, just fold the strip in half lengthwise and your done.
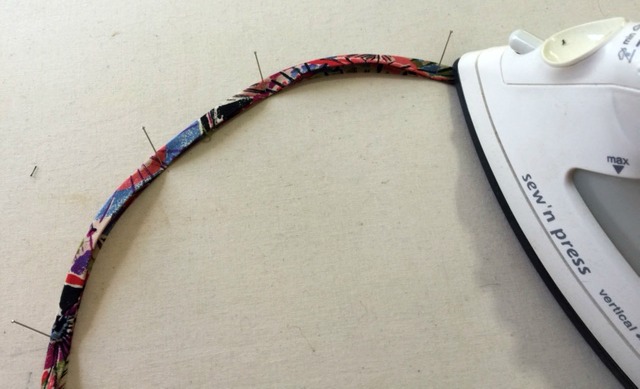
Now your bias strip is bias binding ready to be sewn onto whatever it is you’re sewing. If the binding is to bind a curved edge you may want to preshape it. This will help the binding lay completely flat, no ripples, no puckers, on the curved area of the garment. To preshape bindings made from natural fibers pin or hold down the folded binding in a shape mimicking the curve of the garment it is to be sewn to. Use a steam iron to press and shrink the binding into shape.
Next post is going to show how to sew the bias binding on.
Bias bindings can be used:
- for binding necklines and armholes
- in place of facings on sheer or bulky fabrics
- to finish seam allowances as in the Hong Kong finish
- in place of a sleeve cuff.
- to hem skirts that are either a tad too short (add a wide binding) or just too short to hem.
- as straps and ties (fold in half and sew the strip shut)
- to bind garment edges for a decorative detail (pockets, collars, keyhole openings)
- to bind edges of totes, table linens or just about anything.
Here’s a different way you can do this:
I have seen binding made from strips of non matching fabric. Every so many inches the bias strip becomes a different print, like patchwork. This would be a nice binding for crafts like bibs, wallets and quilts and on children’s play wear. Of course it’s also a good use of your scraps.
And here’s a rule you can do without:
I’ve always seen it recommended to use small prints for binding since large prints will be lost especially on bindings less than an inch wide (2.5 cm) but fold up a scrap and see before you rule it out. It may be the look you’re wanting. Remember, you’re the designer. You sew so you don’t have to look like everyone else.

This is fantastic tutorial! Thanks!
Thank you very much. I’m happy you found it helpful.