
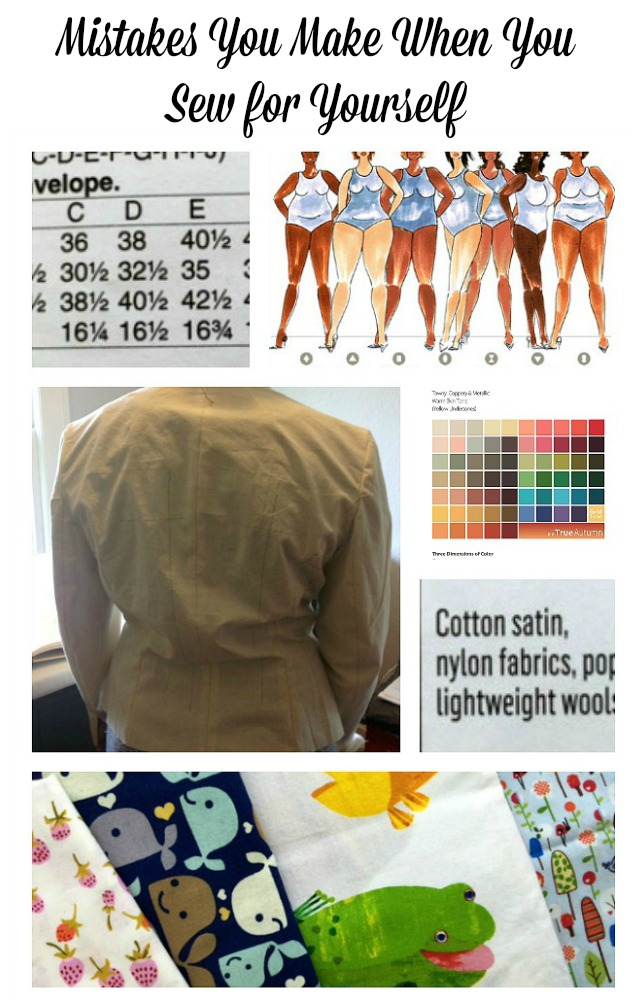
You’re excited to sew. You know it’s going to be great when you’re done. People are going to stop you and ask where you got it. You smile and reply “I made it”. You carve out some sewing time and do your best. When you’re done you try it on and…deflate. It doesn’t look so good. What went wrong?
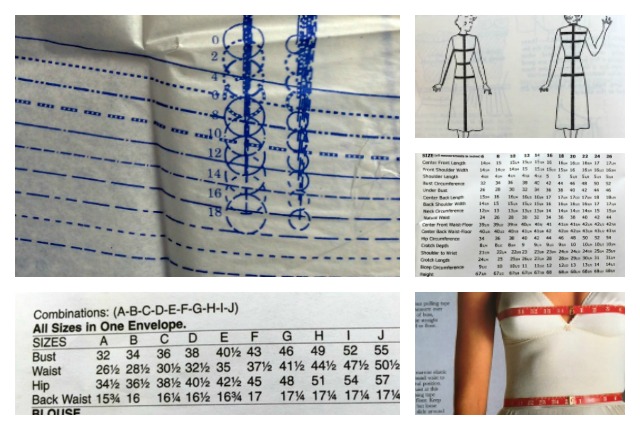
You cut out the wrong size
Sewing pattern sizes are not the same as ready-to-wear sizes but like ready-to-wear sizes they vary widely from brand to brand. To know what size you need to cut from your fabric take your waist, bust and hip measurements (not over bulky clothes and do not pull the measuring tape too tight) and compare them to the size chart on the pattern. Pick the size closest to your measurements and ignore that size number if it bothers you.
The rule of thumb is:
- For tops, dresses and jackets choose the size based on your full bust measurement. This is the fullest part of your breast. Keep the tape measure horizontal to the floor, not tilting up or down, when you take your measurement.
- For pants and skirts choose the pattern size based on your hip measurement. Hips are typically the widest point on the lower half of your body. If your waist is the largest circumference of your lower half then choose the pattern size that best fits your waist.
- Menswear; chest measurement (broadest point) for shirts and waist size for pants.
Clothing must fit over your fullest part. You can take in the areas that are too loose but you can not add more fabric to any areas that are too small.
However, there is more to it;
Before cutting, measure the pattern pieces. You may need to lengthen or shorten or widen or take in some area of the pattern. (and the complicated part is the garment, unless it’s a leotard, is not suppose to be skin tight so the style will be larger than your body. In some styles, it will be a lot larger. See making a muslin below)
Every time I start a garment project I measure the pattern pieces at the places I have trouble with fit. Comparing my measurements to the pattern’s measurements helps me confirm which size to cut out. Keeping my measurements written down to refer to (and updated periodically) makes this a quick comparison. Measuring the pattern also allows you to make many fit adjustments to the pattern before cutting any fabric out (Measuring the pattern first is great for adjusting sleeve length, bodice length, shoulder seam length before cutting out fabric).
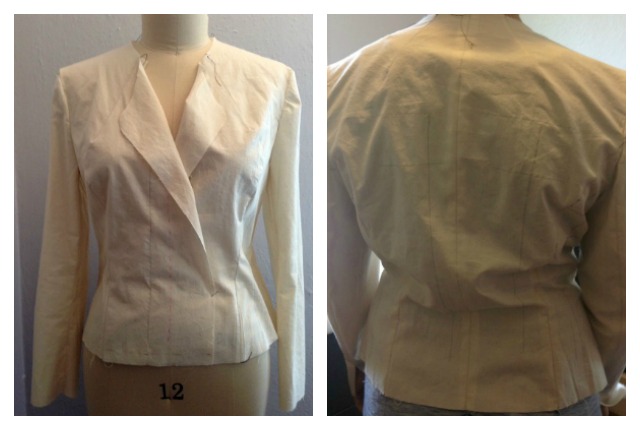
You don’t make a muslin to check and fine tune the fit
You must make a muslin. As tedious as this step seems it is so worth your time and effort. Use cheaper fabric, such as muslin, (hence the name. Muslin is an undyed, plain weave cotton). Or use a piece of “what was I thinking?” fabric from your stash. It is easier to see any fabric distortions if you use a solid fabric for the test garment. (I have used the wrong side of printed fabric for making muslins). If possible, use a similar weight of fabric for the test garment that the final garment will be made in.
Muslins do not require sewing any detail which does not affect the fit; no finished seams, no pockets or facings and it’s optional to include details that you want to work out such as collars, cuffs or pocket placement. You can draw on any pockets or buttons while the muslin is on for perfect placement.
Remember, muslins are basted so you really are not making the garment twice, more like one and a half times. Still sounds like more work than you wanted but when that final garment fits you perfectly you will be glad you invested the extra time. (Bonus; now making the garment a second or third time will require no muslin. The fit is already worked out. How nice is that?)
Try on your muslin for fit. Perfect? Then cut your fashion fabric the same size you used for the muslin.
Is the fabric pulling anywhere? Then it is too tight where it pulls from. Take out that seam if possible and let it open to see how much you need to add to your pattern. If there is no seam you can cut into the muslin and see how wide the fabric spreads.
Is the fabric puddling up? Then it is too loose in that area. Pinch and pin the excess fabric to see how much to take in your pattern or how much to shorten it.
Are the seams where they should be? Bust darts not too high or too low? Sleeve length where you want it? Neckline not gaping? Now is the time to check everything and change it to suit you. Transfer these changes to your paper pattern and either make a second muslin (for lots of or major changes) or cut out you altered pattern in your fashion fabric.

You choose a pattern style that doesn’t flatter your body type
In a store when you see a garment you like you can try it on and tell in a minute or two if it looks right on you. You either put it back on the rack, buy it, or buy it but return it after really analyzing it. When you choose a pattern you like, buy some fabric, take time to sew it up and then realize the style doesn’t suit you, you can throw it away or wear it anyway but you can return nothing; not the pattern or the fabric for they have been cut up into tiny pieces and you can’t turn back the clock to get your time back and please don’t take it personally, it’s the style, not your body. The only up side is you can call it a learning experience.
Get to know what suits your shape before investing time and resources into sewing for yourself. You can find information on body shapes and which clothes flatter which online, in books and on old TV shows like What Not To Wear.
Go to the stores, try on different styles, make some mental notes about what looks good on you. Then choose pattern styles that show off your best features. And stay away from clothes that hide you. You’re worth seeing.
The images above come from Killer Kurves, Roxie’s Powder Room, and Trinny & Susannah All sites worth reading about body shape. I also learned a lot from The Chic Fashionista
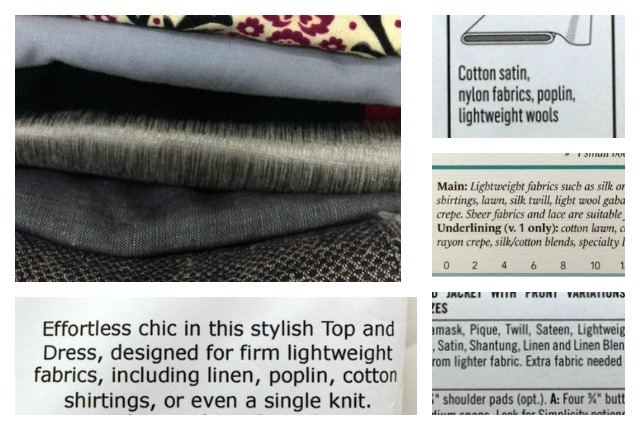
You use a fabric that isn’t suitable for the pattern’s style
Different styles call for different weights of fabric. It has to do with drape or how it hangs on the body; how structured, how tailored, how flowing, how soft.
To help you purchase a fabric that will give you the end result you want patterns will list some fabric suggestions. Following these suggestions should give you great results. However…we all come to sewing with different backgrounds. You may have been around people who speak fabric enough that you can speak it too or you may be like the majority of us and know what denim is but not so confident when we hear “crepe de chine”.
Knowing what different fabrics are called will help you tremendously when selecting fabric for a pattern especially if you have to buy fabric online. I keep a swatch book to help me remember what certain fabrics are called and what they feel like. This is really helpful when I have fabric in my stash that I can’t remember what it is exactly. I compare it to swatches in my swatch book and feel what it’s similar to (if not a perfect match). Then I can check the fabric suggestions on the pattern.
Visit fabric stores carrying apparel fabrics to learn fabric names and characteristics, ask the staff if you have any questions. Some online fabric stores have a swatch service. Order swatches and label them. Keep them in your own swatch book or swatch filing system for future reference.
If you can’t find a fabric that you like in a suggested fabric type then pick a fabric with a similar weight and characteristics.
Sometimes patterns use vague names for fabric suggestions; cotton for instance. Cotton comes in a million ways. In this case, you would first choose your fabric by weight. Use a bottom weight for skirts or pants (something strong enough to hold up to being sat on). Dresses are also sat on but if it’s a flowy, full style the fabric should be medium to light weight and tops will be too stiff if the fabric is too stiff.
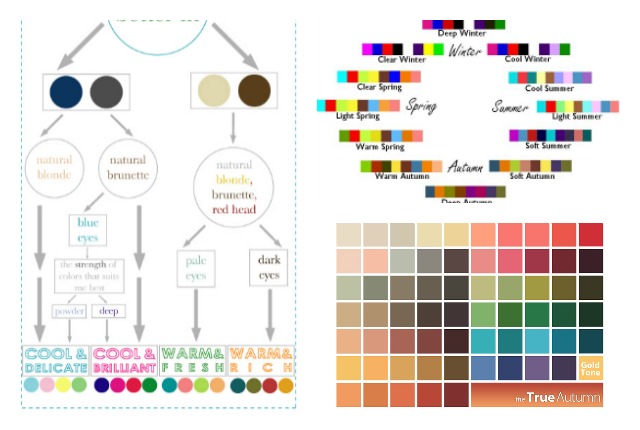
You choose a fabric in a color that doesn’t compliment you
As with silhouettes knowing which colors flatter you will save you disappointment after hours of making a top for yourself only to see it washes out your complexion. With a $5 t-shirt it’s not the end of the world (I mean, you could use it to sleep or work out in) but after all your work and time sewing it’s a bummer when you don’t enjoy wearing a garment you made.
First, get to know what looks best on you. There are a lot of books and websites about this topic to help you or you could just know, hey I look good in warmer colors or jewel tones. But remember, as you age, so does your coloring.
Second, if you made a garment in a color that isn’t all that flattering, add an accessory (scarf, jewelry) in a color (or metal) that does make your complexion glow. It’s only the colors next to your face that will change how you look.
If you have yards of turquoise in your stash and turquoise makes you appear sick, use it for garments or parts of garments that are not placed up next to your beautiful face.
Some color sites to explore, and where the above images came from: Cardigan Empire, Invent Your Own Image, and The Chic Fashionista (Finding your color family can be confusing. I liked Chic Fashionista’s explanation but I’m still not 100% sure)
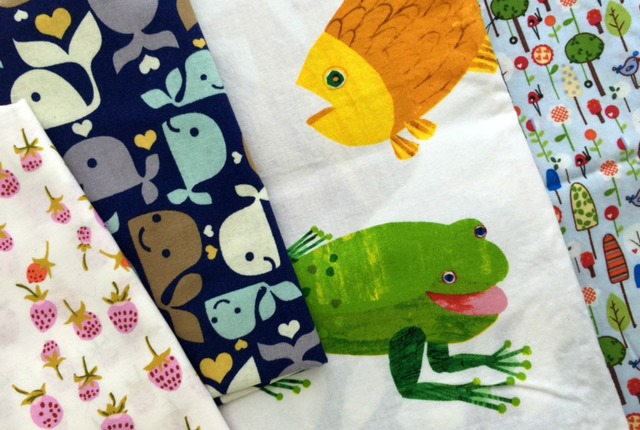
You choose a fabric that is too “little kid”
As cute as that print might be, ask yourself, in your adult voice, if it’s appropriate for women’s wear or men’s wear. If it isn’t, and you already own the fabric or just have to have it, then use it for a tote bag, a lining of a waistband, a pillowcase or a quilt (which the print might have been intended for in the first place). Use it for anything other than a garment for an adult. Here is what you can do with fabrics you love but just can’t wear.
But adults are not regulated to neutrals and solids. There are sophisticated prints out there. There are even fun, grown-up prints but there is also a fine line between fun and childish which, for your sake, you do not want to cross.
Be wary, my grown up friend, of anything you choose from the quilting section if you’re not making a quilt.
You rush your sewing
Please don’t. Sewing is something you get to do for you and probably not as often as you would like to so give it the time that it and you deserve.
How do I know about these mistakes?
I made every single one of them, more than once. Hey, I’m a life long learner. I’m getting better and better but the learning never stops. At least I hope it doesn’t.
What mistakes have you made when sewing for yourself? Any we could learn from?
Such a great overview! I am recently coming back to garment sewing after being away from it for 30+ years…my entre back then was to make maternity jumpers to go with my bow blouses for professional wear! I was self taught..so lots of mistakes. However, I had a good quality sewing machine and a serger, so my clothes were finished nicely, but I chose easy constructs. When my daughter was born, I made stuff for her (and did not make anything for myself).
Now fast forward, I thought it would be fun to dip back in. The internet videos and blogs such as this one make it easier to find quality instruction to avoid pitfalls. I recently made a T Shirt tank dress for myself…It is so soft and comfortable–and fits perfectly due to the small changes that I made to the pattern. Thanks for your work.
Thank you. It is fun to sew a few things for yourself. Sounds like you’re not only dipping back into sewing but also taking it to a higher level 🙂