

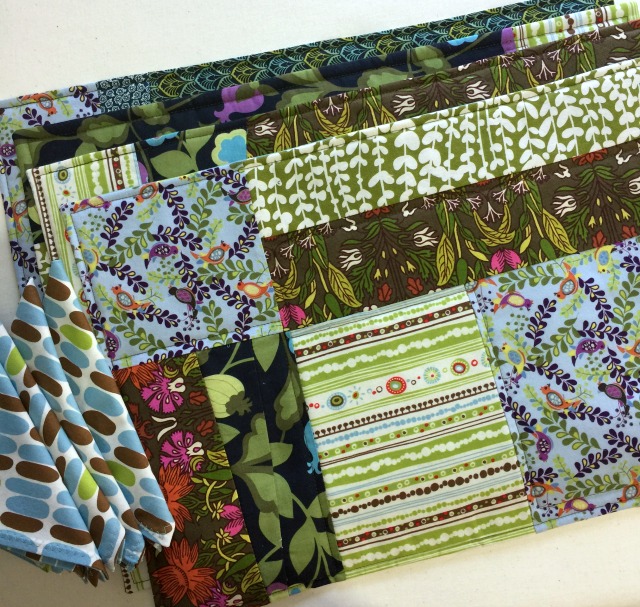
It took us ten years but we have finished the dining room. My husband built built-ins, we painted, hung art on the walls and bought plants that by a miracle are surviving as we learn basic plant care. It’s a great space and this Thanksgiving as we sat down to eat I didn’t want all eyes on the well-worn but well-loved table or the faded, shrunken, store-bought placemats we seem to be okay with using. I wanted the table to look as good as the rest of the room short of refinishing it right now and I knew new table linens were the answer.
Of course, I didn’t think about making table linens until a week before Thanksgiving. There would be six of us at table and because it was the Thanksgiving feast the food would be placed on the table, not left in the kitchen. These criteria dictated making four placemats, for the side seats and a table runner for the end seats and the food – and heck, why not sew up some matching napkins too?
The placemats, the table runner and the napkins were easy to make. It’s a project you could do on a weekend or a few evenings. It’s possible to sew the entire set without a trip to the fabric store if your stash is plentiful like mine.
This post is how to make the placemats. The table runner tutorial will be up next and how to make cloth napkins is right here.
My usual aesthetic for the house is modern and clean-lined with a touch of playfulness but I had seen a set of patchwork coasters I liked in a catalog and my mind was still on using up my fabric stash from my recent use-it-up fabric challenge so I just had to make the placemats patchworked. More play less clean lines.
The patchwork is fun but deciding how and where to place the different fabrics does take some time, some focus and a few cups of tea.
To make patchwork placemats you will need a few coordinating scraps or cuts of fabric, a fabric for the backing. (The backing fabric I used was 45″ wide and 2 1/2 yards long. Out of it I was able to cut four placemat backs, the table runner back and six 10″ (25cm) square napkins). You will also need some thin batting or stiff interfacing to give the mats some weight and substance.
You could use a different fabric for each placemat back to use up small cuts from your fabric stash. This would look fine with the patchwork tops.
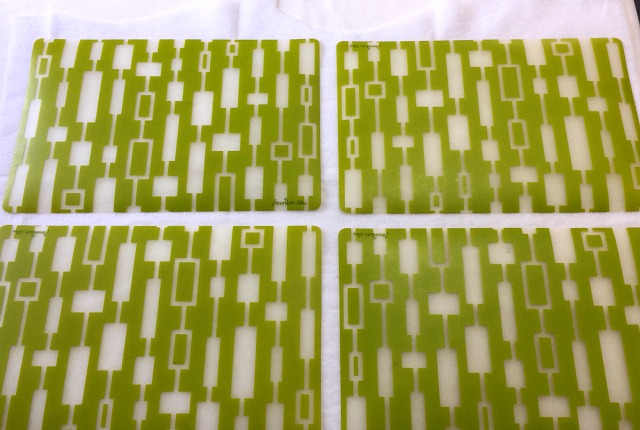
Waiting to almost the last minute certainly motivates and helps you make faster decisions about any project. Tracing placemats you already own may be the fastest way to make a decision on what size to make and tracing is easier than measuring. Just trace, and done. If you don’t already own placemats, I made mine 17 1/2″ (44cm) wide by 11 3/4″ (30cm) tall. (Same size as these cool Jonathan Adler plastic placemats that my family doesn’t seem to appreciate as much as I do).
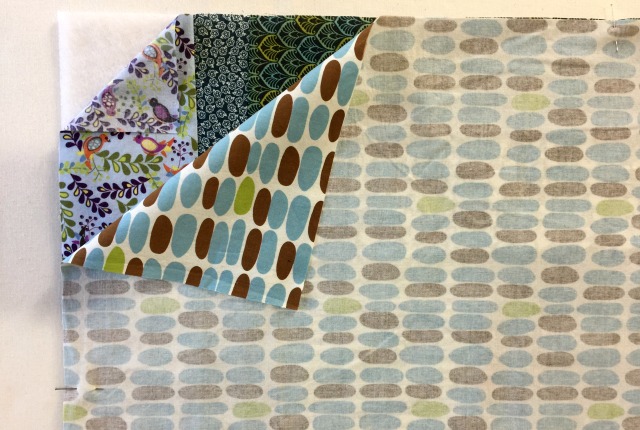
Trace your old placemats (or measure and mark) onto the backing fabric or the batting. Trace about a half inch (1 cm) away from the mats you are using as a pattern for seam allowance. Cut out. Use the newly cut pieces as the pattern to cut out the backing or the batting (whichever is left to cut).
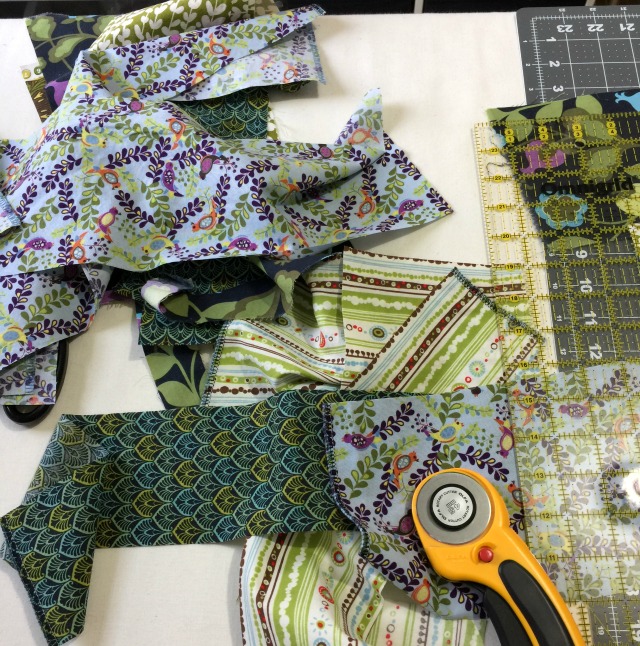
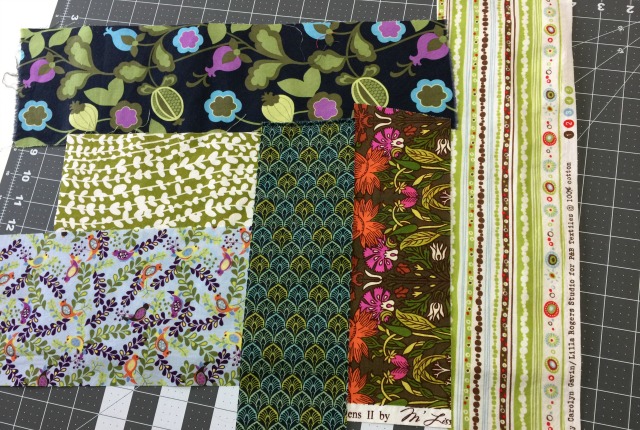
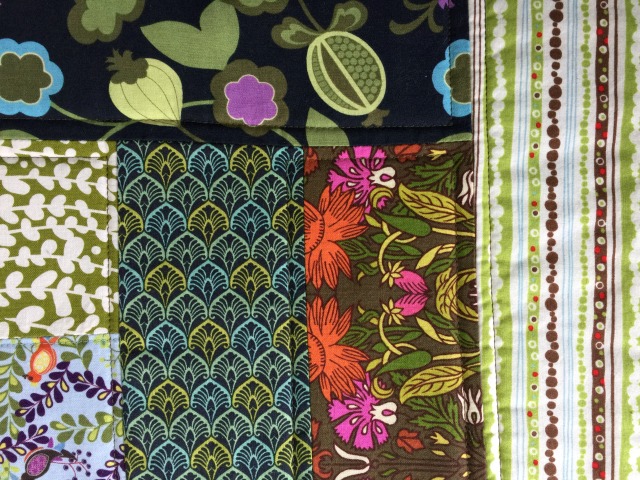
Gather scraps and yardage for the top. About six or seven different fabrics is a nice amount to work with, without too much repetition BUT it’s completely your choice and decision.
To help get started with laying out the tops you may want to go ahead and cut a few strips and rectangles out of the fabrics. You can cut squared up pieces or make them slightly off depending on the look you are going for. I made my pieces a little off and medium to large in size. Smaller pieces mean more pieces to put together but that’s okay if it looks good to you.

Start laying the pieces on the batting until you have a pleasing composition both in the balance of dark and light and the direction the shapes lay. The batting just reminds you of the size you need to cover. Remember, to overlap the pieces slightly to account for the seam allowance.
Sewing together two small pieces of one fabric to make a wider strip of that fabric is an option too.
After you decide on the final design, start sewing together the pieces in an order that eliminates sewing corners. Sew small pieces together to make a long strip, sew long strips together, sew pieces together into a rectangle which is then sewn to a long strip. Whichever way it works for your composition.
For the piecing, I used a 1/4″ (5mm) seam allowance. Press your seams and seam allowances after sewing. I press the seam allowances open but quilters (I’m pretty sure) press the seam allowances to one side.
Quilting as you go could be an option for putting the placemats together but I don’t know that method well enough to piece the odd joints some of the fabric pieces made.
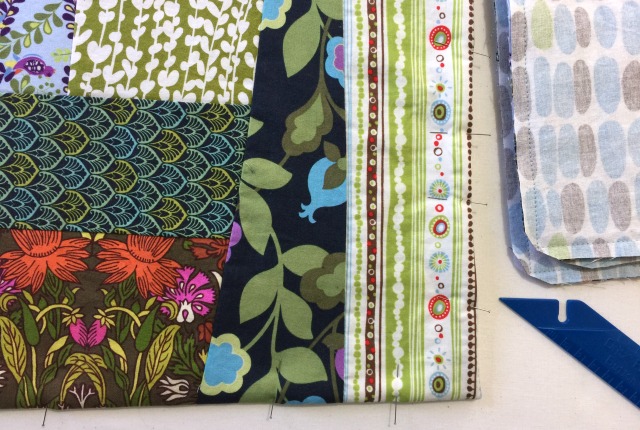
When the tops are all pieced, iron and trim them to match the size of your backs and batting. Lay the batting down on your work surface. Place the pieced top over the batting right side up. Place the back fabric piece on the top right side down. Pin the layers together in a few places and sew them together around the edge (I used a 1/2 inch (1 cm) seam allowance). Leave a 4 to 5 inch (10 to 13 cms) opening in the middle of one of the sides.
Clip the corners and turn the placemats right side out through the opening. Gently push the corners out so they are square. Fold in the seam allowance at the opening. Press the placemats, lining up the seam so neither the front shows on the back or the back shows on the front.
Topstitch around the edge with a walking or even feed foot if you have one closing up the opening in the process. If you don’t have this specialty foot just pin around the edge every 4 inches (10 cm) or so. This helps stop the top fabric from creeping forward too much while you sew. (The walking foot for my machine was costly but now that I’ve used it a few times I’m going to say it was worth buying. Heck, after using it once I thought it was worth the cost. There is far less cursing at the machine nowadays)
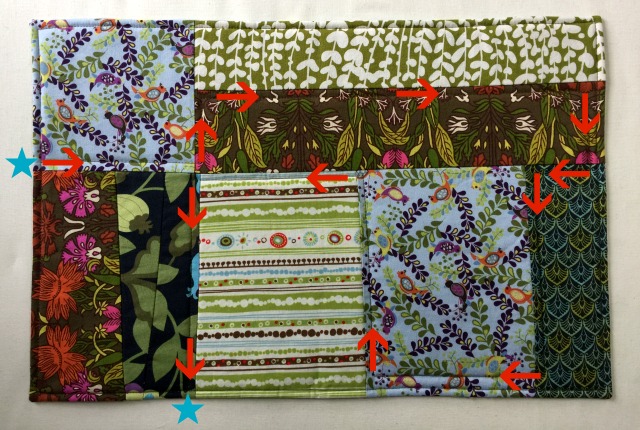
Quilt the layers of the placemats together in some way. I was like a mouse in a maze following the walls. I started at the topstitching along the edge of the mat, stitched along the edges of some of the pieces until I covered the mat evenly. Then I found my way back to the topstitching on the edge and stopped there.
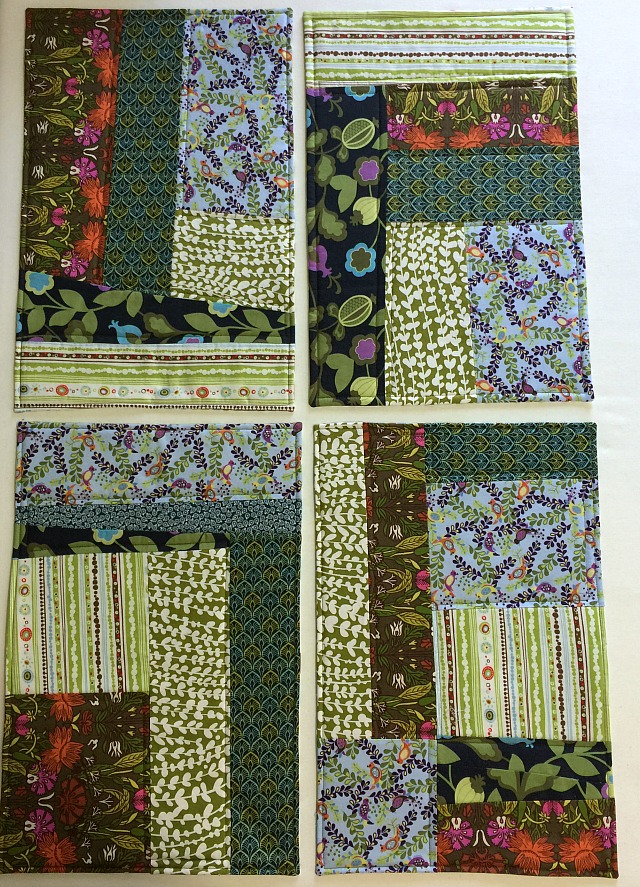
Press your quilted placemats. They are done and ready to be used.
You could stop here and this would be enough to brighten up the dinner table or you could take a little break and come back to make a coordinating table runner and napkins. I’ll be posting that VERY soon.
How could you do this differently?
- Smaller pieces pieced together would give a different look
- A solid fabric border, like a frame, around the pieced prints
- Make each placemat in a predominantly different color so each family member has their own, distinguishable placemat
- Quilt the mats more. Multiple parallel lines would look good.
- Follow a pattern for a quilt block for the tops
- Make a set of placemats as a gift instead of keeping them for yourself
- Make the placemats extra small to be coasters
- Make the placemats round or oval or hexagons
The project was quick going, used up some fabric (and batting) from the stash, and brought fabrics I like into another room of the house. One I’m in a lot.
Why not dress up your table and not just for special dinners? When you get to see some favorite fabrics and colors under your granola your day is already off to a good start.