
Sewing on a button.
My dad might say, “There’s a right way and a wrong way” but really, if you got that button reattached, with thread, then you succeeded. You “sewed” it back on. Job done.
However, there is some truth to my dad’s way of thinking. There is a way, and it’s not very complicated, to sew on a button so it stays on, looks good, and passes easily through the buttonhole. Sew it on once and never have to do it again.
You can watch my video demonstrating this technique but it’s all explained below in detail if you prefer to read about it.
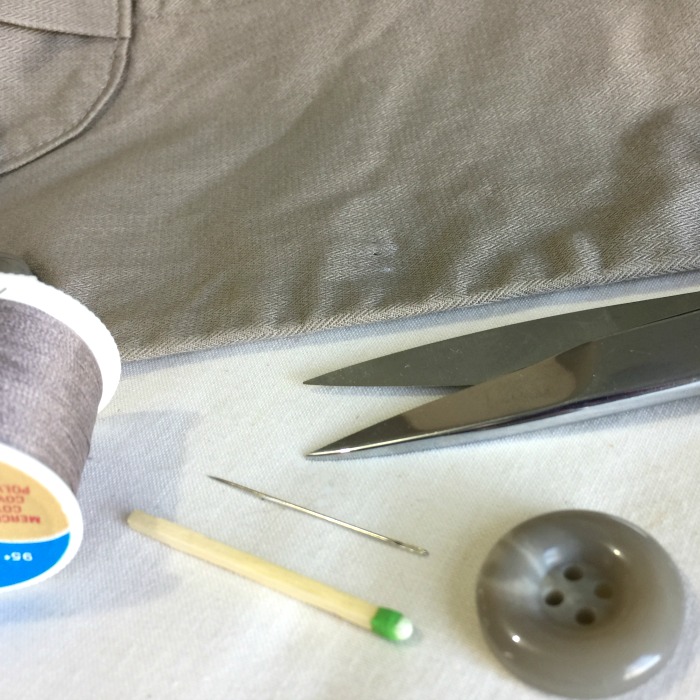
What You’ll Need for the Job
You don’t need fancy tools to sew on a button just a button, thread, needle, scissors, and a matchstick or toothpick or any object roughly the thickness of the fabric the buttonholes are made in.
If your buttonhole fabric is really thick, as in a winter coat you may need two matchsticks. For a shirt, a thick darning needle or toothpick will be about equal to the thickness of the shirt fabric.
The button needs to sit on top of the buttonhole. If you sew it too tight against the fabric, the buttonhole has nowhere to go. So you need to make a thread shank to raise the button, which is where the toothpick, or matchstick, comes in.
If you have the type of button where you cannot see any holes on the top of it and the button is shaped sort of like a mushroom, meaning it has a “stem”, you do not need a matchstick or toothpick or any other object. The “stem” of your button is the shank.
The Button:
If you don’t have the button that fell off you’ll probably want to replace it with a matching button. Sometimes garments come with an extra button sewn onto the side seam near the hem or in a little envelope. You may be able to find a new matching button at a fabric store. Or ask your friends, many sewers have button collections and many people save those “extra buttons” long after they’ve worn out the garment the extra button came with.
If the missing button is in an obvious location on your garment and you cannot find a matching button you could replace all the buttons. Just pick the same size buttons as the originals so they will fit the buttonholes.
Or you could remove a button from a less conspicuous location on your garment to replace the missing button. Then use a button that is a close but not perfect match in the less noticeable location.
Of course, you could replace the missing button with any button you want. It’s your choice to match it or not. Just watch the size. A large button won’t fit through the buttonhole and a tiny button will slip out of the buttonhole.
The Thread:
If you can see the thread that is holding on the remaining buttons, you’ll want to use a thread that matches this. If you don’t have a perfect color match but have some close enough colors go with a darker shade over a lighter shade.
All-purpose thread or heavy-duty thread is best. If you don’t sew a lot and need to buy thread, buy a good quality all-purpose thread then you can use it for mending should you need to.
The Needle:
You’ll want a sharp needle that’s thin but strong enough to go through your fabric. The thicker your fabric the bigger the needle will need to be.
Here We Go
Cut a length of thread about 24” long. Thread the needle and bring the ends together. The needle will be in the middle of your thread. Tie the ends in a small knot to have a double thread.
(Here’s my video showing a great knot for starting your thread.)
If you are using heavy-duty thread or button twist you do not need to double your thread.
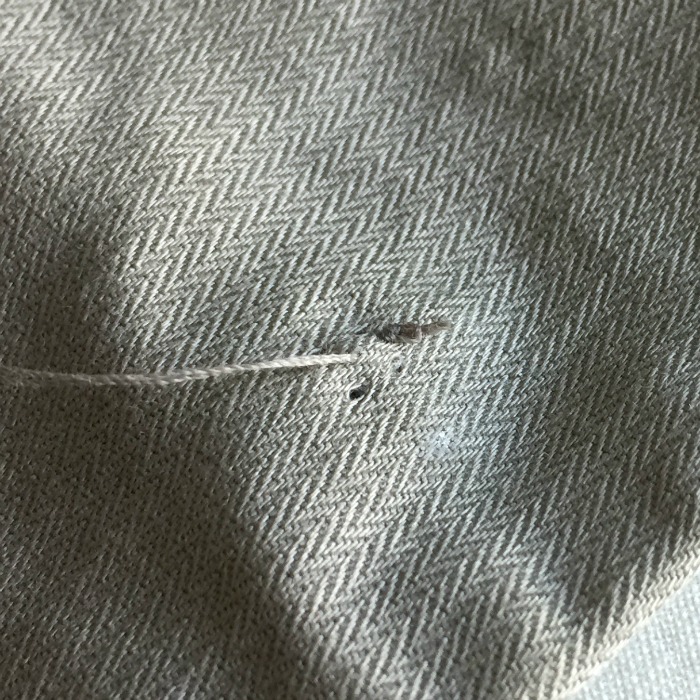
Insert the needle through the top side of the garment where the center of the button will be. Use the holes left from where the button previously was as a guide to where to place the needle.
Take the needle through to the backside. The button will cover the knot.
If the button has been missing a while and you can no longer see the holes, button up the remaining buttons. Make a small mark, through the buttonhole, where the button should be sewn. (You can use a pin to mark the spot). The button is not sewn in the center of a buttonhole but 1/8″ down from the top of vertical buttonholes and 1/8″ over from the edge (which edge depends on if your fabric overlaps right over left or left over right).
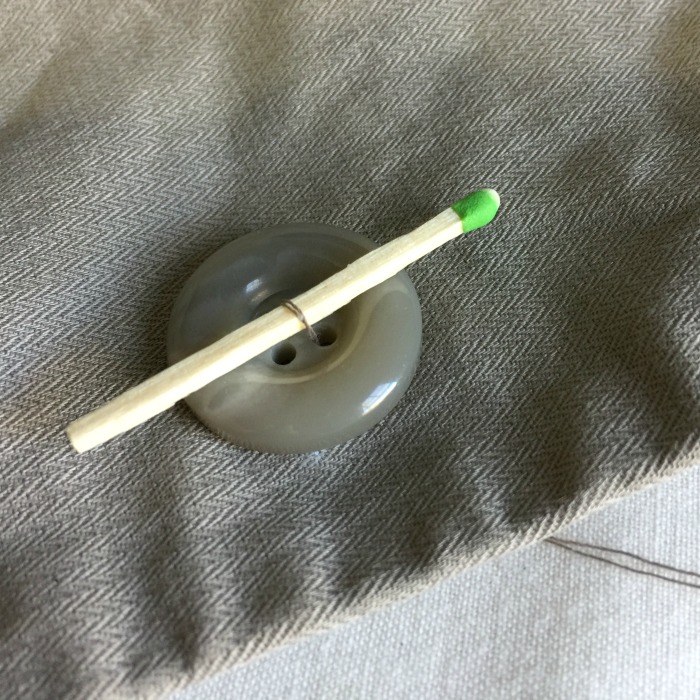
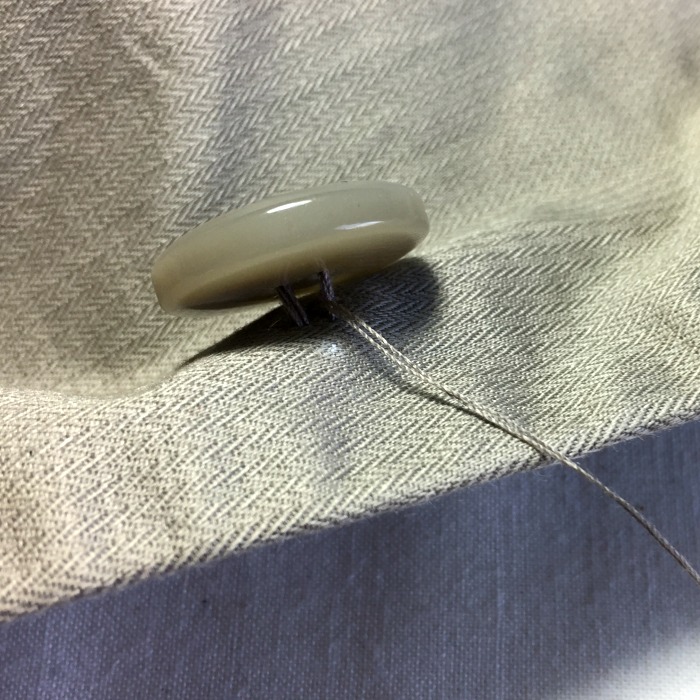
Bring the needle up through the garment and through a hole in the button. Place a matchstick or toothpick over the button and insert the needle back down, through a hole opposite where it came up. The thread will go over the object you’ve used as your spacer (the matchstick, toothpick, sewing needle, etc). The spacer you use should be equal to the thickness of the fabric the buttonhole is sewn on.
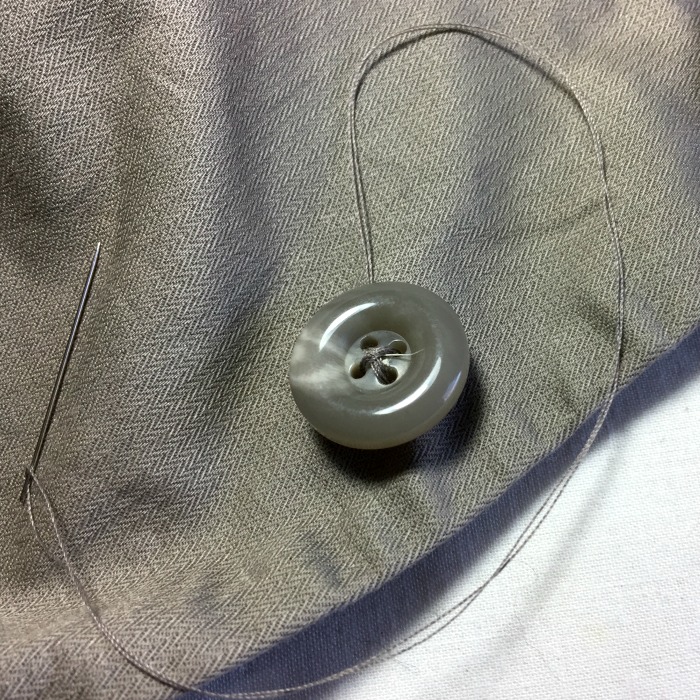
If you have a button with four holes look at how the other buttons are sewn on, criss-cross or parallel threads, and sew this button on in the same way.
If you have a shank button you will not use a spacer. Simply take the needle to the back, up through to the front and through the hole in the button’s shank, then back down to the back of the garment. Repeat this three more times until your button is secure.

Continue sewing the button in this manner; the needle coming up, through the fabric and hole, over the spacer, and back down through an opposite hole and fabric until you’ve made three to four passes through each set of holes. (Three passes in each pair of holes for a four-hole button and four passes if the button has only one set of holes).
Try to keep the threads on the back of the garment in the center and close to each other in a tight area.
Remove the matchstick or other spacer and raise the button up all the way so it is up against the top of the stitches and the slack in the thread is under the button.
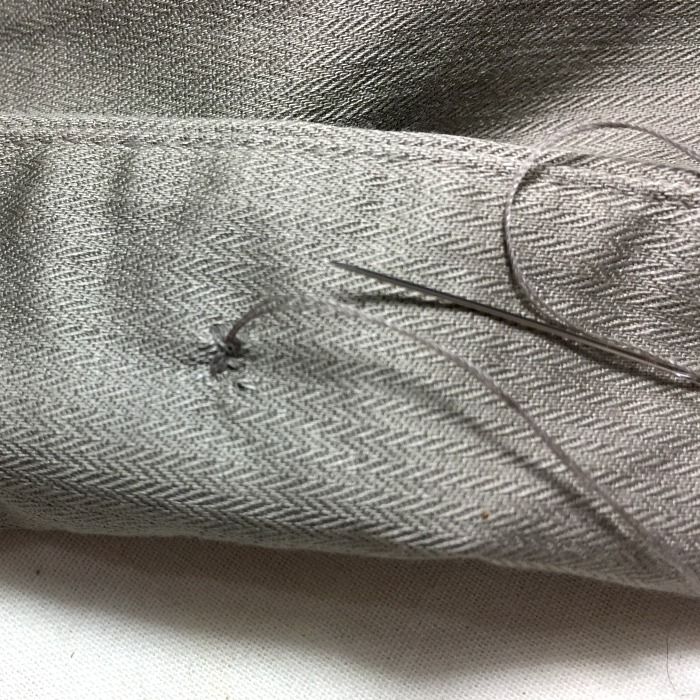
Insert the needle up through the garment close to the center of the button but not through the button.
If you’re sewing on a shank button skip this and the next two steps and go down to knotting your thread.
Wrap the thread tightly around the threads under the button 3 to 4 times to form a shank. (a little thread column).
Detail of making the shank
Push the needle through the shank 3 to 4 times to secure the thread.
The shank allows for the thickness of the fabric on the buttonhole side. This little space lets the overlapping fabric move freely when buttoning and unbuttoning the garment. Without this little extra space, the buttonhole fabric may pucker and buttoning becomes more of a struggle, especially on thicker fabrics.
Insert the needle down, through the top of the garment to the back, and tie a small knot.
(Here’s a different video of mine showing a great knot for securing your thread.)
To make the knot extra secure you could add a drop of Fray Check to the knot.
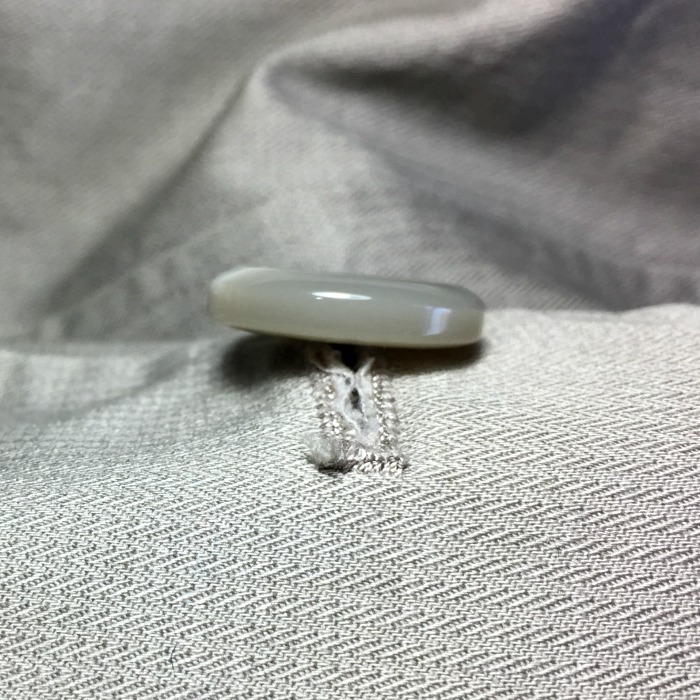
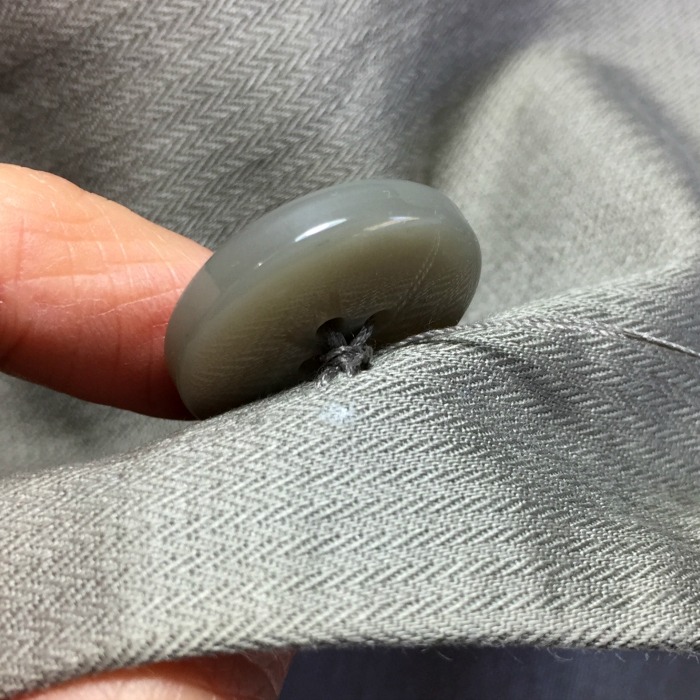
A view from the right.
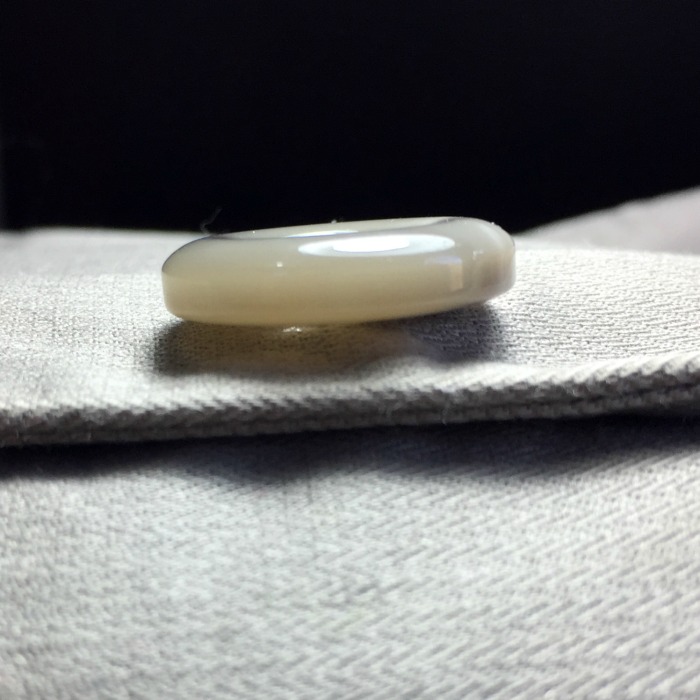
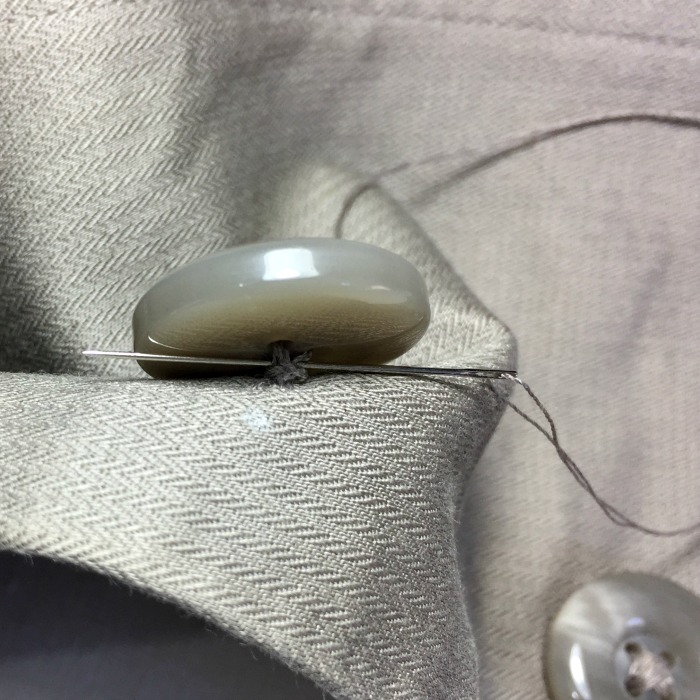
And a view from the left. Notice the buttonhole can move freely under the button. There is no straining of either layer of the garment. Thin shirts may not need a shank but they need a little elbow room so don’t pull your thread too tight when sewing your button on.
Button Up and Off You Go
Well done. You’ve added yet another skill to your expansive collection AND you made that garment wearable and practical again. I don’t always like mending but I love the feeling when I’m done.
Want to learn more? Check out these tips for Hand Sewing