
Although you could sew most garments entirely by machine there are many times and many construction techniques that you could sew more accurately, with more beautiful results, and maybe, in the long run, sew it even faster, if you turned off your sewing machine and stitched by hand.
This is a tale of two hand stitches, the Slip Stitch and its twin the Fell Stitch. At first, they may appear to be identical but if you give them a moment more of your attention you will notice they’re not; not in looks, not in instruction and not in purpose. Yet both are worth getting to know better.
Invite them in for 15 minutes and one day when you’re sewing a garment and the pattern instructions say to “machine stitch” you will recall that meeting and you will think, “I know a better way.”
And all you’ll have to do is call, Slip or Fell, and they will be with you in an instant for they are both eager to help.
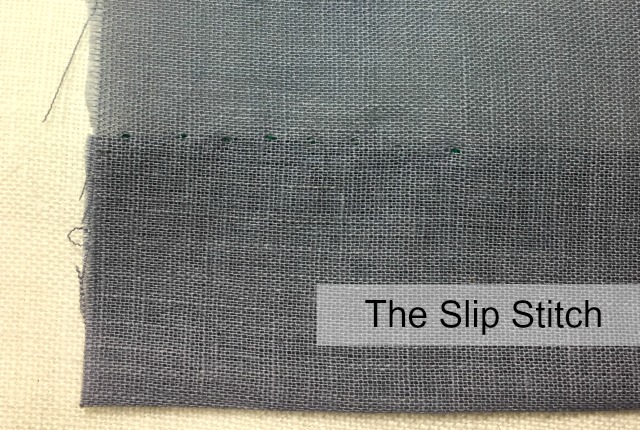
The Slip Stitch
Slip stitch is a popular stitch frequently used for hems but useful any time you need an “invisible” seam, for instance, making a rolled hem on delicate or sheer fabric and for attaching bias binding to the inside of a neckline when you don’t want the casual look of machine topstitching.
The slip stitch gets it name from the way the needle “slips” into and travels along the fold of the fabric. Because the traveling thread is sandwiched in the fold for most of the seam it is not seen from either side of the garment.
However, the sewing thread will show on the outside but only very slightly so match your thread or go a shade darker if you can’t match exactly for truly invisible stitches.
Watch the slip stitch being made
To start
Knot your thread and choose a needle thickness that corresponds to your fabric weight.
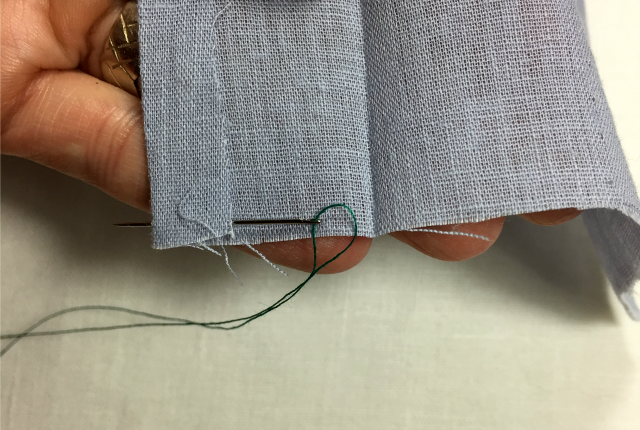
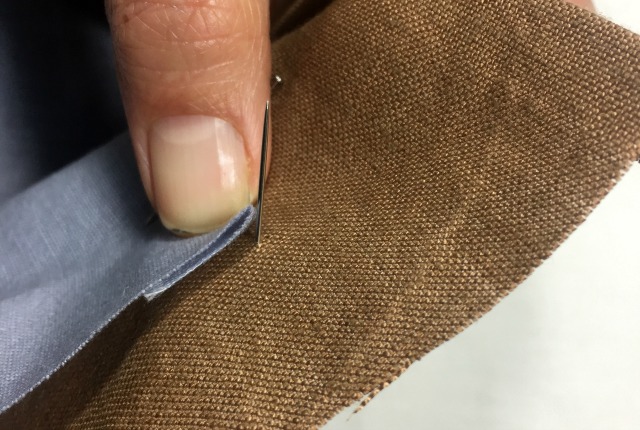
You will be working right to left. Bring the needle up through the fold on the far right of your sewing area so that the knot is in the crease of the fold.
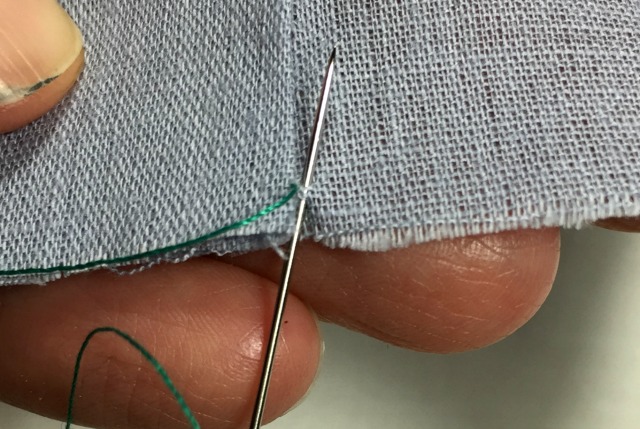
Put the needle down into the garment fabric at the same level as the fold and pick up a couple of threads of the fabric onto the needle, right to left.

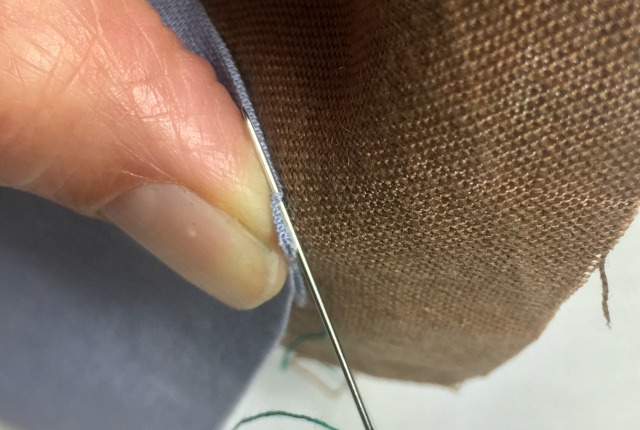
Insert the needle back into the fold at the top of the fold.
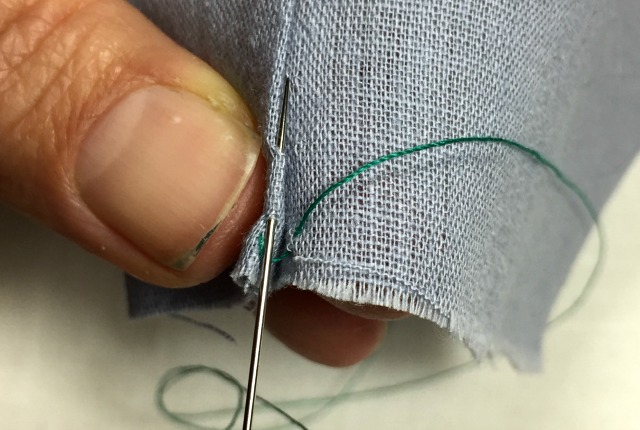
Carry the needle to the left about ¼” through the fold. Bring the needle out of the fold on the fold’s edge
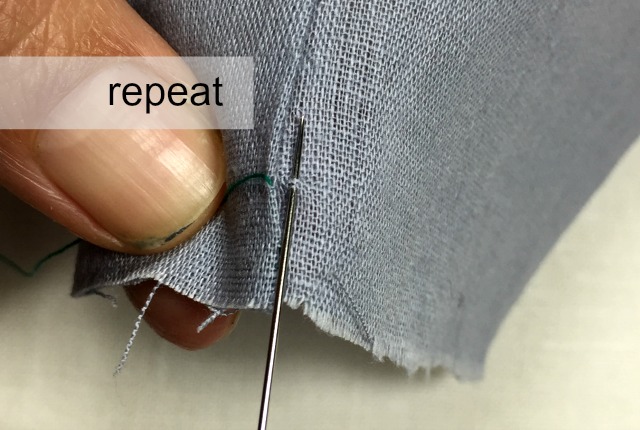
Repeat the stitch by taking up a couple of threads of the garment fabric on the needle and traveling through the fold between stitches.
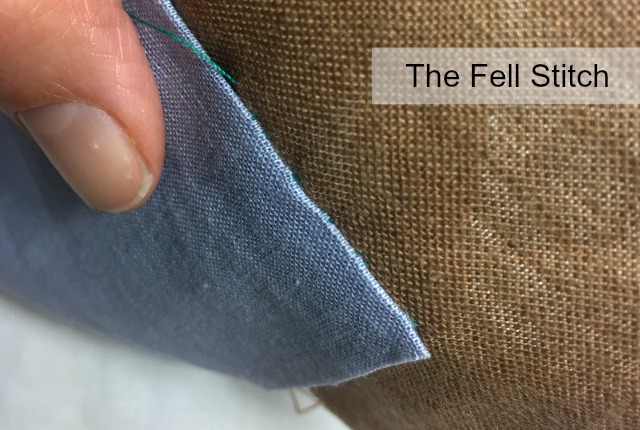
The Fell Stitch
This stitch also called the applique stitch, is quick to do, flexible and stronger than the slip stitch. It’s used to sew a layer of fabric, usually folded, onto another layer of fabric without being too visible, for instance finishing collars, waistbands, and sleeves, sewing lace as an applique, or attaching ribbon and trims. It’s also used when hand sewing french seams.
Fabric sewn on with the fell stitch is able to move somewhat making it a great stitch for installing linings (Up to now I’ve always used a slip stitch for linings but now I know a fell stitch is stronger and, hey, it’s just as easy).
Watch the fell stitch being made
To start
Knot your thread and choose a needle thickness that corresponds to your fabric weight.
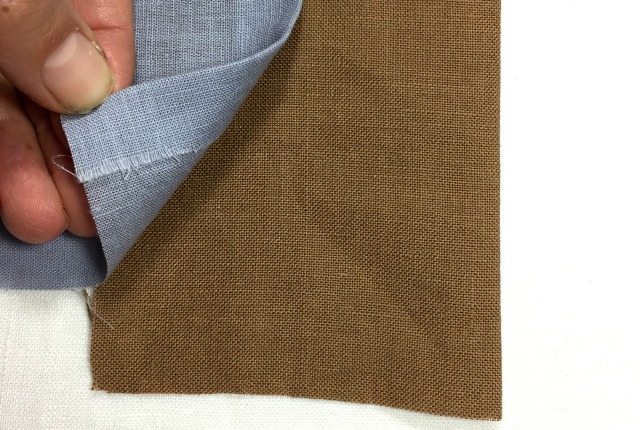
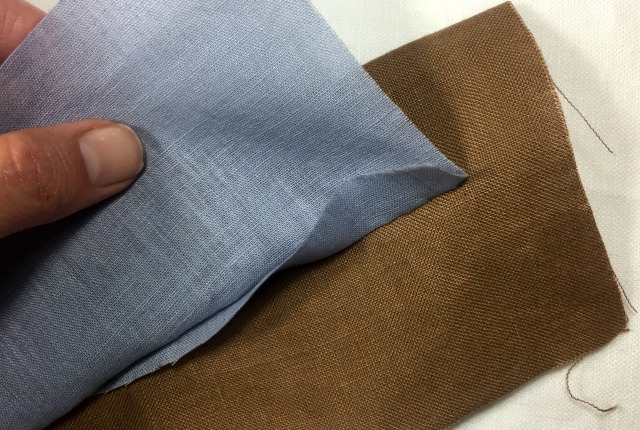
Lay the fabric to be attached, on top of the base fabric. If it’s fabric the raw edge could be folded under or use a selvedge edge. If it’s ribbon, trim or lace it will just lay on top as it is.
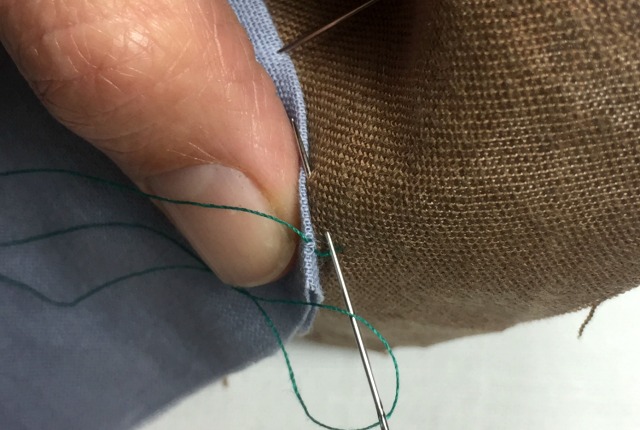
You will work right to left. Bring the needle up from the back side of the base fabric on the far right of your sewing area just under the edge of your folded fabric or trim.
Insert the needle into the fold and back out a couple threads to the left. Or insert your needle into the trim and back out a couple threads to the left.
Insert the needle down into the base fabric. Carry the needle to the left about a ⅛ to ¼ “ across the back.

Repeat this step by coming up beside the fold (or trim) taking a few threads of the fold or trim up on the needle and going back down into the base fabric.

The fell stitch shows on the back of the fabric.
Both stitches involve a fold but the slip stitch travels in the fold and picks up threads from the base fabric and the fell stitch travels behind the base fabric and picks up threads from the fold. Similar but opposite and both useful.
It’s good to slow your sewing down a bit, take the time to think your construction through and add little details to make your garments more lovely and long lasting. I hope these two stitches will help ease your sewing burdens and have a permanent spot in your sewing arsenal.
In case you missed it here are my 10 Essential Tips For Stress Free Hand Sewing