
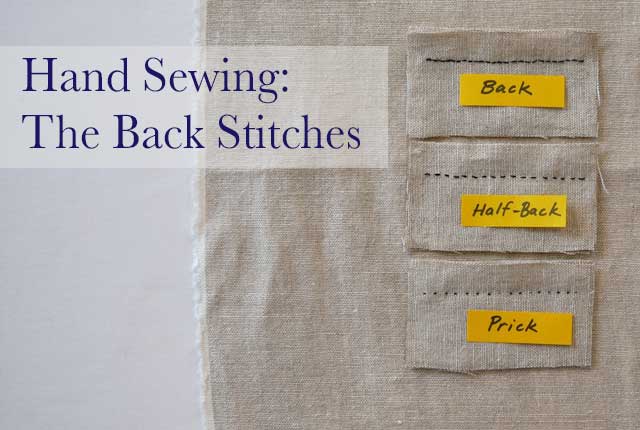
Let’s simplify our lives and have one go-to stitch for sewing seams and repairing. That will be the back stitch. Once you master the back stitch your life will be ever so simplified 😉
But seriously, the back stitch is one handy, all-purpose stitch that can take a lot of strain, pulls, tugs and general abuse.
Luckily though you don’t have to pick just one stitch to master because with a slight variation to the back stitch you will also be the master of the half-back stitch and the prick stitch.
This video will show how to do all three stitches, plus how to knot your thread at the beginning and end of your sewing and the best way to thread that needle.
Close-Ups and Summaries
The Back Stitch
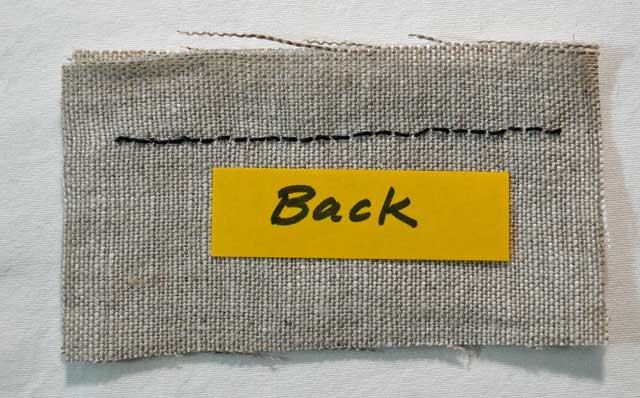
The back stitch is used for sewing seams by hand and for repairing seams, especially seams that will get a lot of pulling like a crotch seam and an underarm seam.
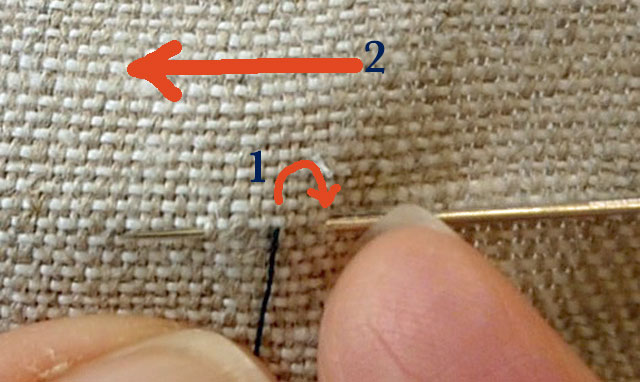
Bring up your needle from the back and take a stitch backward (1). Carry the needle across the back, forward, two stitch lengths (2).
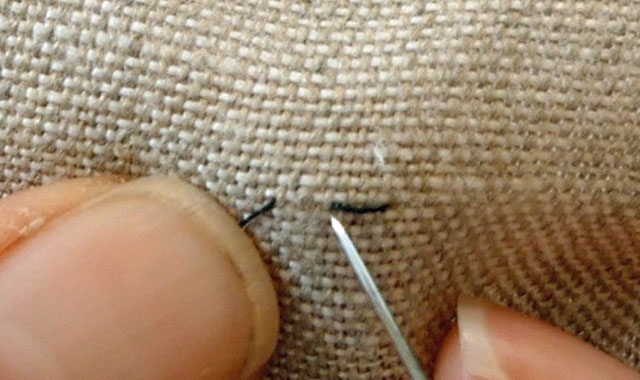
All following stitches are repeated in the same manner. When taking the stitch backward insert the needle down into the fabric where the last stitch ended.
The Half-Back Stitch
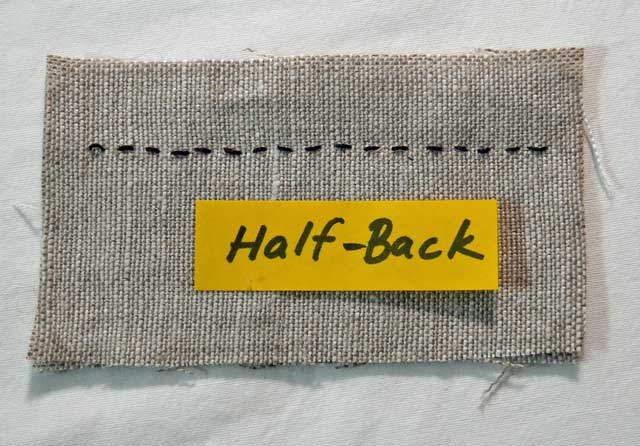
The half-back stitch is used for general sewing and for understitching facings.
Now if you’re constructing the garment you’ll understitch the facing by machine but if you have a ready-to-wear garment whose facing keeps wanting to roll out and you can’t reach where it needs to be understitched with your machine, THEN, this is the stitch 😉
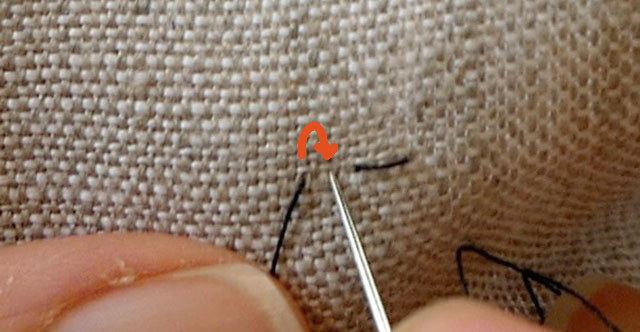
The half-back stitch is worked in the same way as the back stitch except the stitch backward only goes backward halfway. The needle is inserted into the fabric, not where the last stitch ended but halfway between where the needle came out of the fabric and where the last stitch ended.
The Prick Stitch
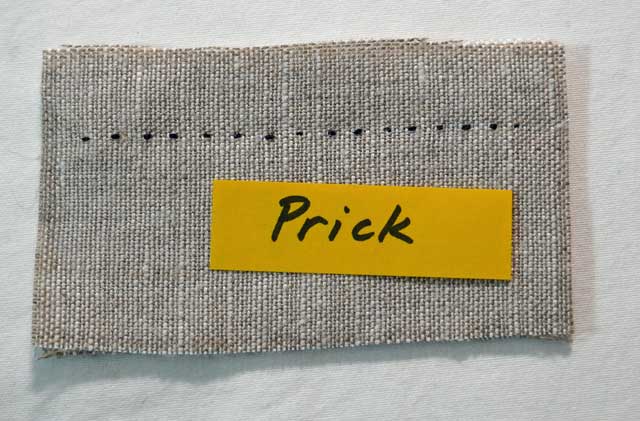
Hear me now, believe me later. This is the way you want to put in a center back zipper. I don’t care what machine you own the prick stitch will look better and will be just as fast if not faster as sewing the zipper in by machine (with practice).
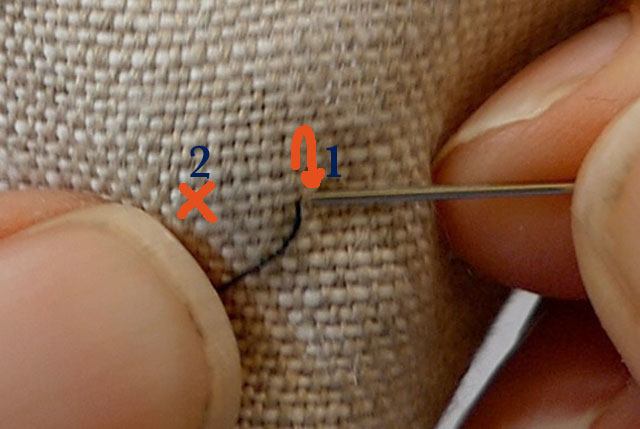
The prick stitch is worked the same way as the back stitch except the stitch backward only goes back one or two threads of the garment fabric (1). The needle is carried across the back, forward one stitch length which is about 1/8″ (2). You’re picking up the zipper tape underneath, and the seam allowance of the garment.
Please let me know if you have any questions.
Thank you so much for this tutorial!!! I am a complete newbie to hand-sewing. I wanted to mend some clothes inconspicuously but the only stitches I knew by heart were the basic running stitch and the back stitch. Today I learnt a less obvious version of the back stitch – the prick stitch!
My generation won’t realise how important the basics of hand-sewing are until we don’t have access to a sewing machine. Some of us can sew only with the help of a sewing machine. Some of us own a sewing machine but can’t figure out how to operate it. Some of us neither own a sewing machine nor know how to hand-sew – we either buy new clothes or get someone else to do the mending for us. Thank you so much for explaining the stitches in detail.
I’m glad you found the prick stitch. It’s one of my favorite stitches. I was lucky that my mom sewed and I could see the possibilities of sewing your own clothes. I think knowing how to sew gives you the opportunity to make your own style – whether from scratch or altering ready-made, or upcycling, or being able to repair vintage so it can be worn. And hand sewing, like other hand work such as knitting, can be so calming. Sometimes I want to take up embroidery just to have some hand work to do, except I never know what to embroider.
Thanks so much! Your video helped me channel grade 7 home-economics class and fix my bag zipper!
Ha! I too took sewing in 7th-grade and I did a horrible job on my laundry bag. So glad you got your bag fixed. It is rewarding fixing something you own, I find.
Thank you, I enjoyed learning from you!
Thank you for letting me know 🙂