
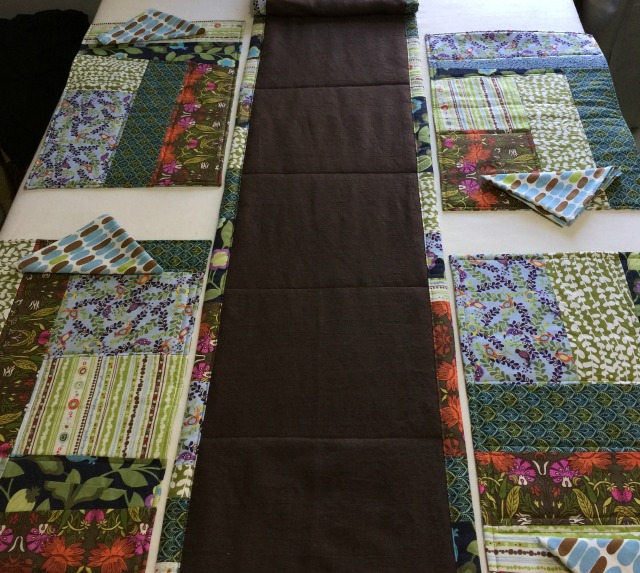
For Thanksgiving I wanted my well-worn table to look as good as our newly painted and decorated dining room, without having to refinish the table. I knew I wanted to make placemats and not a full tablecloth but I decided that instead of making a placemat for each person, there would be six of us, I would make a table runner which would protect and hide the center of the table and stand in for the placemats at the heads of the table.
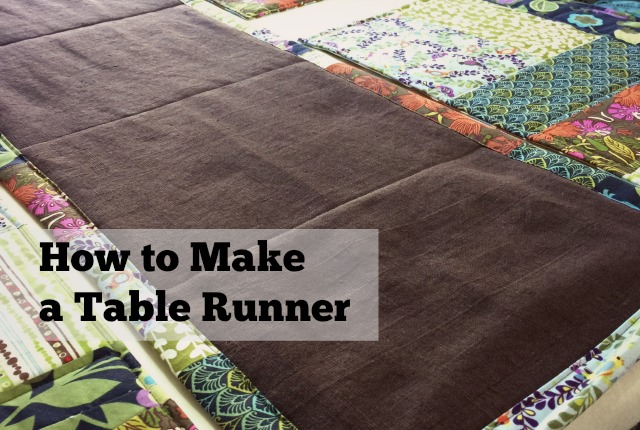
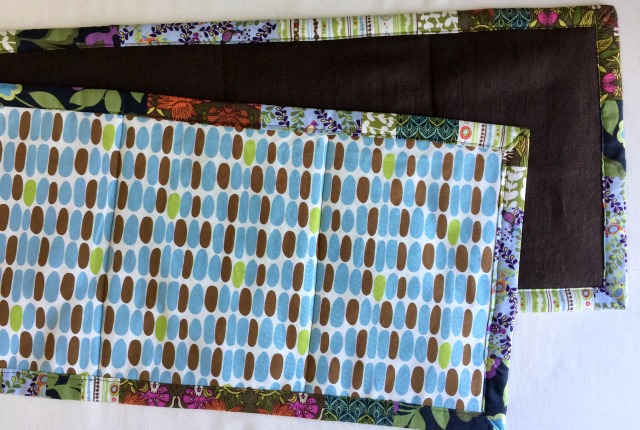
The placemats were made patchworked. I wanted the table runner to fit in with the placemats but not be identical. I was afraid that a patchworked table runner and patchwork placemats would look too busy when together on the table. So, I choose a solid chocolate brown linen for the top of the table runner. There isn’t much brown in the placemat fabrics but the brown goes well with the fabrics I made the placemats in and adds a little heaviness to an otherwise very colorful table (a little contrast that was needed).The same fabric for the back of the placemats (a print) was used for the back of the table runner and to tie it together in color and theme the binding is pieced from the fabrics used to make the placemat tops.
The fabric used for back of the table runner is the same fabric used for the back of the placemats. To tie the placemats and runner together in color and theme the table runner’s binding is pieced from the fabrics used to make the placemat tops.
To know how much fabric you will need to make your table runner decide how wide you want it to be. I wanted mine narrow enough to avoid overlapping the placemats when on the table but still wide enough for a place setting for those sitting at the ends.
For the length measure the table and decide if you want the runner to stop at the end of the table or overhang. You will need to cut your top fabric and backing fabric the width and length of your desired finished size.
Since most tables are longer than the width of fabric you can cut out the runner one of two ways. If you have enough yardage you could cut the runner on the length grain, along the selvedge, OR cut across the width of the fabric and piece sections together until it is as long as you desire. Remember if you’re piecing sections together to account for seam allowance. No seam allowance is needed on the outer edges of the runner because the layers are sewn around all the edges with binding.
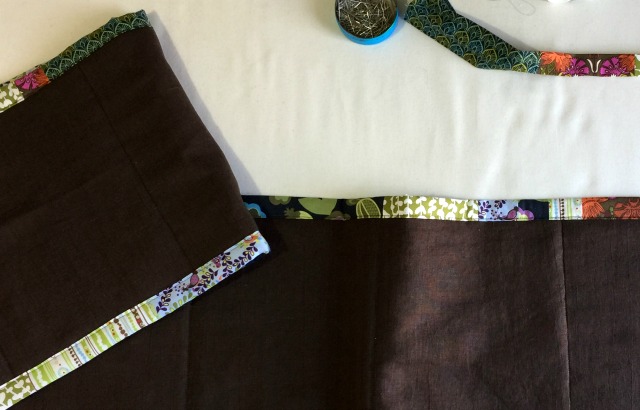
My linen (the top fabric) was 58″ / 1.5m wide and I only had a yard of it. I cut two 12.5″ / 31.5cm tall pieces across the width of the fabric for the length I needed. I cut one of these pieces in half and sewed them, at the short end, to the two ends of the longer piece. This way the seam was not in the center of my table runner top. In the end, because of the quilting of the runner, this didn’t matter but I was concerned that seam would stick out like a sore thumb.
My backing fabric was 2 1/2 yards / 2 1/3 meters long, long enough to cut the back in one piece, lengthwise. The placemat backs and napkins were cut out of this fabric too.
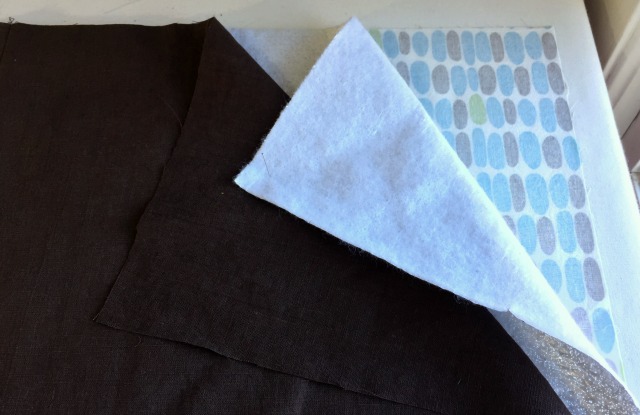
A thin batting is placed between the top and back. Consider using insulated batting because the runner is likely to have hot dishes placed on it. The batting will also need to be seamed together unless you buy or have a very long piece of it.
If you do use insulated batting try to avoid using pins until everything is definitely in place. Holes pierced in insulated batting with pins or needles remain permanent holes in the insulation material which will render it far less effective (So avoid over quilting it too).
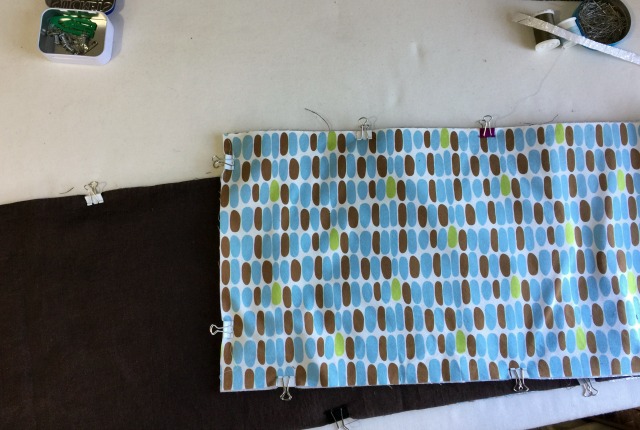
After your top, batting and backing fabrics are all made to the length you desire it’s time to put them together. Place the back, right side down on your work surface. Lay the batting on top of this and the top fabric on top of the batting right side facing you. Hold together with clips if you have them. If you use pins and insulated batting, pin only along the edges. (I use small binder clips from the office supply store but there are clips on the market sold to quilters; Wonderclips. A lot of people love them. I haven’t used them)
To quilt the runner through all three layers use a walking foot or even feed foot if you have one. The design is up to you. When you put the binding on around the edge the runner will be sealed together. Right now you want to sew through the layers enough to hold the middle together through the washings and over time.
I started the quilting by stitching in the ditch of the seams where the top was pieced together. I wanted to hide the seaming by making it look like a line of quilting stitches. From these lines of stitches, I marked parallel lines roughly the same distance from each other (evenly spaced did not work out in the middle 😉 (improv). The repeating parallel lines made the seaming disappear even more. Again, quilt how you want but just don’t quilt too much if using insulated batting.
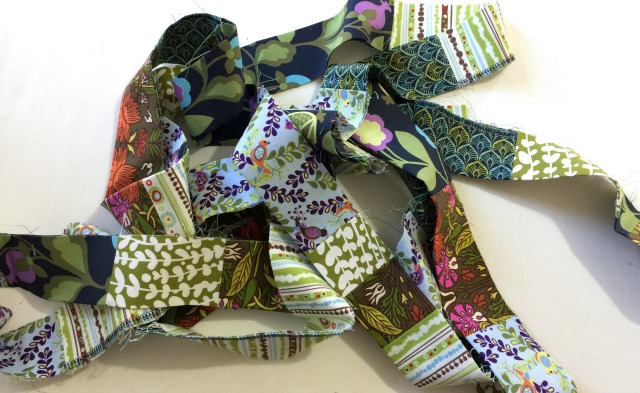
To make the binding cut strips of the same fabric used for the placemat tops 4″ wide or strips from 6 to 7 fabrics if you didn’t make placemats. Directional fabrics can be cut on the cross grain and on the length grain to mix it up a little. Piece the strips together, some long, some short, some very short, until you have a strip equal to the perimeter of the table runner plus about 12″ / 30cm to fold around the corners and overlap the ends for a clean finish. All the seams should be pressed to one side or pressed open; your choice.
Fold the binding in half lengthwise and press. Fold in the long raw edges of the binding to meet in the center crease you just made. Press as you go. When done you will have a very long strip folded three times and one inch wide (double folded binding).
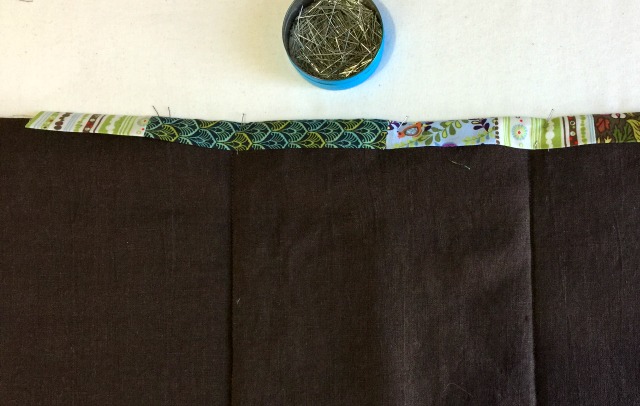
To attach the binding to the table runner start laying it down on one of the longer sides. Do not start in a corner. Start at least 12″ / 30cm in from the corner. Open up the binding once and place the raw edge of the table runner up against the center crease of the binding. Fold the binding, sandwiching the raw edge of the table runner.
Leave the first five inches of the binding loose and unpinned. Pin the binding to the runner up to the first corner. (Yes, this time I pinned since it was on the edge, and now the layers are lined up, sewn together, and wouldn’t be moving or adjusted.)
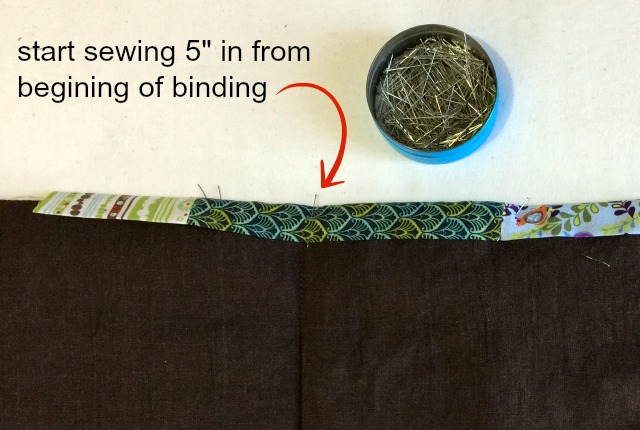
You will start sewing at the first pin, leaving the first 5″ / 12cm of binding unattached. Sew down the binding about 1/8″ / 2.5mm in from the inner folded edge. (use that walking foot if you have one if not, take your time and try to keep the top fabric from creeping forward too much). You want to catch the binding on the back side of the runner in this stitch too. Stop sewing 1/8″ / 2.5mm from the corner. Backstitch and remove the table runner from the sewing machine.

To go around the corner, fold the binding straight down along the next edge of the table runner. Enclose the edge with the binding as you did on the first edge forming a nice, 45-degree mitered corner. Pin the binding in place and sew down the binding as before.
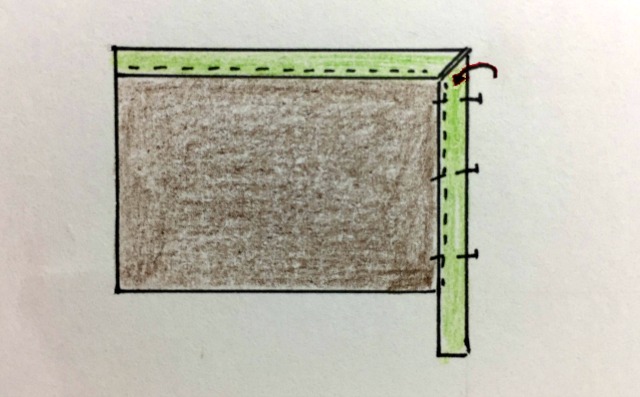
Stop 1/8″ / 2.5mm from the next corner and back stitch as you did for the first corner. Repeat the method for turning the corners until all four corners are bound.
On the last edge, which is the edge you started sewing the binding to, stop sewing 10″ / 25cm (from the point where you started sewing the binding down. Back stitch and clip the threads. Cut the end of the binding so it overlaps the start of the binding only a 1/2″ / 1 cm. (If the ends don’t overlap, add another piece to extend the binding. This is an upside to piecing your binding, right?)
Unfold the short ends of the beginning and end of the binding and sew them, right sides together, using 1/4″ / 5mm seam allowance (the 1/2″ / 1cm overlap). Finger press the seam allowances open. Refold the binding lengthwise and position it in place over the raw edge of the table runner. Stitch down the last remaining inches backstitching at both ends.
Check that the binding was caught on the backside. Fix any spots that may have escaped the stitches. Press the binding and enjoy your new table runner.
Coordinating napkins can be made from the solid linen or one of the many fabrics used for the binding. I made six napkins out of the remaining backing fabric. They had to be smaller than I wanted but I was able to cut them 10 1/2″ / 26.5cm square and used a 1/2″ / .5cm hem allowance on all sides.
The fabric is a print, so the napkins have a right and wrong side. These are not formal napkins but they’re fine for wiping away cranberry sauce from you face. Here’s how to make cloth napkins. There is more pressing than sewing involved.
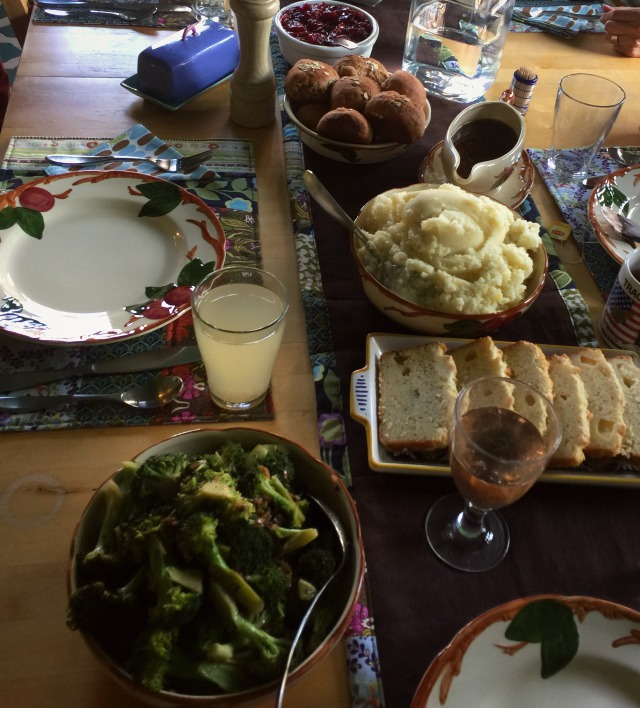
I thought the Thanksgiving table looked pretty nice this year. The project was quick going, used up some of the fabric stash, and brought fabrics, colors, and prints I enjoy to another room in the house.
Dress up your table. This doesn’t have to be for special dinners only. Your own favorite fabrics and colors under your granola is a nice way to start your day or someone else’s day; a set of placemats and napkins and/or the table runner would make a special gift.
Here’s how to make the placemats and the napkins.