
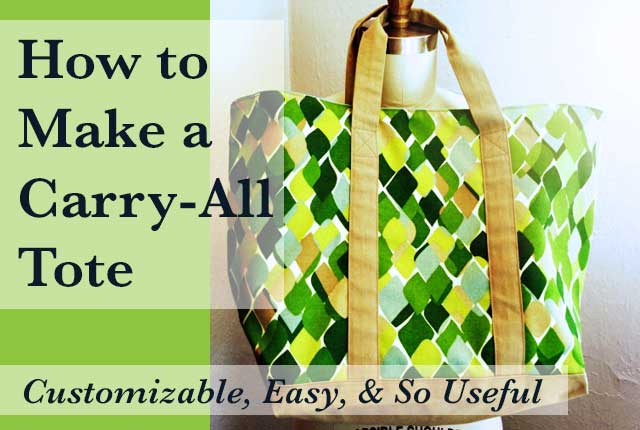
With the outside of the tote bag done, it’s time to make the handles.
Be sure to read Part 1 here to see how to construct the tote bag up to this point.
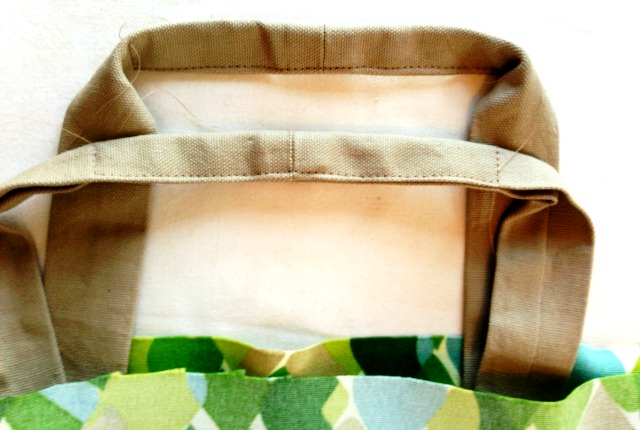
Your tote bag is inside out and the handles are sticking out as four separate pieces. The top 3 1/2″ of the handle pieces are not sewn into a tube so they can be opened at the top and made kinda’ flat. Do that. Unfold the top edge of the two handle pieces from the same side of the bag flat enough to line up with each other across the edge. Pin together, the long vertical seams facing out, and repeat for the other set of handles.
It’s important to connect the handle pieces that are sewn to the same side of the tote. If you don’t and connect pieces from opposite sides, the handles will cut across the opening of your tote which will make it awkward to hold and impossible to open it wide. Do what I do; pin and check before sewing. It saves time, believe me.
With the top edges pinned, sew together using a 1/2″ seam allowance. Press seam open after sewing. (Note: the seams of the handle pieces are facing out)
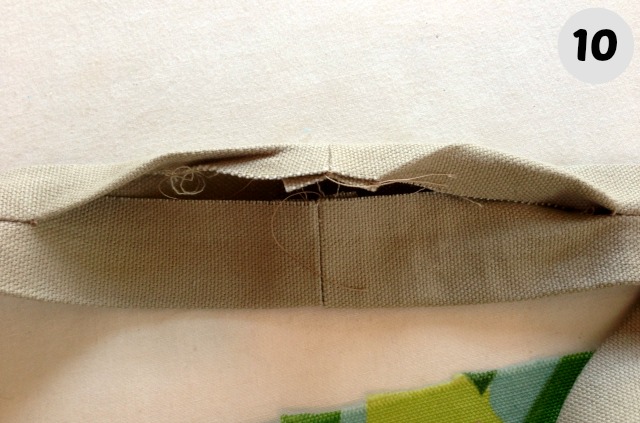
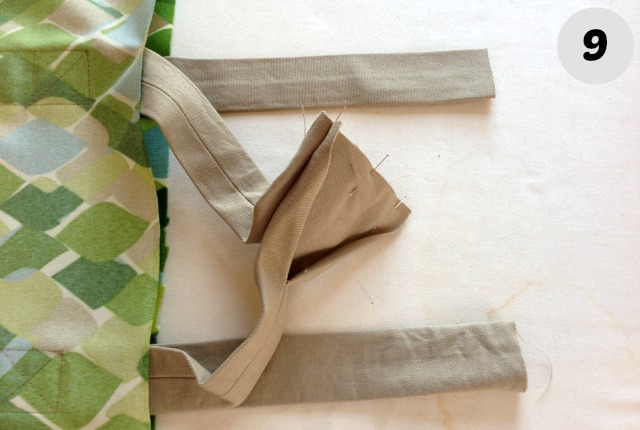
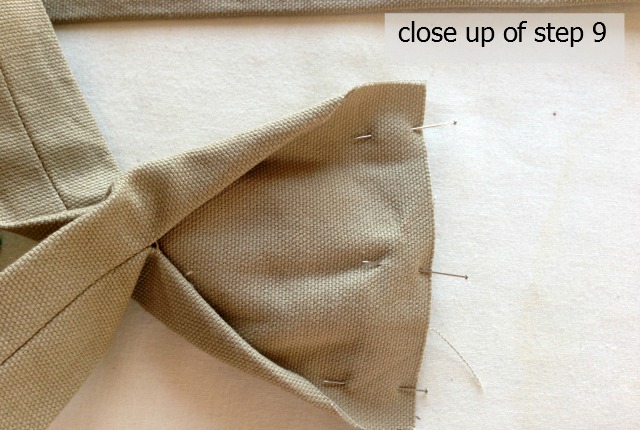
To close the opening in the handle, lay the raw edges over and under each other as if a continuation of the long seam which formed the tubes. (The edge that ends up on top needs to be folded under 1/2″).
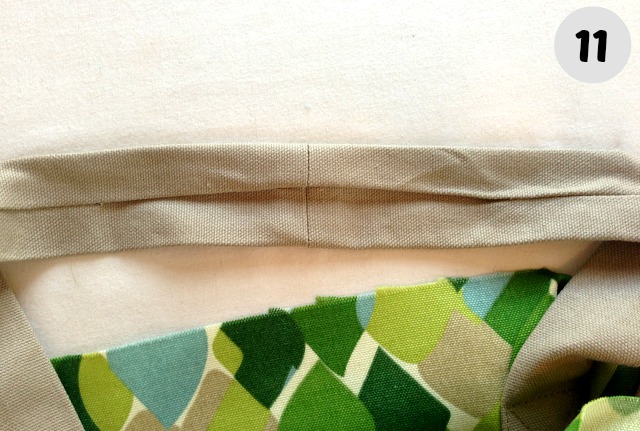
You may have to clip the seam allowance next to the end of the stitching that forms the tube so the opening lays flat. Once you like how it looks press your handles, At this point you could slip stitch the opening closed but I don’t think it’s necessary.
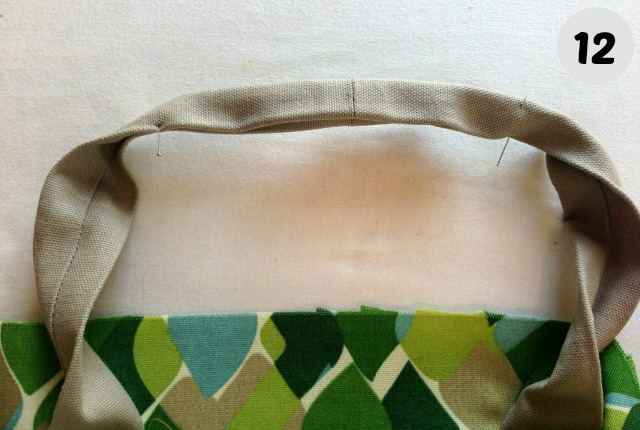
If you don’t slip stitch the opening closed how do you close it? Well, ancient ancestral secret, you fold the handle in half, sandwiching the opening. Pin it closed, (I place the pins just beyond the opening to mark where it starts) and sew it down with the sewing machine.
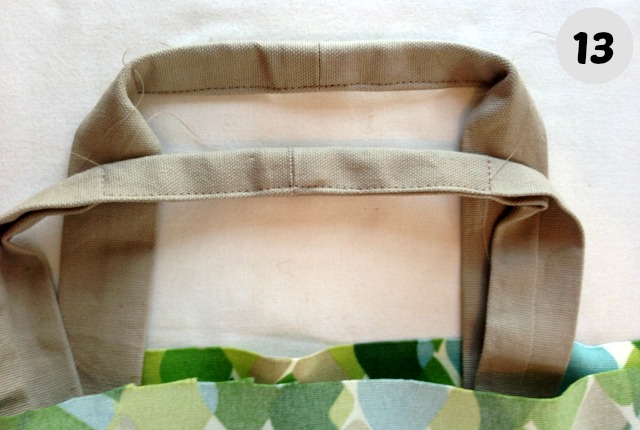
Notice I start stitching at the folded edge of the handle, sew across to the open edge, sew down that edge to my pin, then sew back across to the folded edge. Press this stitching, clip your threads, and rejoice that you are getting the bag done and learning skillz.
Next up; Part 3, Adding dimension to the bag, or how to make the bottom and the sides.
If you missed the other steps, here are the links:
Prequel: How to make tote bag handles
Part 1: Making the tote bag
Part 3: Adding structure to the bag
Part 4: The lining
Part 5: The finishing touches