
This is part 4 in a 5 part series. Be sure to visit these earlier post:
Part 1: Cutting Out The Bag and Stitching Up the Exterior
Part 2: The Handles
Part 3: Making It Stand On Its Own
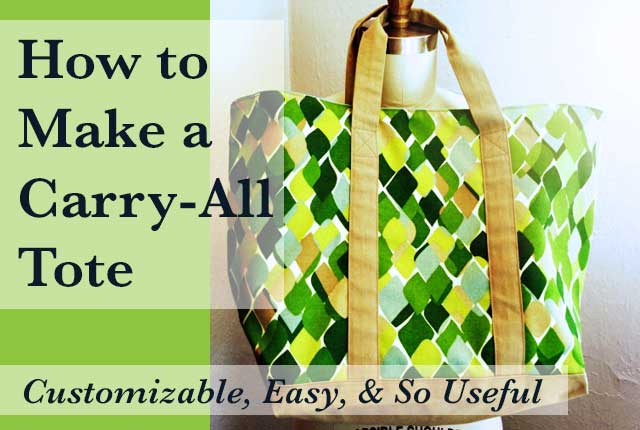
The lining. It’s like making a second bag but not having a second bag to use when you’re done. However, a lining is needed for this bag and so is a zipped pocket.
Summary:
The fusible batting is fused to the two lining pieces. The pocket is made up into what resembles a mini pouch and then sewn down to the lining. The lining is sewn together, except for an opening left in the bottom seam and then given the same structure as the tote in order to fit neatly inside of it.
Fuse the batting to the lining pieces. Batting gives the bag a little meat on its bones; making it look substantial. If your exterior fabric is super stiff you may not want to use batting. You’re call, you’re the designer.

Finish the two short edges of the rectangle pocket piece. You could serge these ends or, in my case, the case of no serger, you could run a zigzag stitch over the edge.
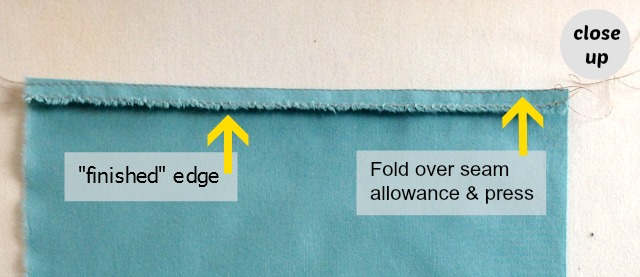
Fold over the seam allowance on those edges to the inside and press.
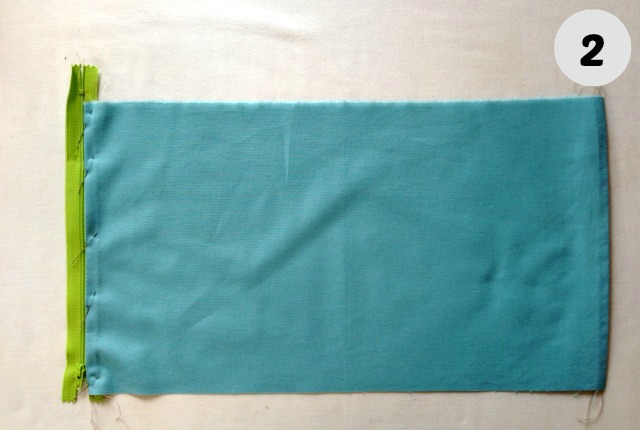
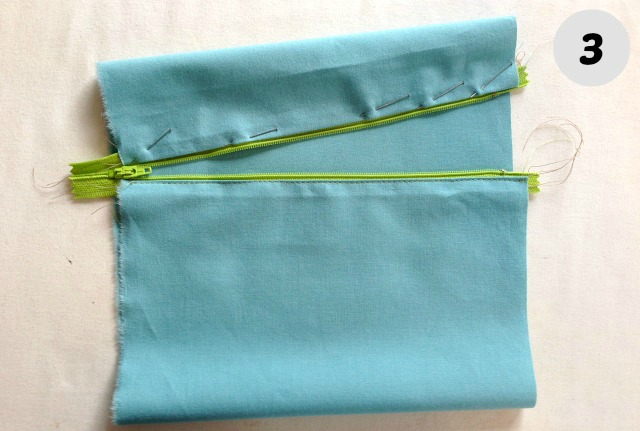
Lay one folded edge over one side of the zipper tape next to the teeth. However, leave a gap between the zipper teeth and the fabric, big enough for the zipper pull to slide on by but only that big. Remember your 1/2 seam allowance when placing the zipper. You won’t be able to sew through the metal stops on the zipper so be sure they are not near that seam allowance line. I usually just line up the top of the zipper tape to edge of my fabric. Pin the zipper in place. Stitch the zipper to the fabric using your zipper foot.
When stitching a zipper by machine, have the zipper pull moved about half way down the zipper. Before you get to the pull when you’re stitching, stop sewing but leave your needle in the fabric, lift your pressure foot, move the zipper pull to back where you’ve already stitched the zipper in place. Then put the pressure foot back down and continue stitching the zipper in place. Why? Well, if you try to sew next to the zipper pull your stitching will be pushed out of line. The zipper pull is wide and the machine’s zipper foot will strain the fabric, pulling it out of line, when the trying to sew past the pull. So just get that zipper pull out of your way. It’s easier than fighting with it.
Pin the other folded, short edge of the pocket piece to the other side of the zipper so the folded edge lays close to to the zipper teeth on top of the of the zipper tape. Sew this edge to the zipper. Press your stitching.
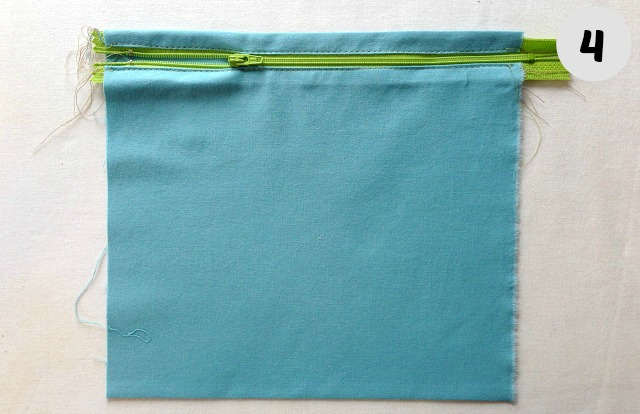
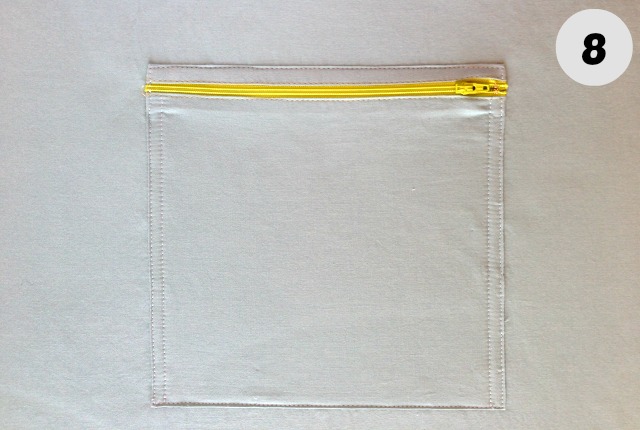
You now have a tube of fabric with a zipper. Not much right now but patience, patience. Lay the tube flat on your work surface with the zipper toward the top. I used the width of the zipper tape for the width of the fabric above the zipper. Press the pocket piece flat.
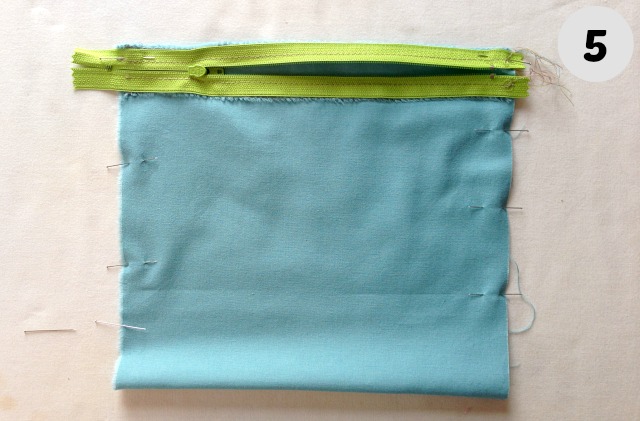
Turn the pocket tube inside out and move the zipper so it is open half way (to turn it right side out when you’re done). Pin the open sides together and sew them shut from top to bottom, through the zipper
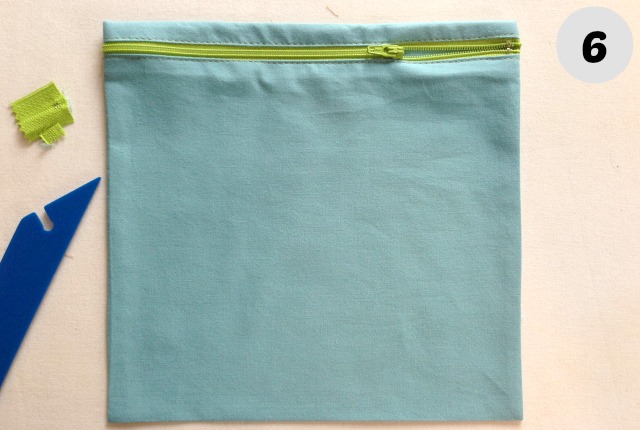
Clip the corners and trim off excess zipper tape. Turn right side out, poke corners out, but not with scissors, and not too forcefully (both of these methods could lead to a hole and certainly both of these methods used together will lead to a hole) and press the pocket. Now you have a little mini pouch, or a zipped patch pocket ready to place onto the lining.

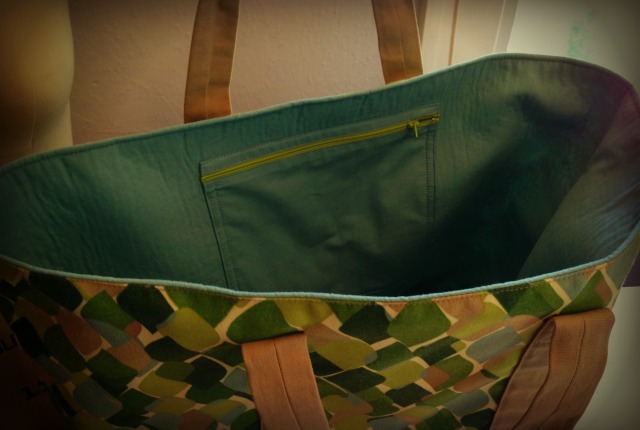
Line up the pocket so it is centered on one of the lining pieces about 2 1/2 inches down from the top edge of the bag (the picture above is oriented with the top edge at the bottom of the picture). I frequently use two rulers at a time; faster than marking. The yellow ruler is placed to mark the center of the lining piece and the black ruler lays across the pocket piece so I can see when the two centers line up.
Pin the pocket down to the lining through the batting. Sew close to the edge on all four edges. Go back and sew along the pocket’s sides to encase the pocket’s seam allowances which are currently inside the pocket.
More pockets can be added the other lining piece if you desire. You could add a larger open pocket and or a key fob. Maybe add an elastic loop, sewn into the pocket’s side seam, for a pen or a bigger loop for your lip gloss. Possibilities are almost endless and pockets are always useful.
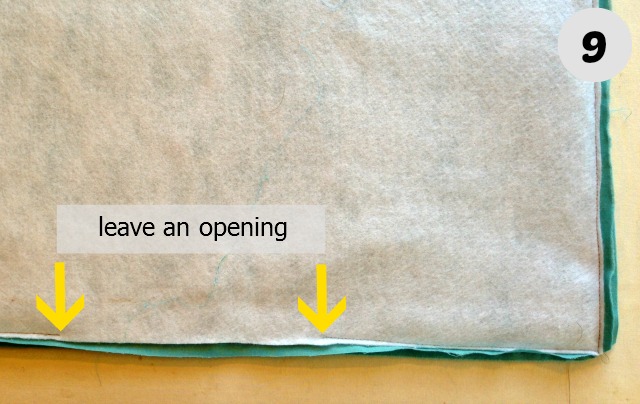
Pin the two lining pieces right sides together along the side and about a third of the way in from the side toward the center of the bottom edge. In other words, sew the sides and bottom edges together leaving a 7″ opening in the center of the bottom edge.
Clip corners and press seams open.
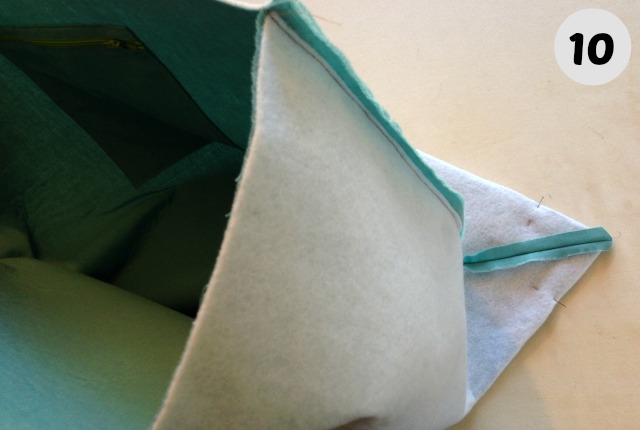
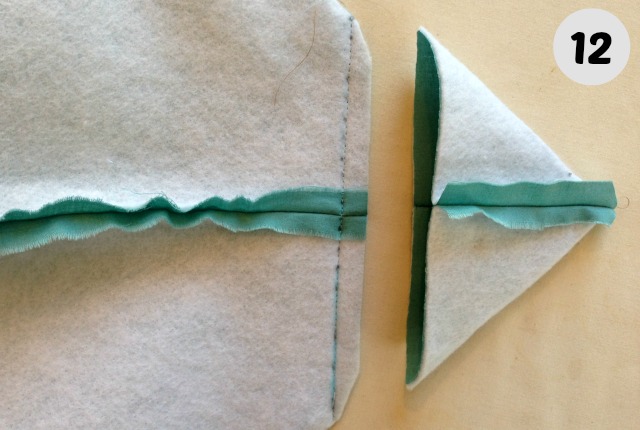
Now we need to give the flat lining the same shape as the bag so it fits nicely inside the bag as a lining should. Open up the side seam at the bottom corner (either corner, we’re just tackling one at a time). Line up the side seam so it lays on top of the bottom seam at the corners. Pin together to hold everything in place.
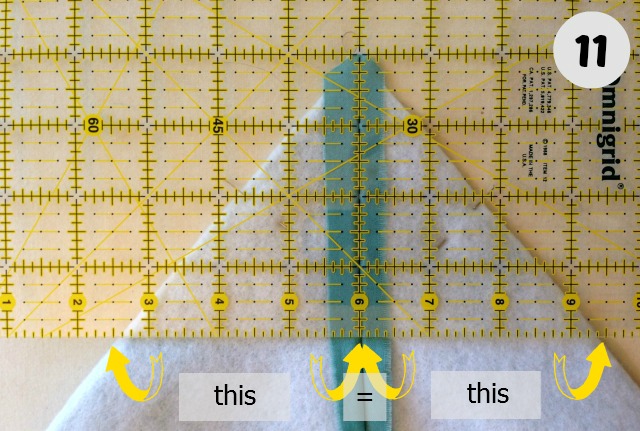
With this corner flat on your work surface, measure down until the distance out from the side seam (which is centered) to the outside edge measures 3 1/2″ on both sides, keeping the ruler perpendicular to the side seam. My bag has a 7″ wide bottom and sides so my lining must too. If your bag has a 4″ wide bottom you will find where it is 2″ out from the seam to the outside edge on both sides.
Why won’t I say “Measure down 4 inches”? Because of the seam allowance, and how well you nailed that seam allowance the fraction of inches down can vary. So start by measuring down 4″ but be willing to adjust until you have the same measurement on both sides of the seam that together equals the width of your bag’s bottom. Also see part 3 of this project for an explanation of this technique.
Mark this line and sew across it. Repeat with the other corner.
Cut off the tip leaving about a half inch. Clip the corners.
The lining is done. It has batting fused onto it, a pocket, some shape, and an opening in the bottom seam. So close to having a finished tote bag.
Part five will finish up the bag.
If you missed the first parts of this project here they are:
Prequel: How to make tote bag handles
Part 1: Making a Tote Bag
Part 2: How to finish tote bag handles
Part 3: Adding Structure to a Tote Bag