Up to now we made the handles, made the exterior of the bag, attached the handles, added shape to the bag and made the lining. Now let’s put it all together and be done. This goes fast.
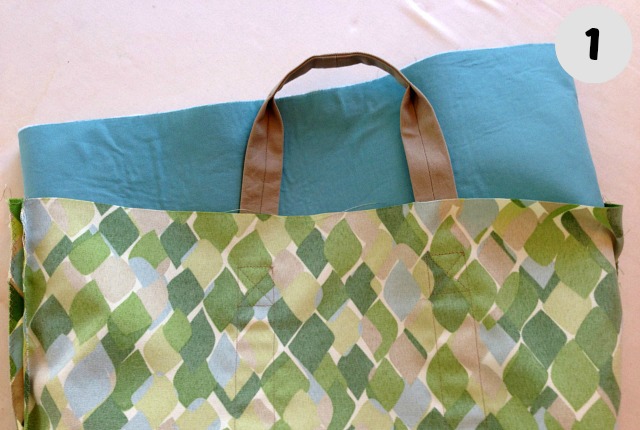
With the exterior of the bag inside out, place the lining inside the bag, right sides of both facing each other. Line up the side seams and pin the top edges of the bag and the lining together.
Tuck the handles down, in between the lining and the bag. You want them out of the way so you don’t catch them in the seam you are about to sew. This is why when sewing the handles onto the bag we stopped short of the top edge.

After it’s all pinned, sew along the top edge, (sewing the top of the lining to the top of the bag exterior) all the way around.
You may wish to reverse stitch over the handles for added strength on these stress points. I figure this never hurts and it doesn’t take much time at all.
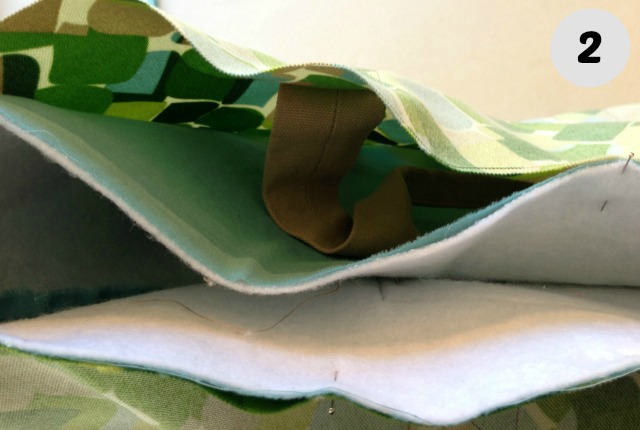
Pull the lining out of the bag. Trim the batting out of the seam allowance. Yes, it was fused on to the lining but it seems to detach itself without difficulty (maybe I did a poor job fusing it on to begin with).
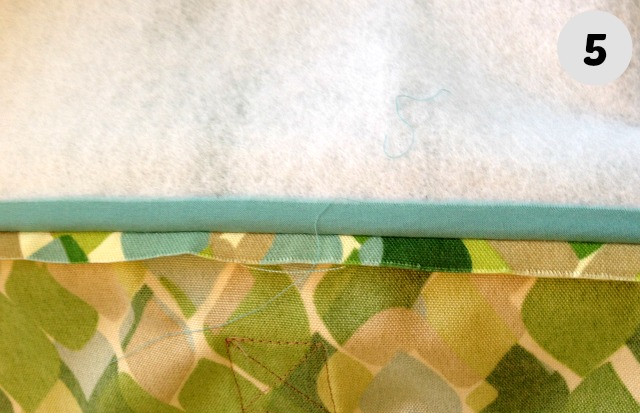
Press the seam open.
To make this easier insert a sleeve roll (a pressing tool shaped like a short baguette) in through the lining’s bottom seam opening. Line it up so it’s under the seam you’re pressing open. It helps tremendously. You could use a folded hand towel in place of the sleeve roll (fold it in fourths or roll it tight).
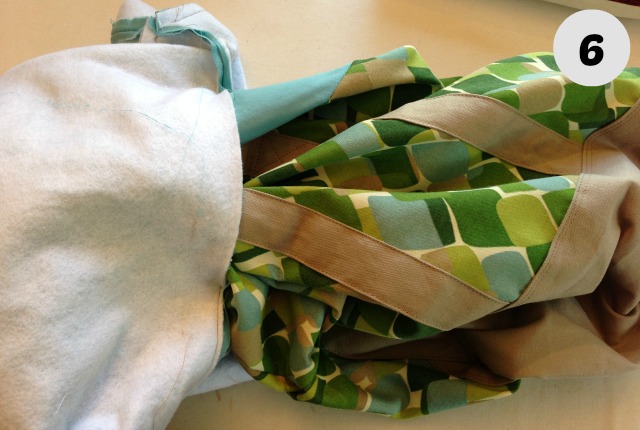
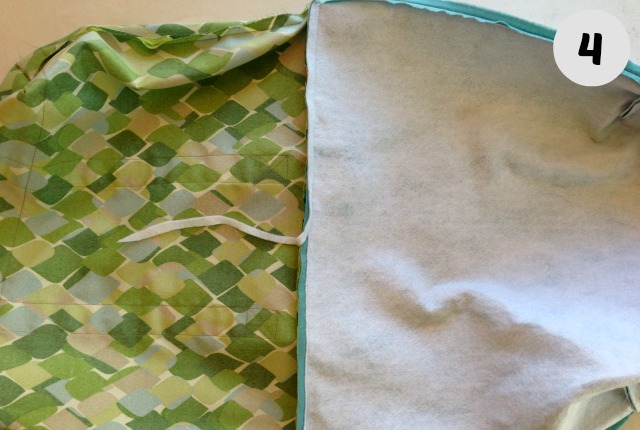
Reach into the opening in the lining and grab the exterior piece. Pull the bag out through the opening.
Put the lining inside the bag with wrong sides now facing each other (the batting will be sandwiched in between the two layers)
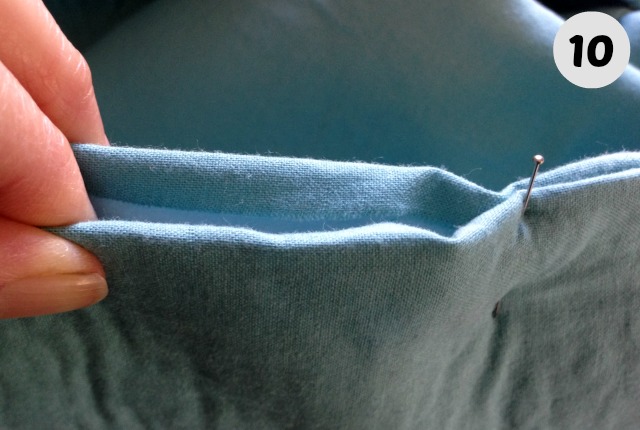
Normally you work the top seam with your fingers so the seam is dead center along the top edge with neither the front rolling into the inside or the lining turning out to the outside. Sometimes though, rules can be bent in sewing.
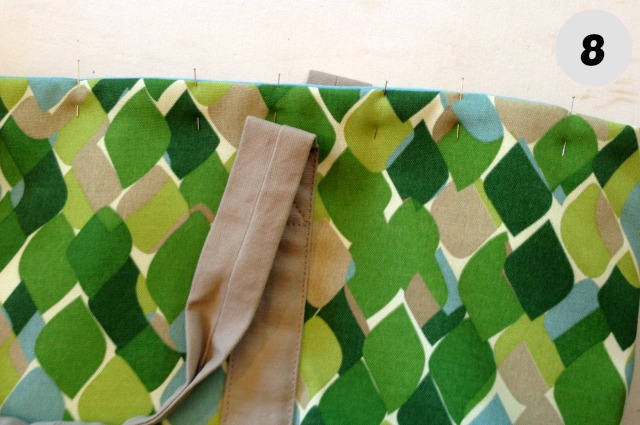
I thought this bag would look good with the lining popping up just a smidge over the bag’s exterior. It gives the look of a piped edged. If you wish to do this too just roll the lining, with thumb and index finger of your non-dominant hand up and pin in place with your other hand as you go around the top of the bag.
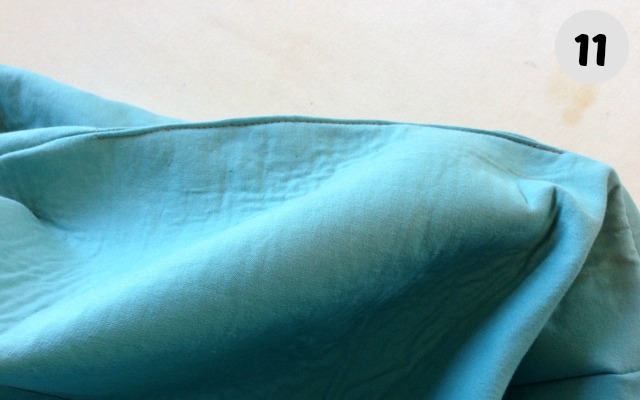
Either way, the seam dead center, the lining peeking up or the exterior spilling into to the inside once it is pinned in place take it to the machine and sew it.
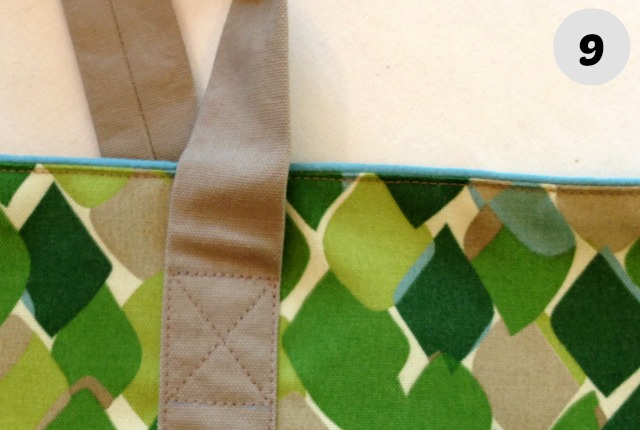
Once again, here is a step where you can be creative and choose to use matching thread or a contrasting, top-stitching thread. You could sew two rows, or three, or perhaps even a hand luggage stitch. However you decide to stitch this, when you are done, press your stitching.
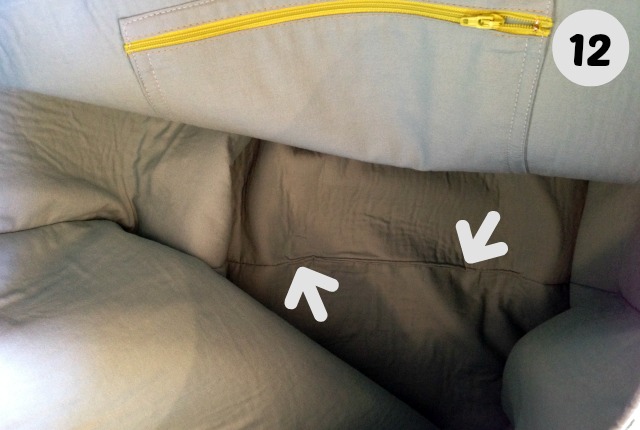
Now it’s just a matter of closing that hole in the bottom of the lining.
Pull out the lining from the bag and fold the seam allowance of the opening to the inside. Pin the opening shut.
Here again, you have two ways to close this. You could hand stitch it with a slip stitch or machine stitch close to the edge. Machine stitching will leave a little lip but very little.
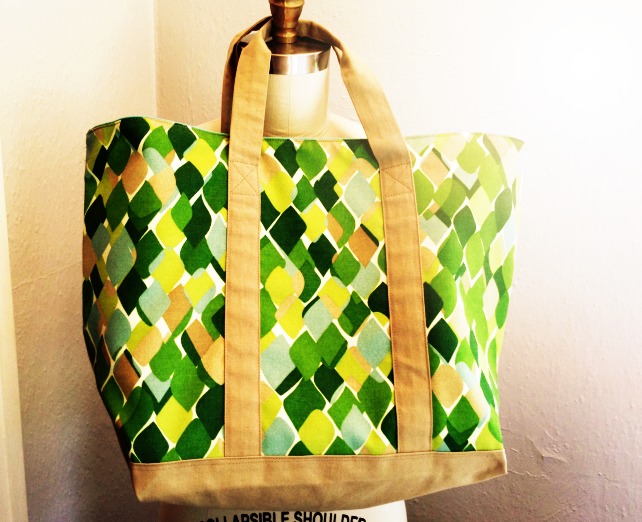
You are done! More importantly, I finished in time to donated this bag to my school’s silent auction. I’ve also made this bag for baby shower gifts. It really does have quite a few uses, of course, all of them have to do with holding things, transporting them or not. Hope you enjoy your bag and send in a picture when you finish.
Earlier Post In This Series
Part 1: Cutting Out The Bag and Stitching Up the Exterior
Part 2: The Handles
Part 3: Making It Stand On Its Own
Part 4: The Lining